
In 2012 I shared a tutorial on how to make show ribbons for models. That post can be found here.
It’s been needing an update badly, so here it is again, with some added techniques.
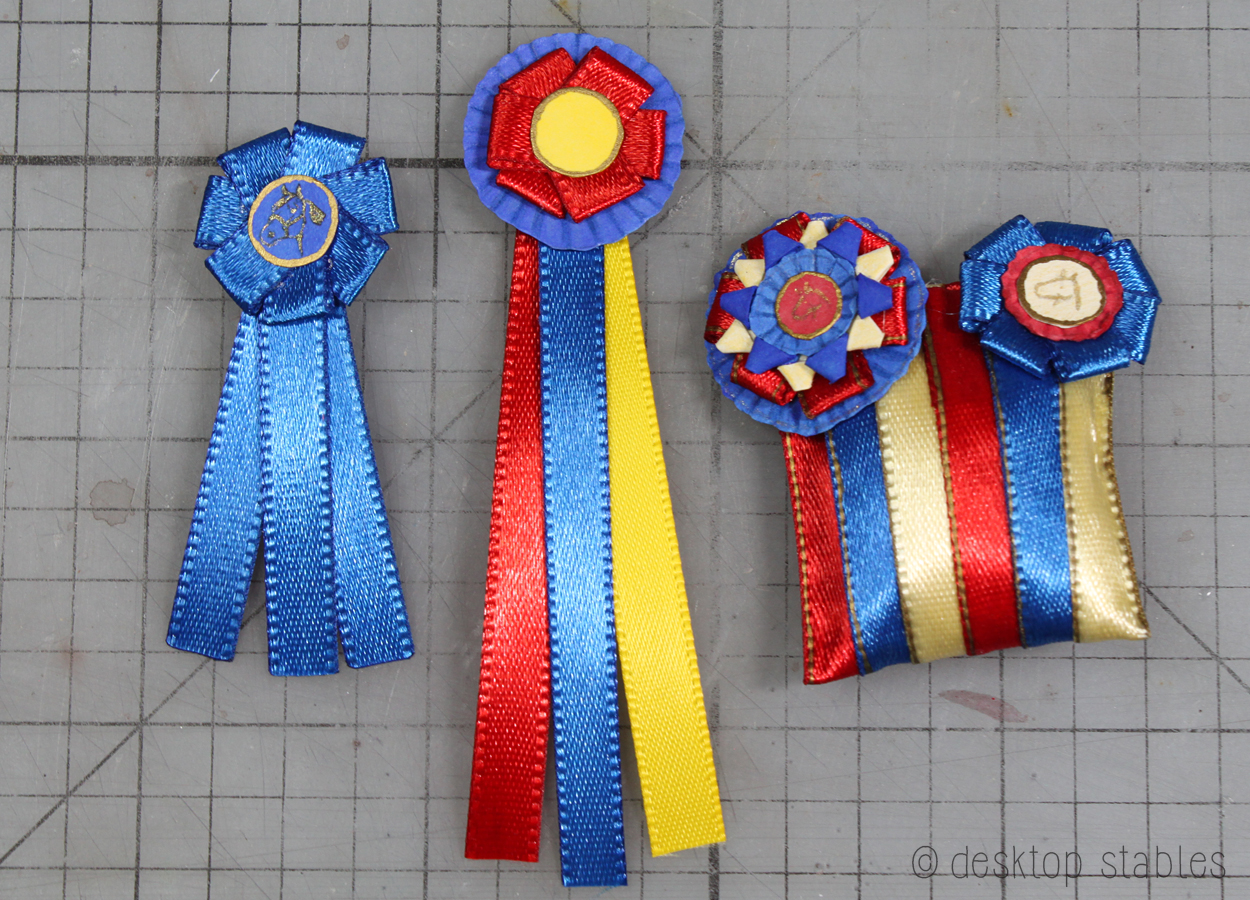
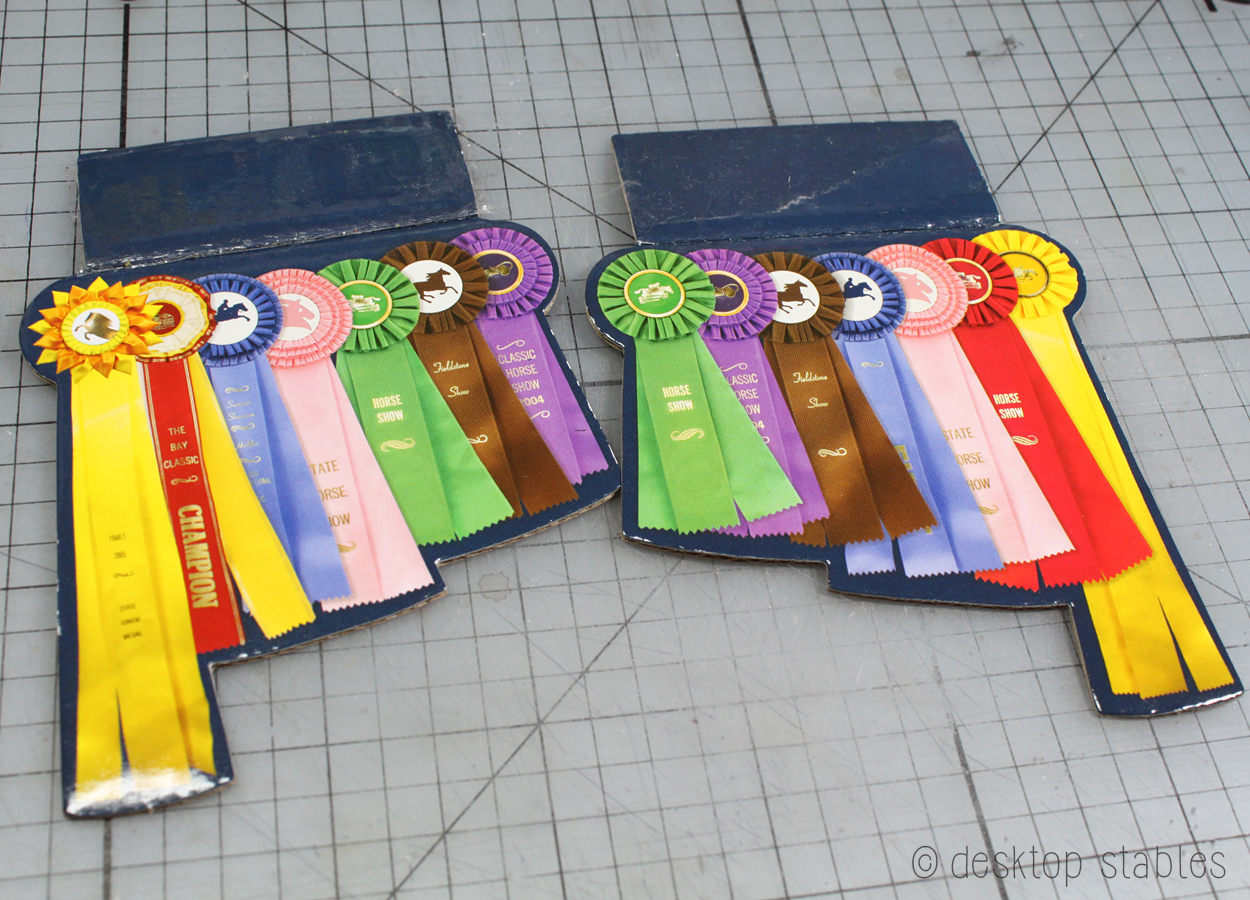
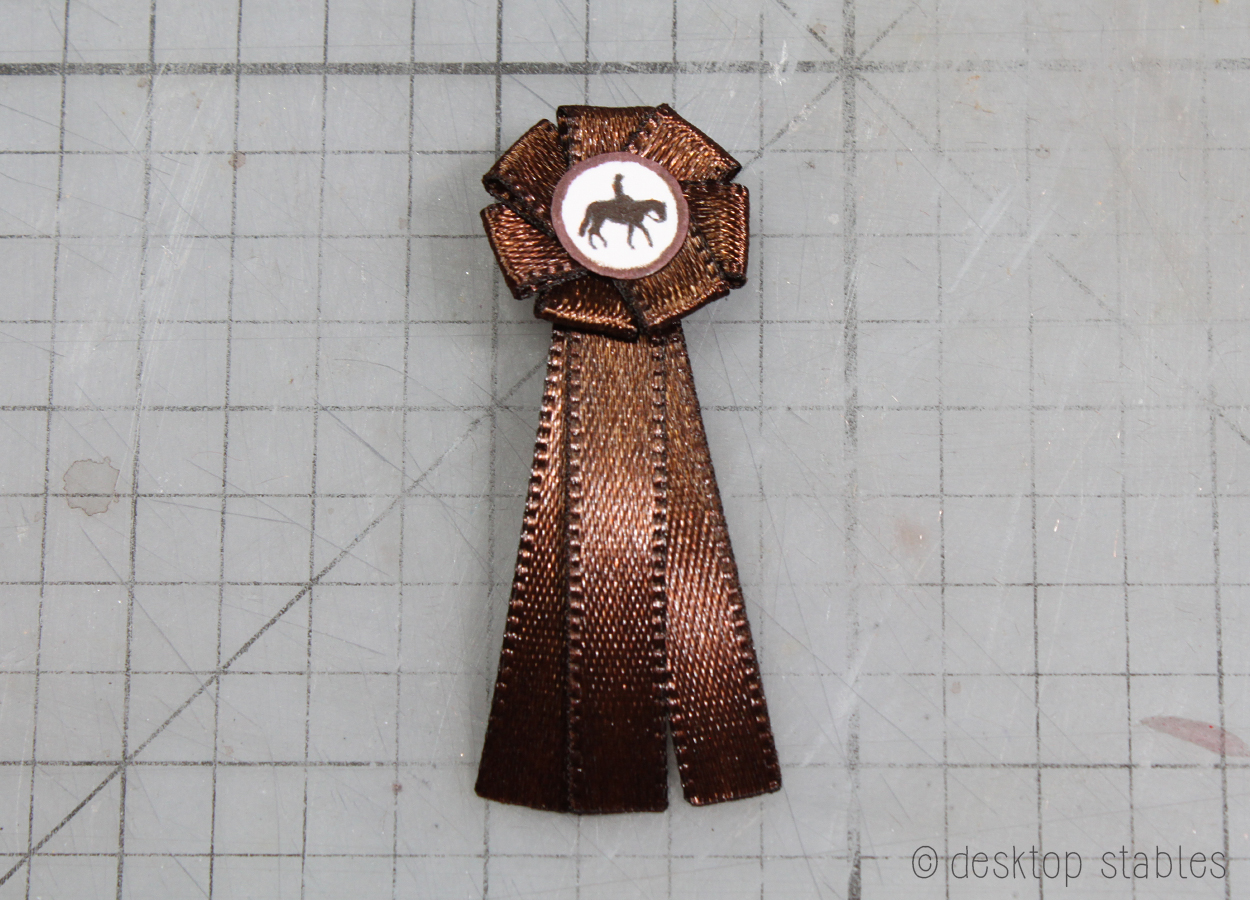
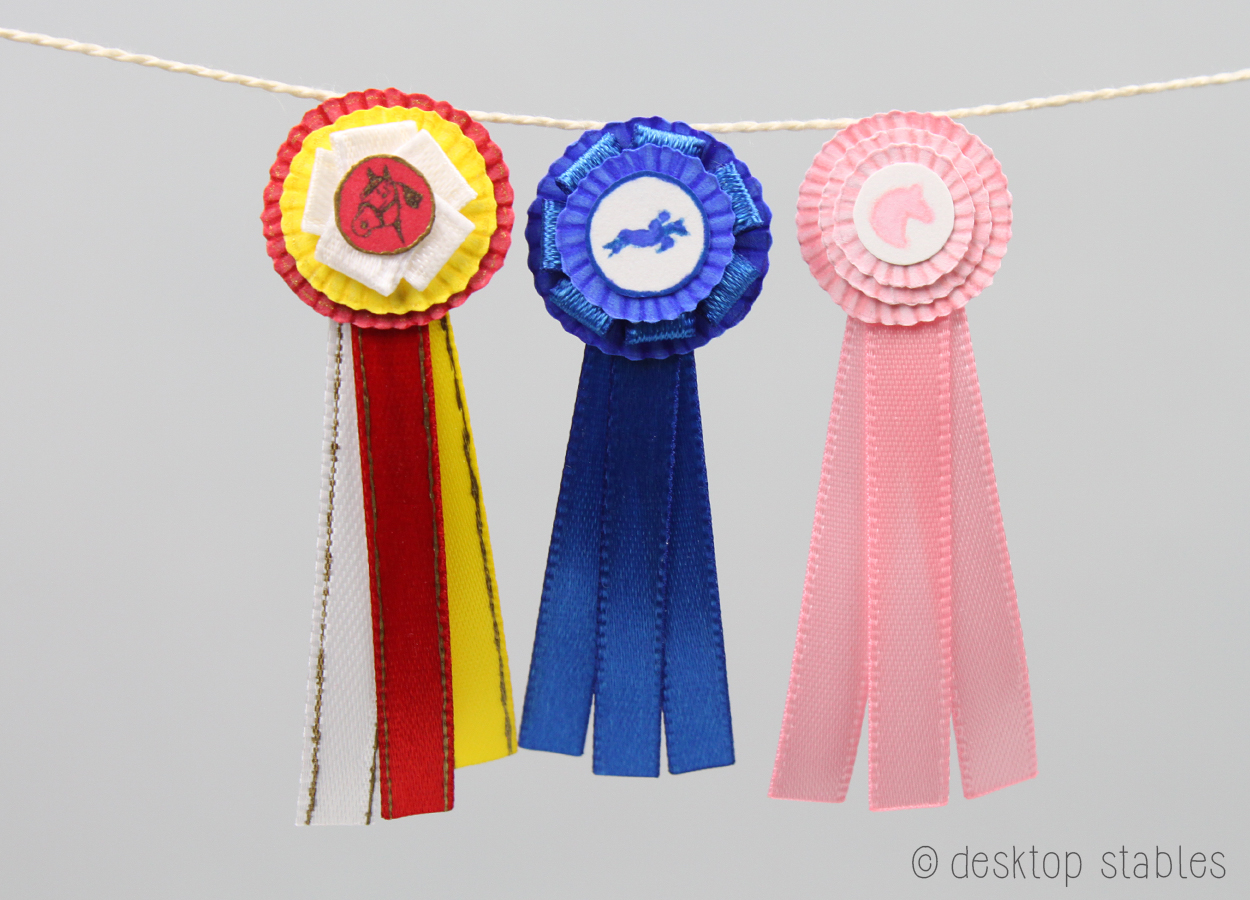
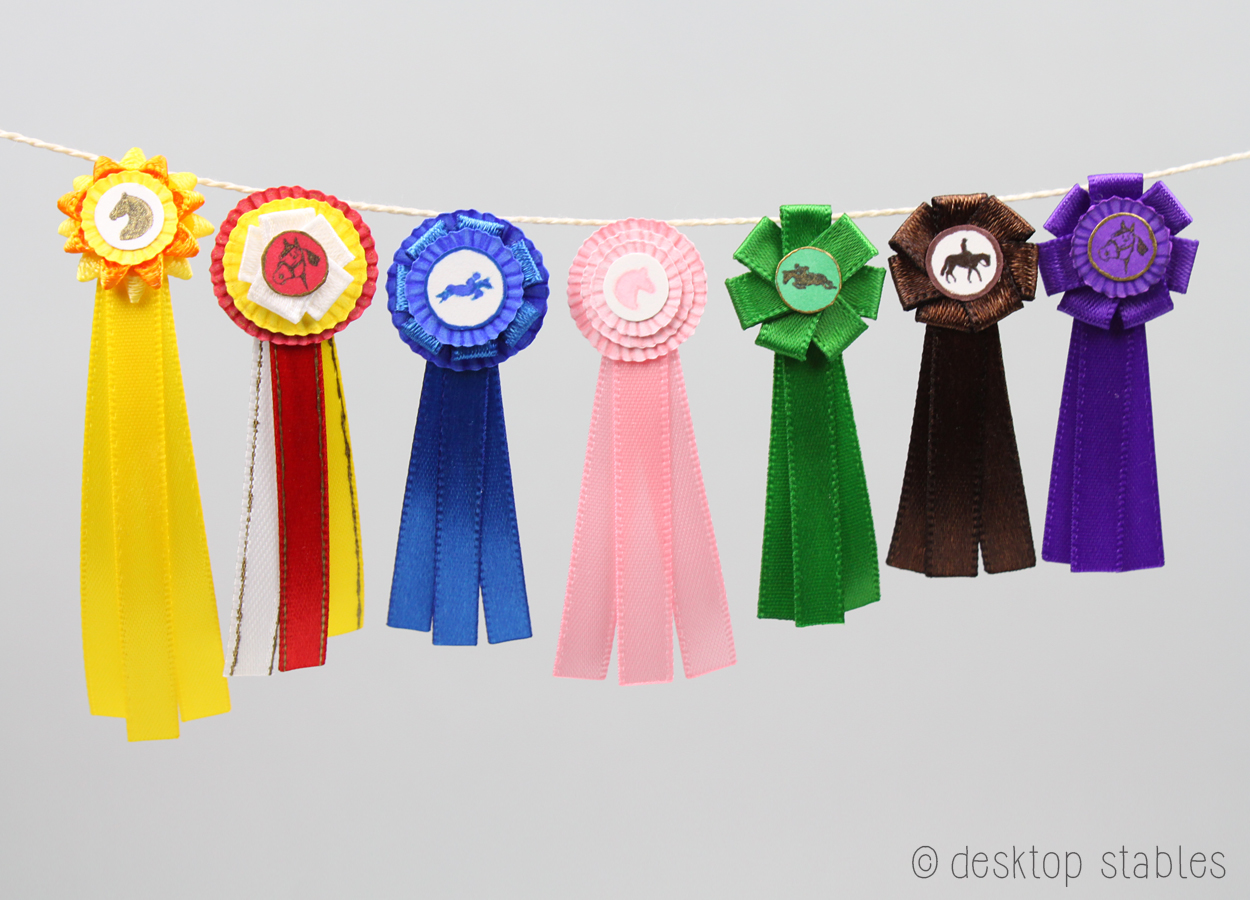
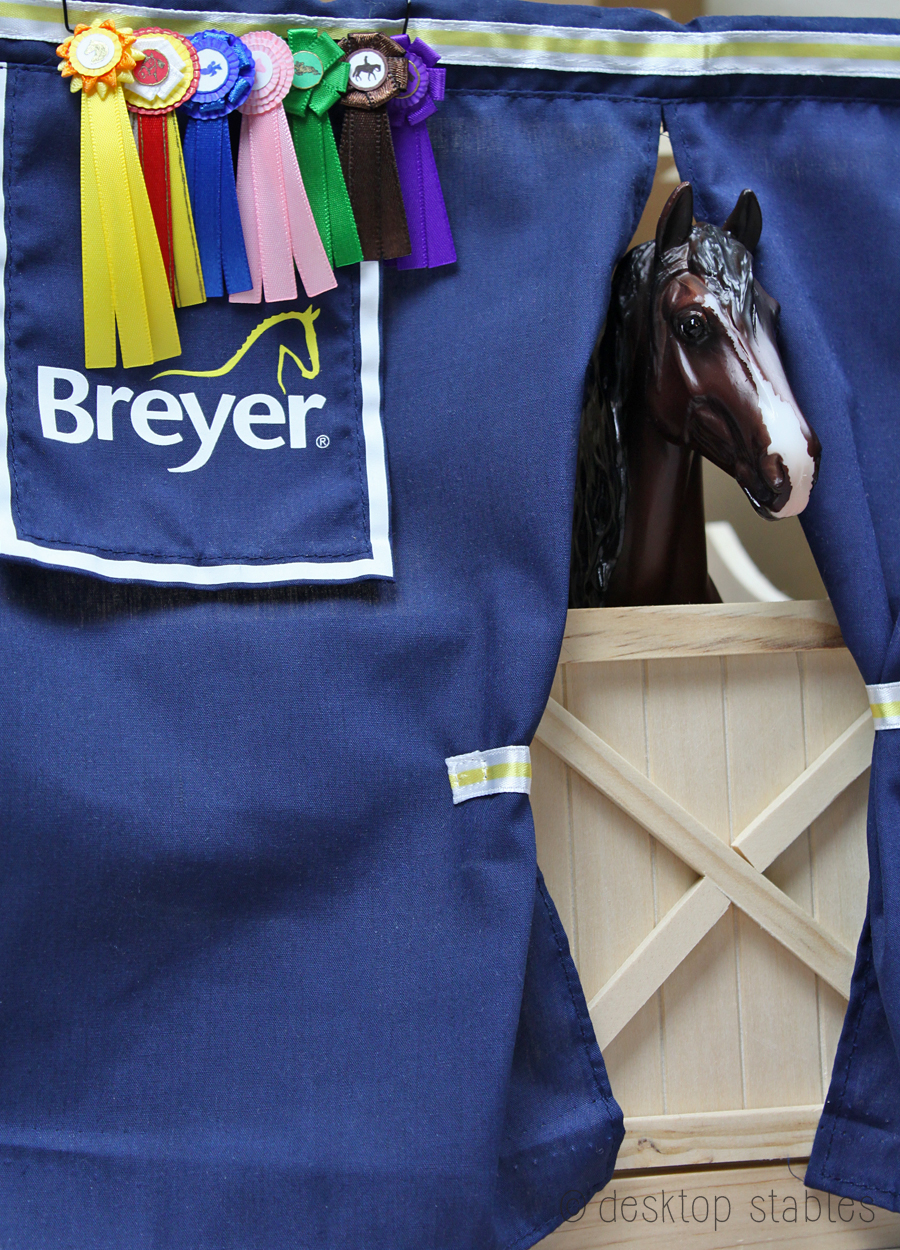
For this example, I’m going to be re-creating a set of these ribbons. These are the cardboard cutouts that came with the Show Drapes set.
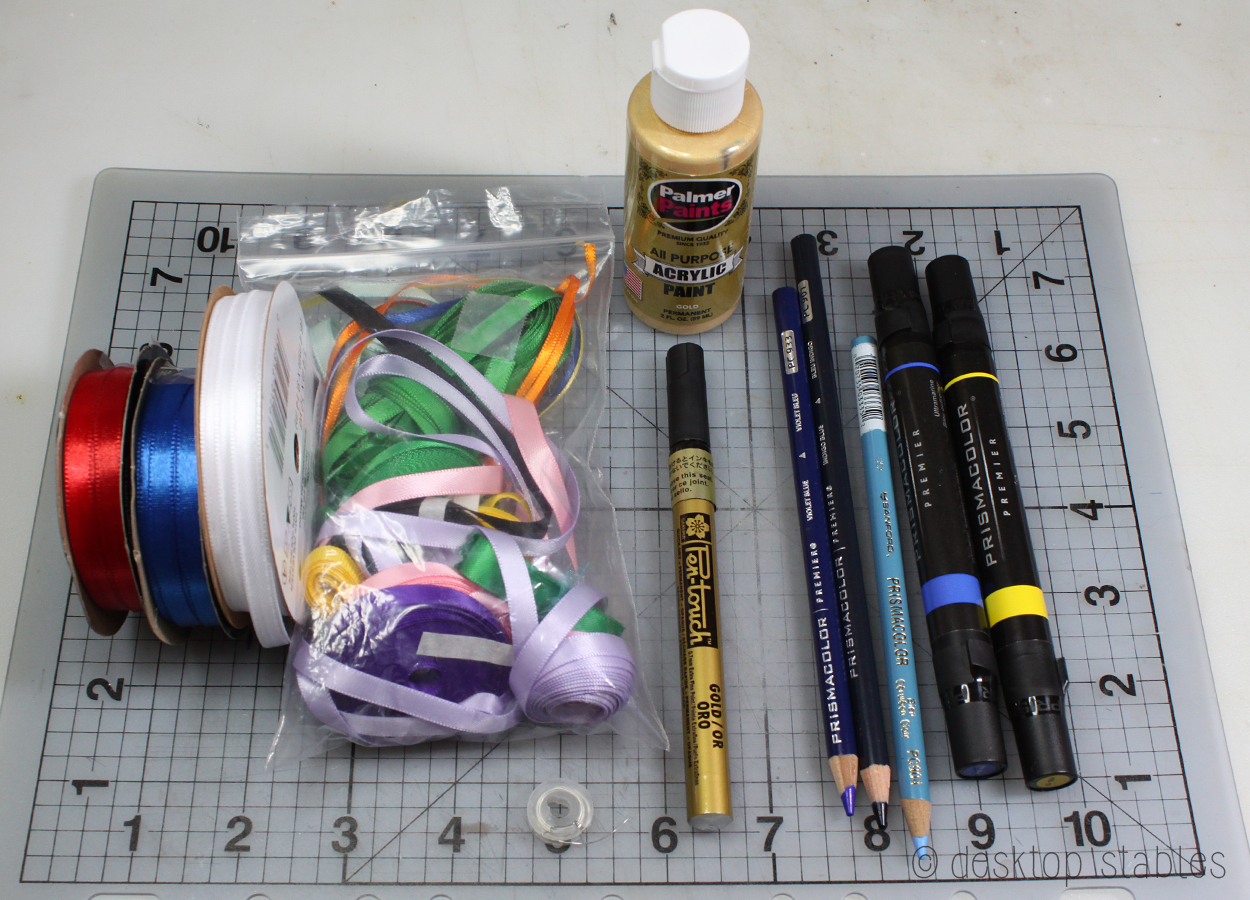
Supplies I used:
- Ribbon – I used both 1/4 and 1/8 inch. I get my ribbon from local craft stores or through Etsy when I’m looking for a particular color
- Cardstock
- Thin jewelry wire + wire cutters and pliers
- Colored pencils + markers – I use Prismacolor
- Gold paint and/or a gold paint pen
- Glue – I recommend Fabri-Tac for ribbon, as it holds and dries very quickly.
- Sharp Scissors
- An embossing stylus or something similar (I use nail art dotting tools) and an eraser
- Lighter or Fray Check to seal the ends
- Circle Template – optional but this is a good tool to have in your stash anyway. I use this one by Wescott.
Of course you can use whatever you have on hand too. These can be customized really easily.
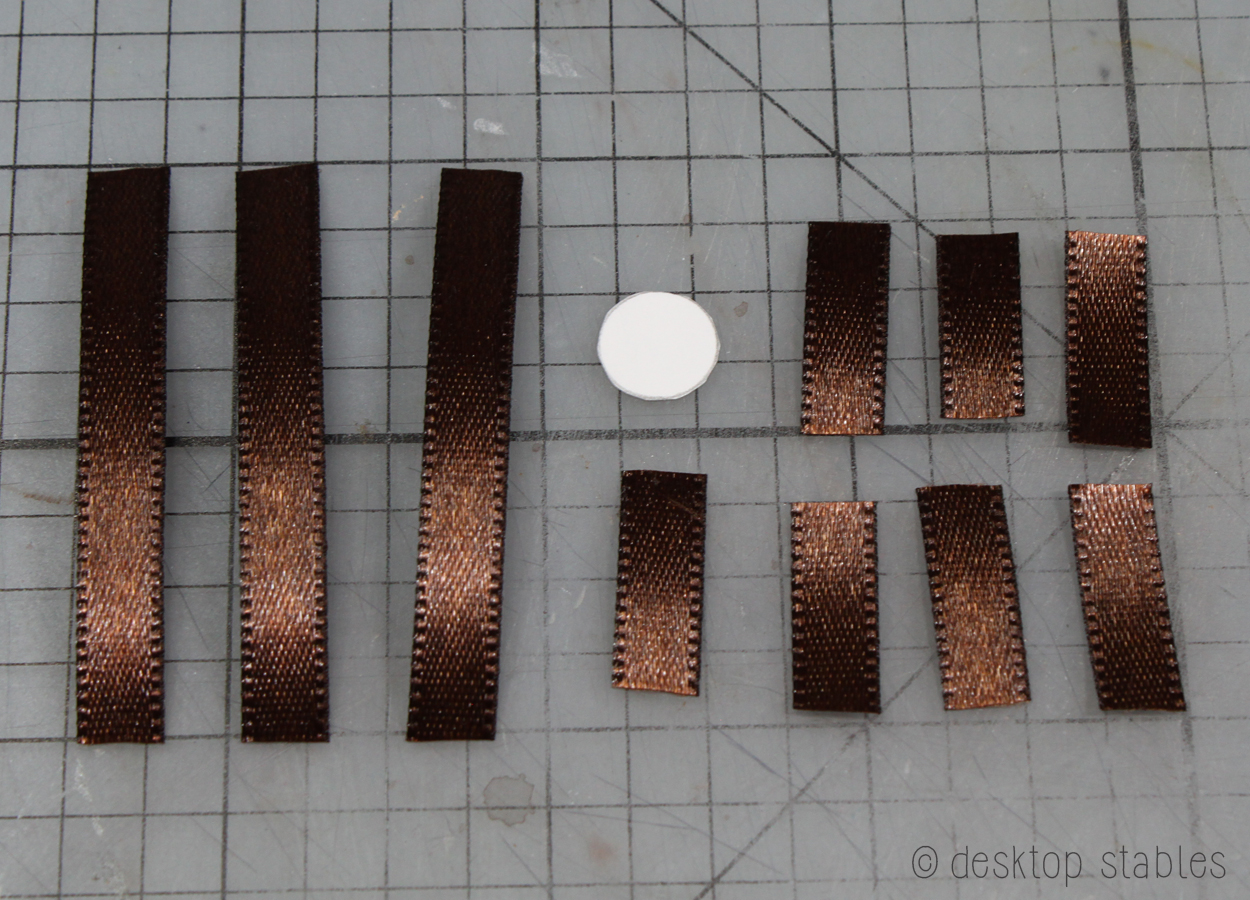
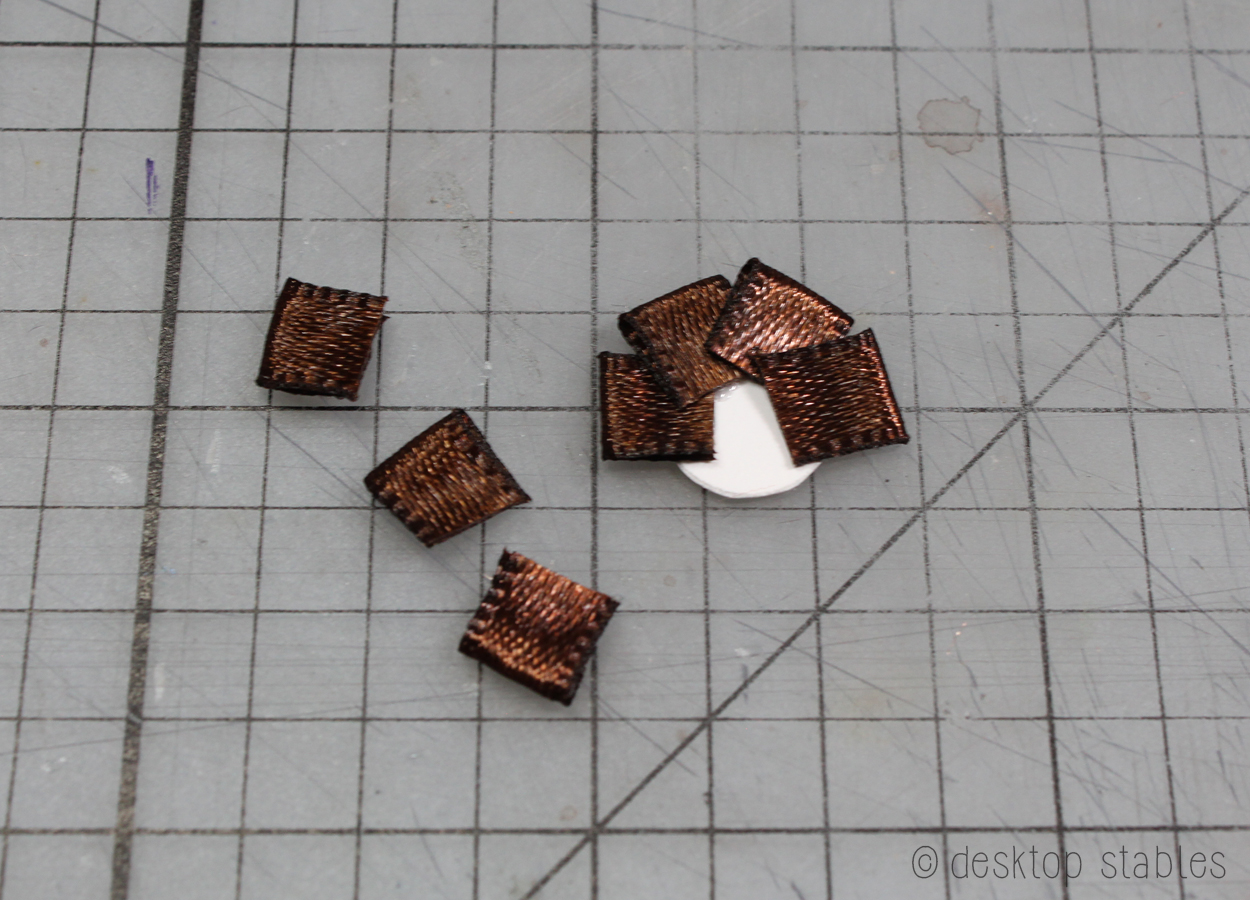
For a basic ribbon rosette, I start but cutting three pieces for the streamers, about 2-3 inches long. These will be trimmed later so I like having more than I’ll need. For the rosette, I cut 7 pieces about 3/4 inch long. (again, it’s ok to have more than you need as these will be trimmed) You also want to cut a circle for the center. Mine is a .406 or 13/32 circle, BUT you can always trace around something round to get that shape. (pen, cosmetic tubes, etc) Or freehand it, that works too!
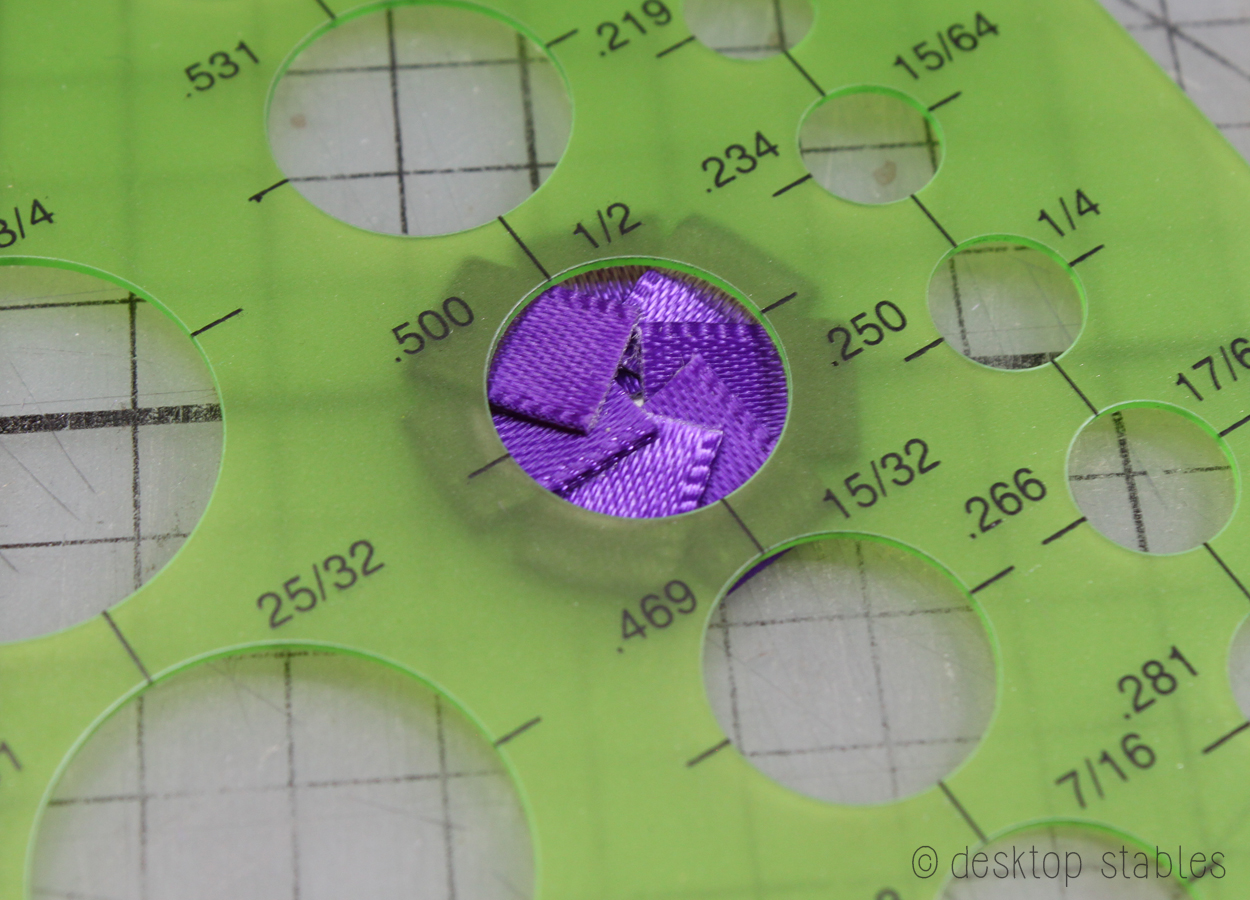
Glue the streamer pieces together, then set them aside. Fold the other pieces in half and glue in place. Once the glue has set, trim these down so they’re all the same size. These I cut to about 1/4 inch, but others I kept closer to 3/8 or even 1/2 of an inch. They can always be trimmed if they’re still too long!

Glue them around the circle, trying to keep them even with each other.
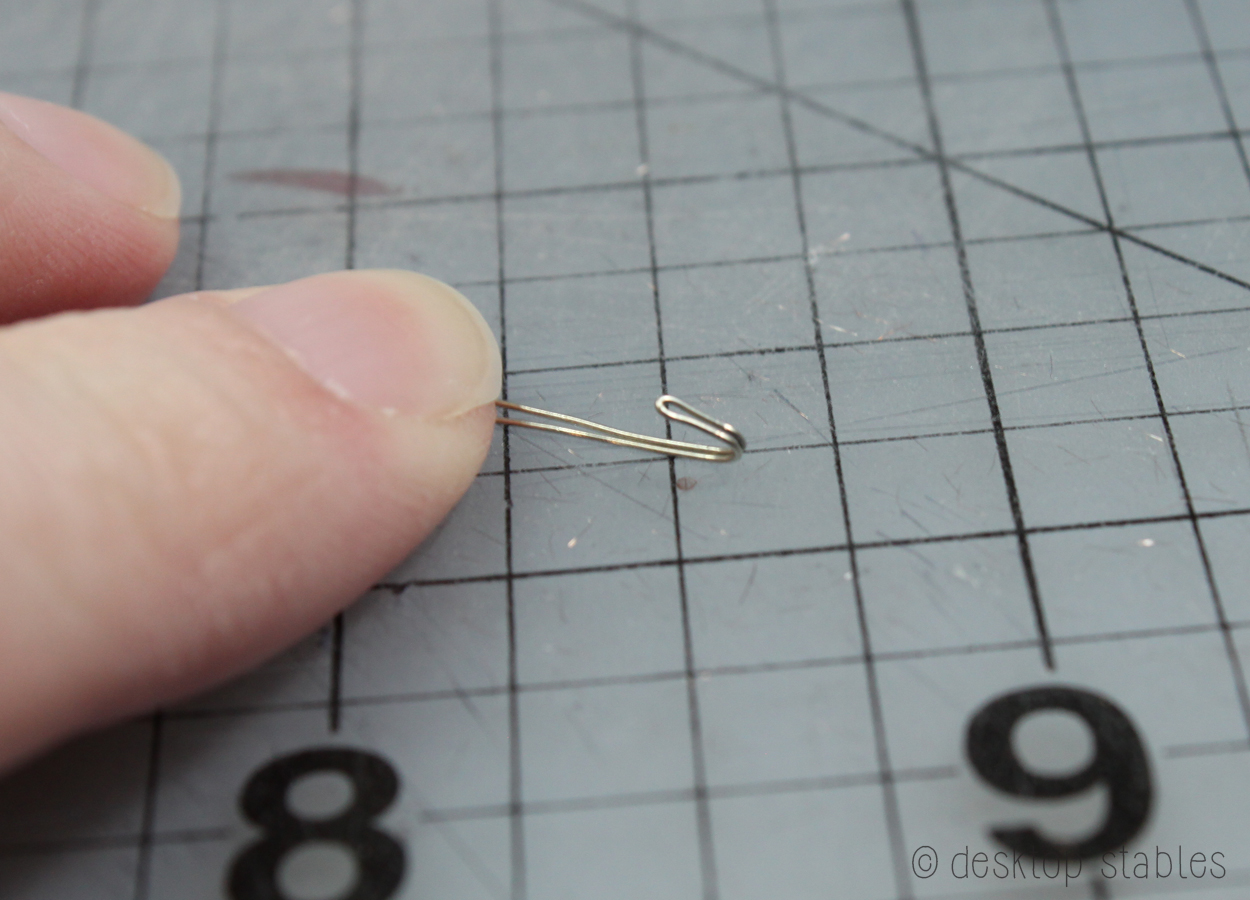
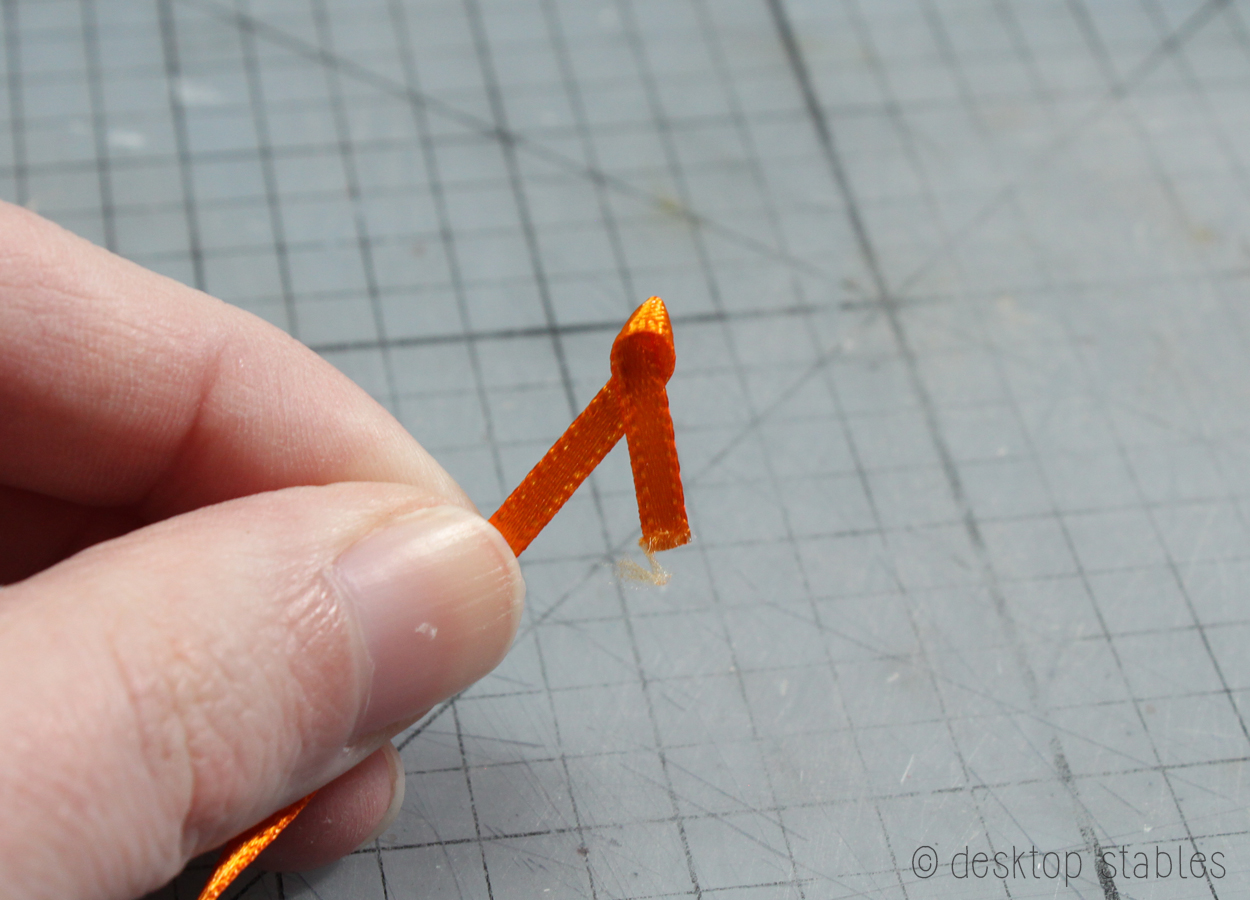
For the hanger, cut a 1-2 inch piece of wire, fold it in half, then bend over the folded end to make the hook.
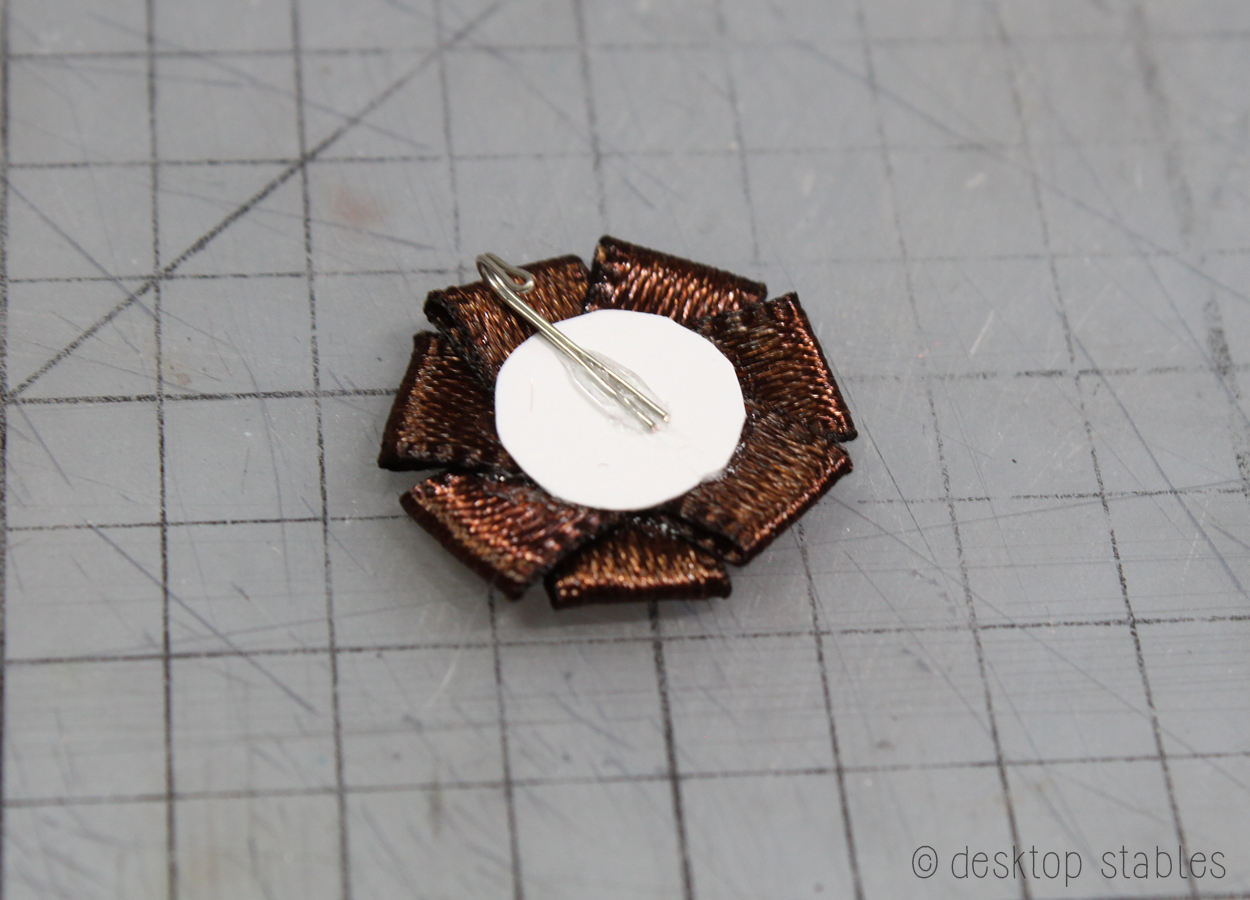
Trim the ends if needed, then glue to the back of the rosette.
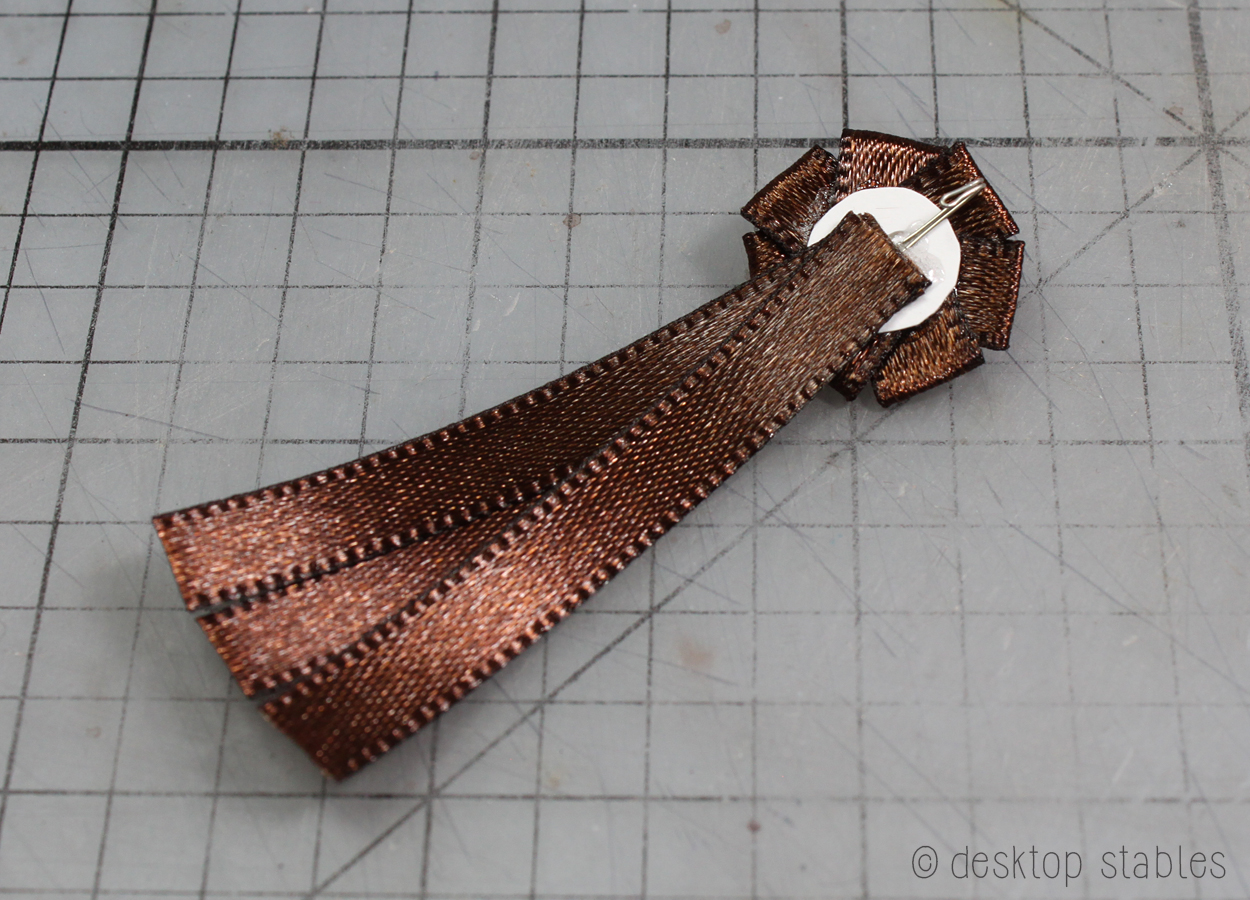
Glue the streamer piece on top of this:
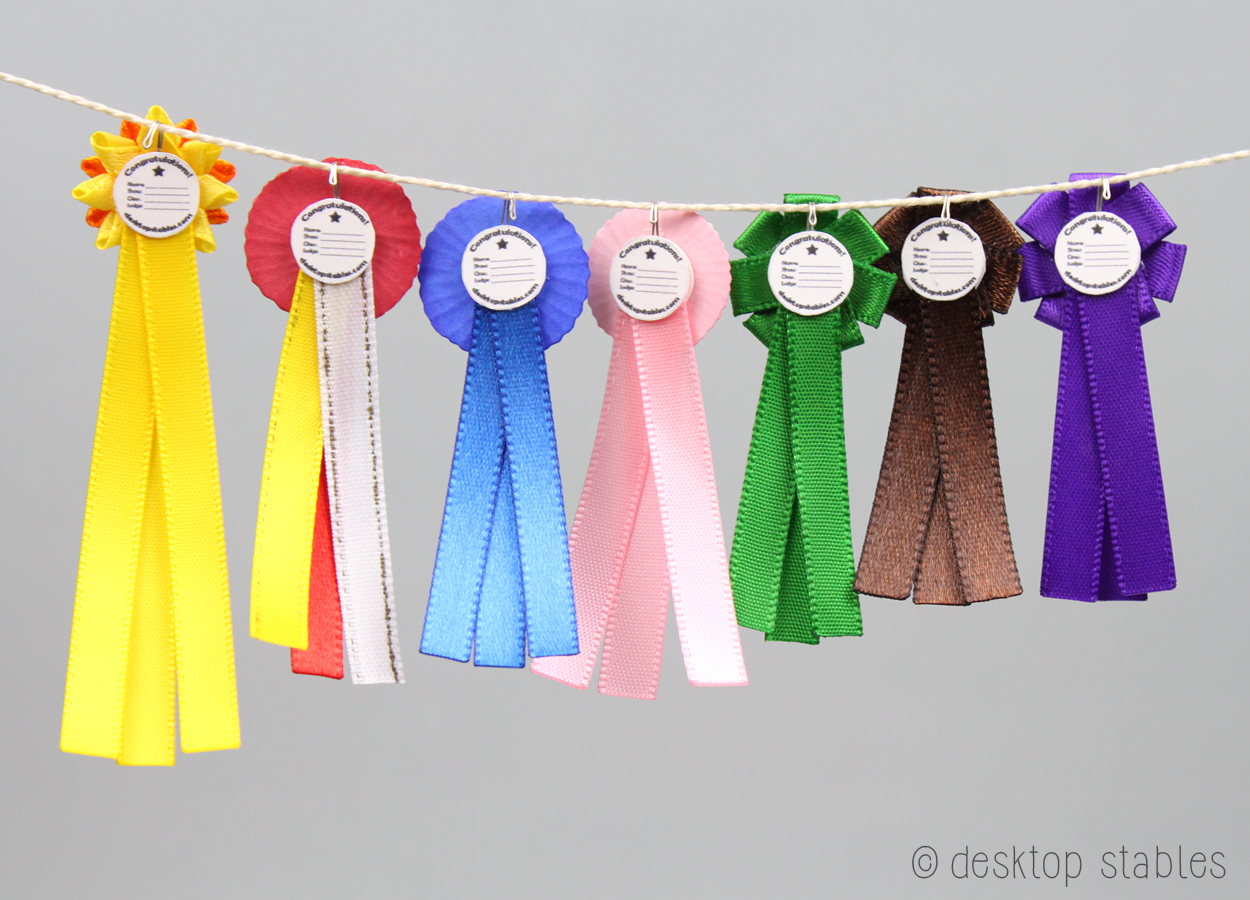
The last step is to add the back and center pieces. These I made for personal use a while ago. I use Photoshop to create the circles, using the decimals from the circle template to get the sizes, and print them out on cardstock. I’ve also free-handed designs on circles, kept them blank (see the first photo above) or, like in the first tutorial, used confetti for the centers.

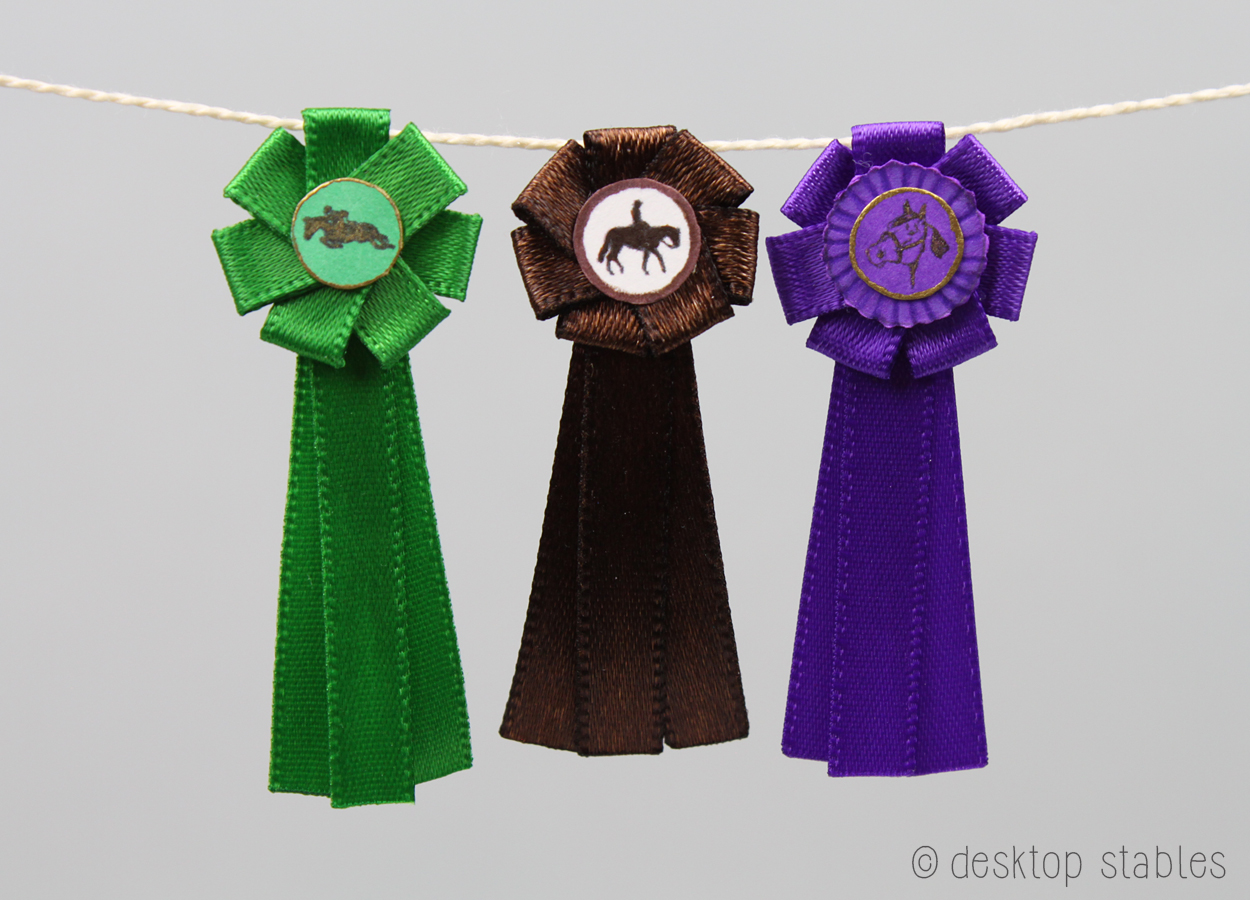
Glue these in place. Here I switched out one of my circles, adding a brown border and a touch of brown paint to the image. Trim the streamers down to size, seal the edges to prevent fraying and you’re done!
Let’s move on to the purple rosette.
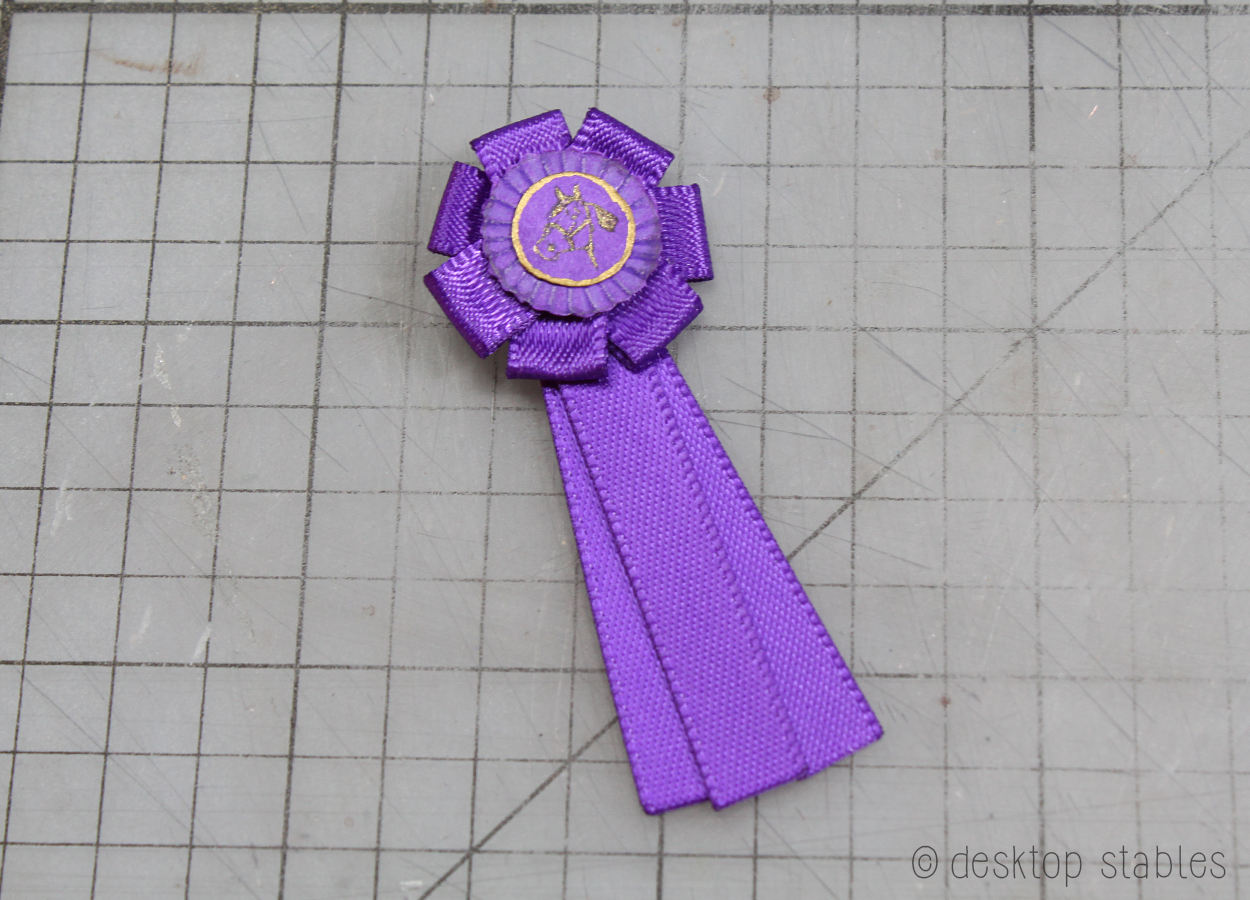
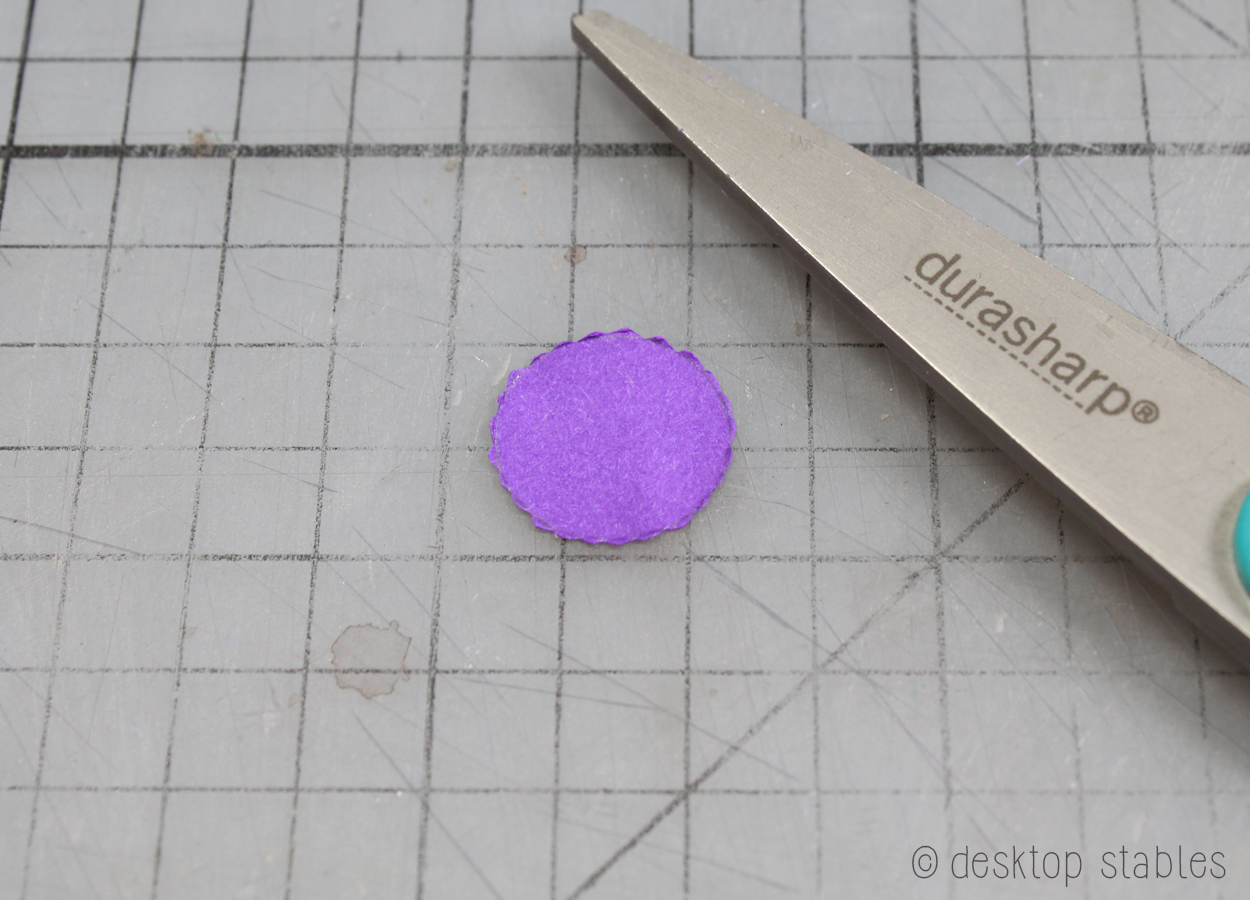
The ribbon was made the same as above, but I created a smaller rosette for the center. I did this by tracing a circle on to cardstock, then coloring it with a purple marker.
I cut it out with a wavy edge. I’ve found it easier to rock the paper back and forth as I cut, instead of moving the scissors if that makes sense??
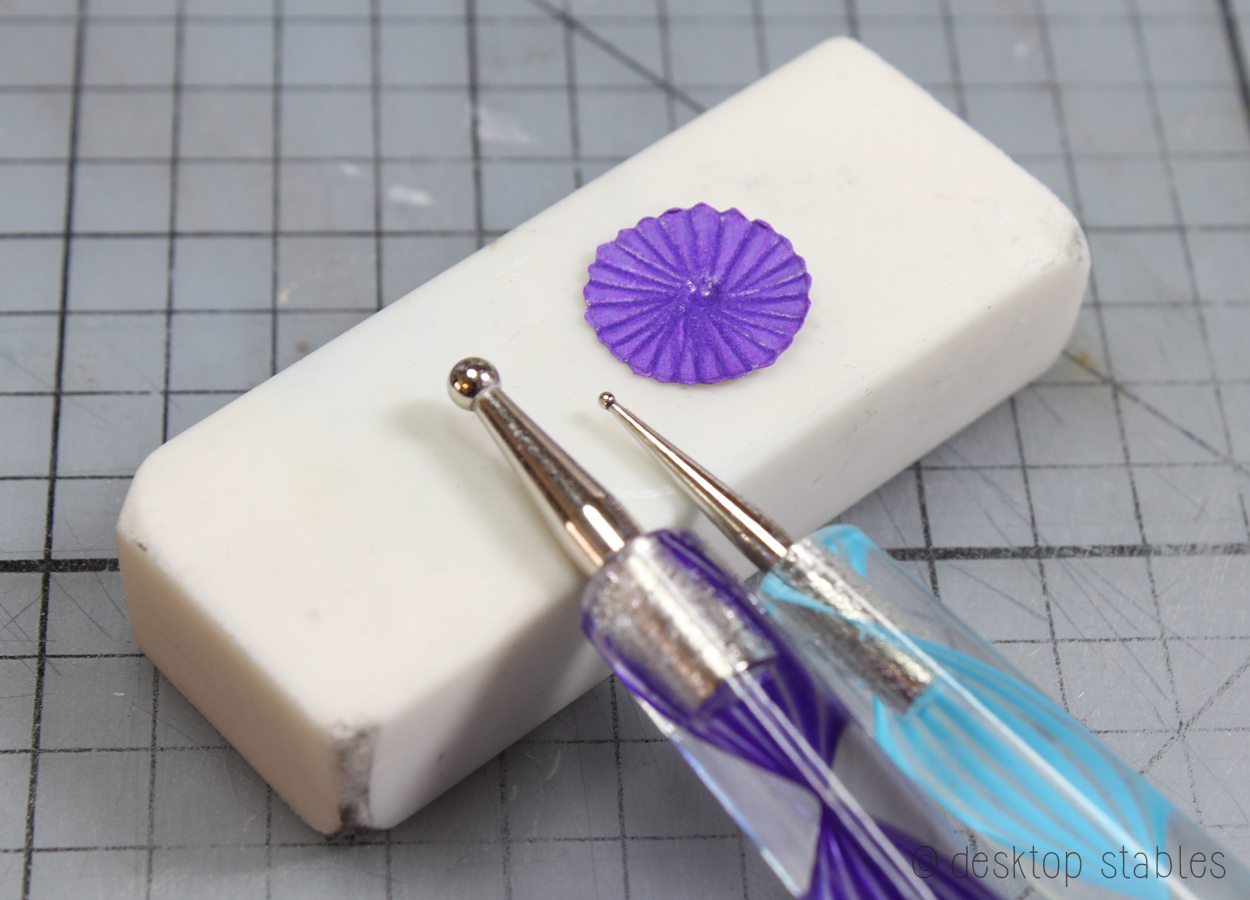
Using colored pencils (a darker shade for shadows, and lighter for highlights) I draw lines all around the circle.

To give it a little more dimension, I place the circle on an eraser and use a stylus to go over the lines.
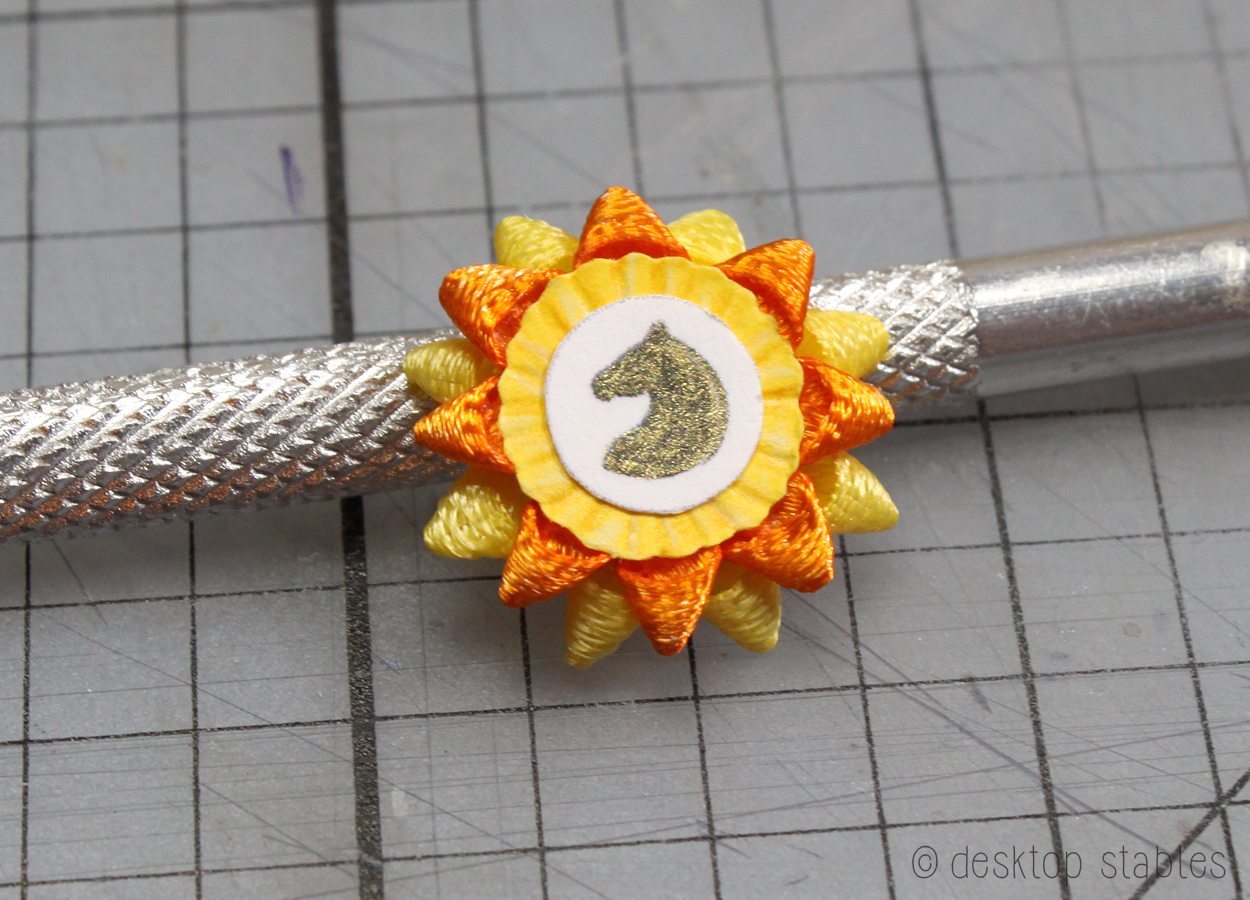
The center medallion was also colored with a marker before cutting it out.

I added gold paint to the horse head and around the edge, then glued everything in place.

All of these ribbons were created this way, but with different sizes and combinations.
This one was created with tiny loops made from 1/8 ribbon.

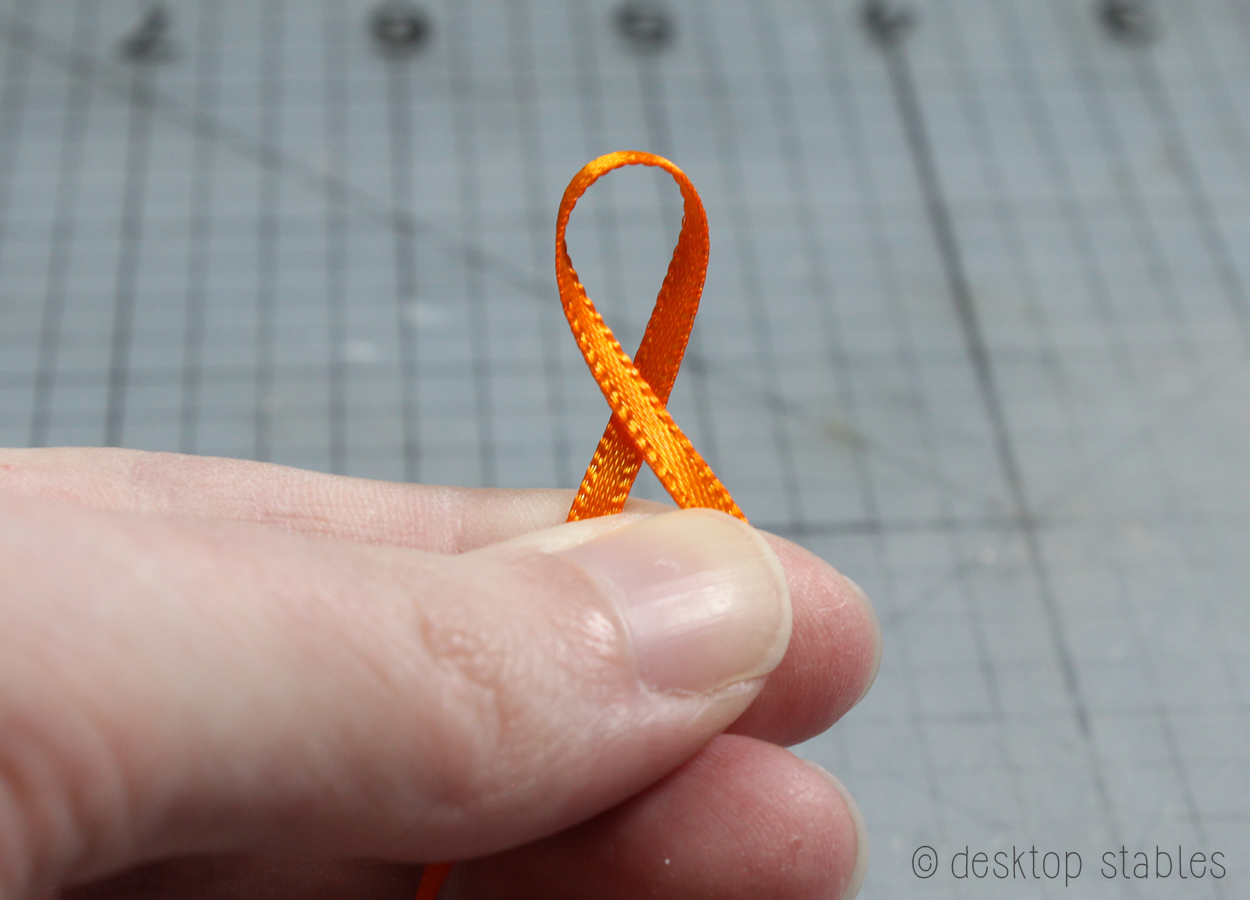
Pull the ribbon tight and glue in place.
Ta-da!
I hope you have fun making your own!

Super cute! I have a whole drawerful of ribbon from sewing projects. I’m going to give it a try! Thanks for the tutorial!
Taa- Daa indeed!! I love how you’ve achieved the swirly texture of the inner circles. That is miniature genius!
I agree, you are a crafting genius! I am so going to try this!!
Thank you for sharing! Your tutorials are so very helpful. I can’t wait to make a set for my own ponies!
love these so trying it!!
Awesome! I adore your posts. Your tutorials are the best.
The patience this would take….