
One of my favorite parts of virtual BreyerFest was the large selection of workshops. From painting to sculpting to tack and prop making, I think there was a nice variety for different interests and skill levels.
I picked up supplies for two of them, but once I had access to the videos, I felt inspired to follow a couple more.
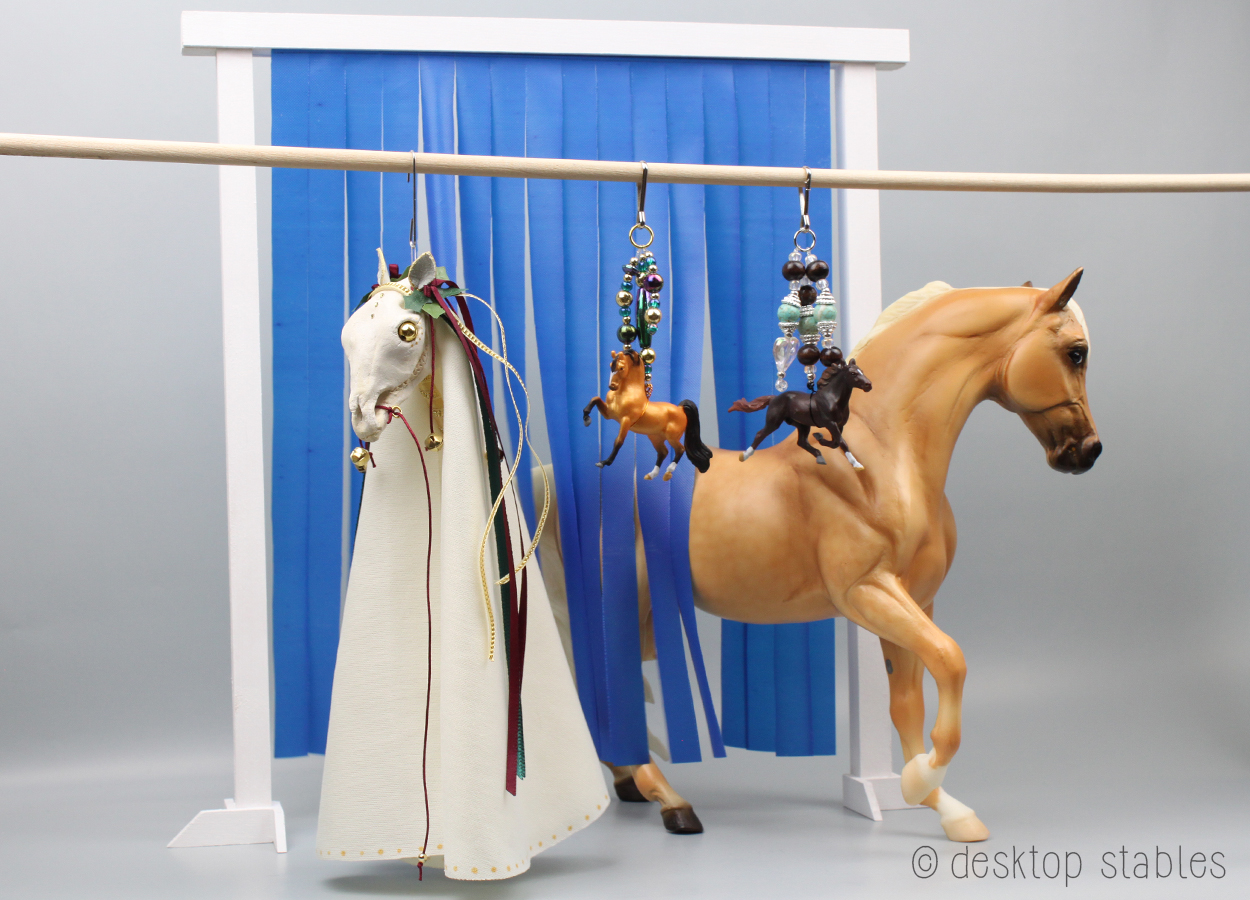
The first was a cowboy curtain, led by Kim & Kathi Haymond.

I’m really pleased with how this prop turned out! I like the sturdy construction and got a few tips for making more props in the future.


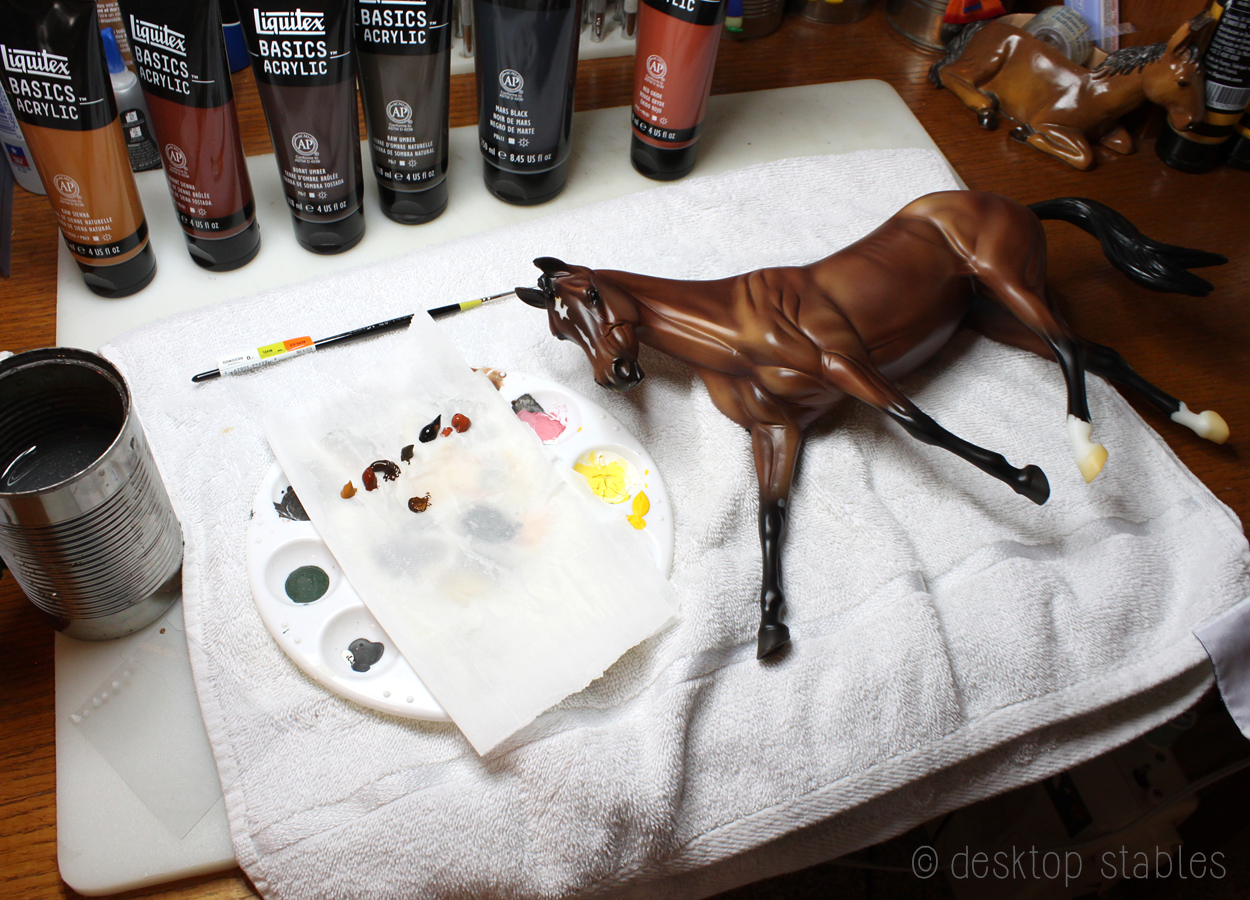
Nan Wagner had a workshop on how to match colors on models. Many of my horses have factory flaws (box rubs, boooo) or dings from me being a klutz or building tack on them, so I was really interested in this one.
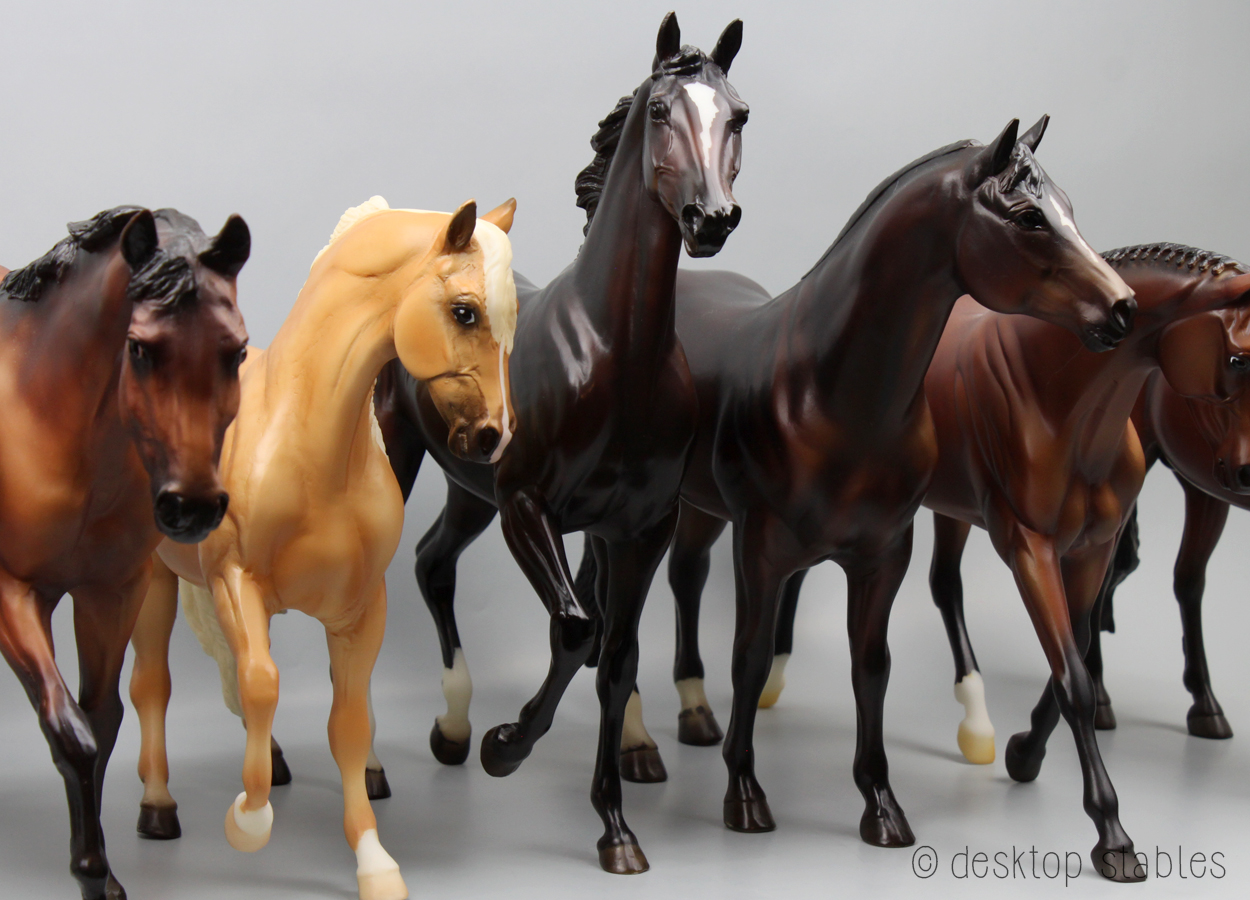
I had mixed results, but overall I’m pretty happy with my touch ups. I fixed a lot of eartip and hoof rubs at least!
These two had annoying spots over their eyes:

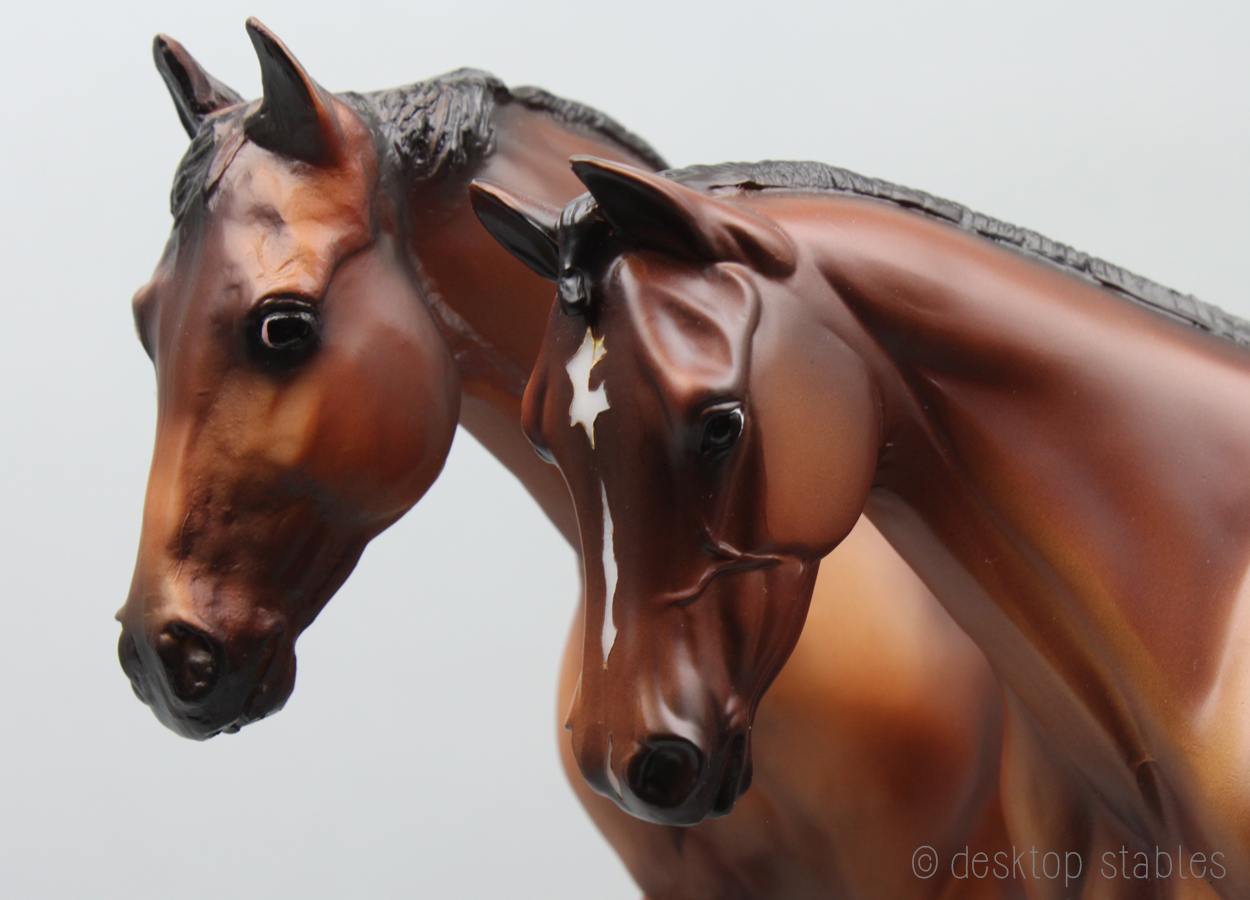
The palomino Marabella was the hardest. I purchased her NIB and opened her to find this:

Here she is after. The color is still a bit off, but like I said she was a tough one.

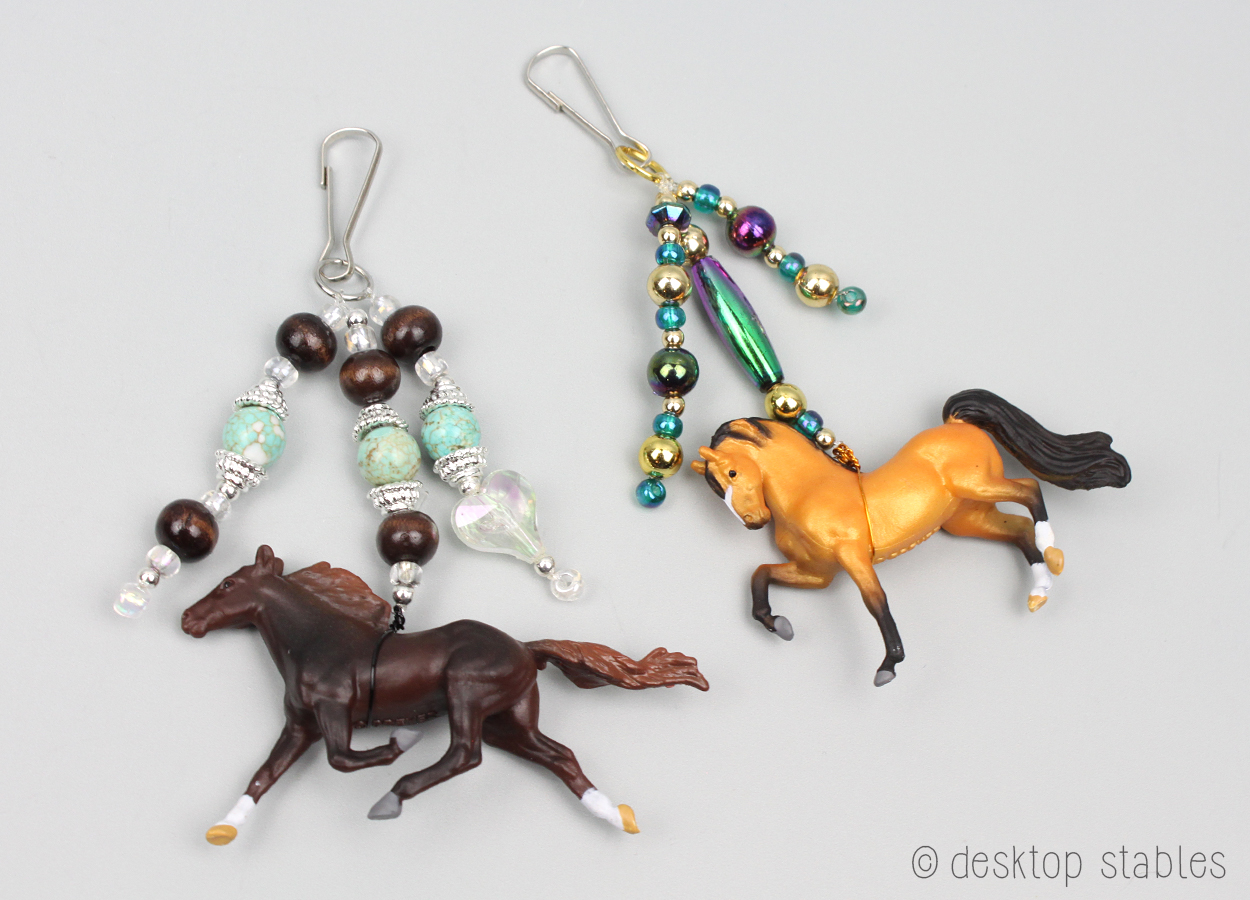
The keychains, led by Tina Dils, were a spur of the moment, easy project. The mini whinnies are blind bag duplicates who refused to stand. 😁

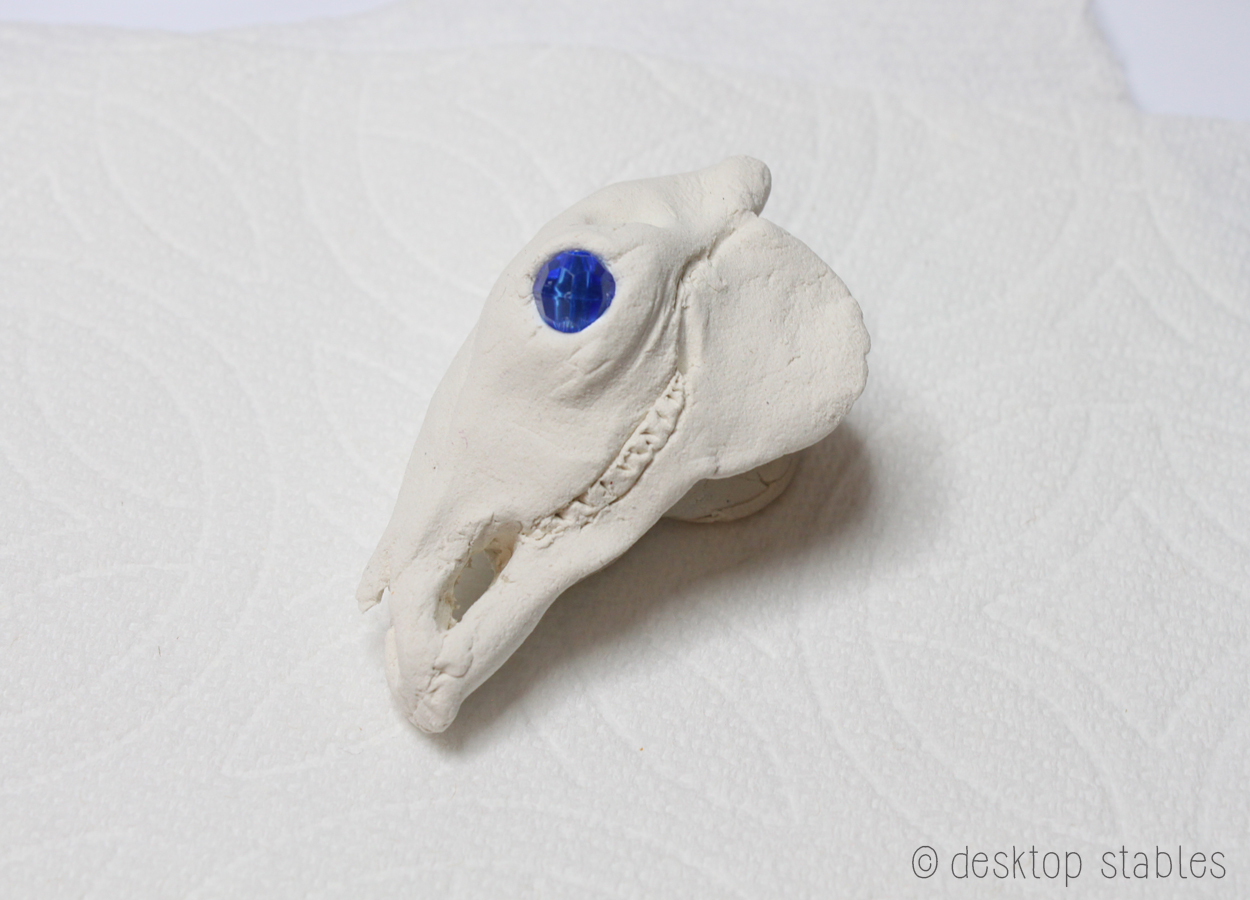
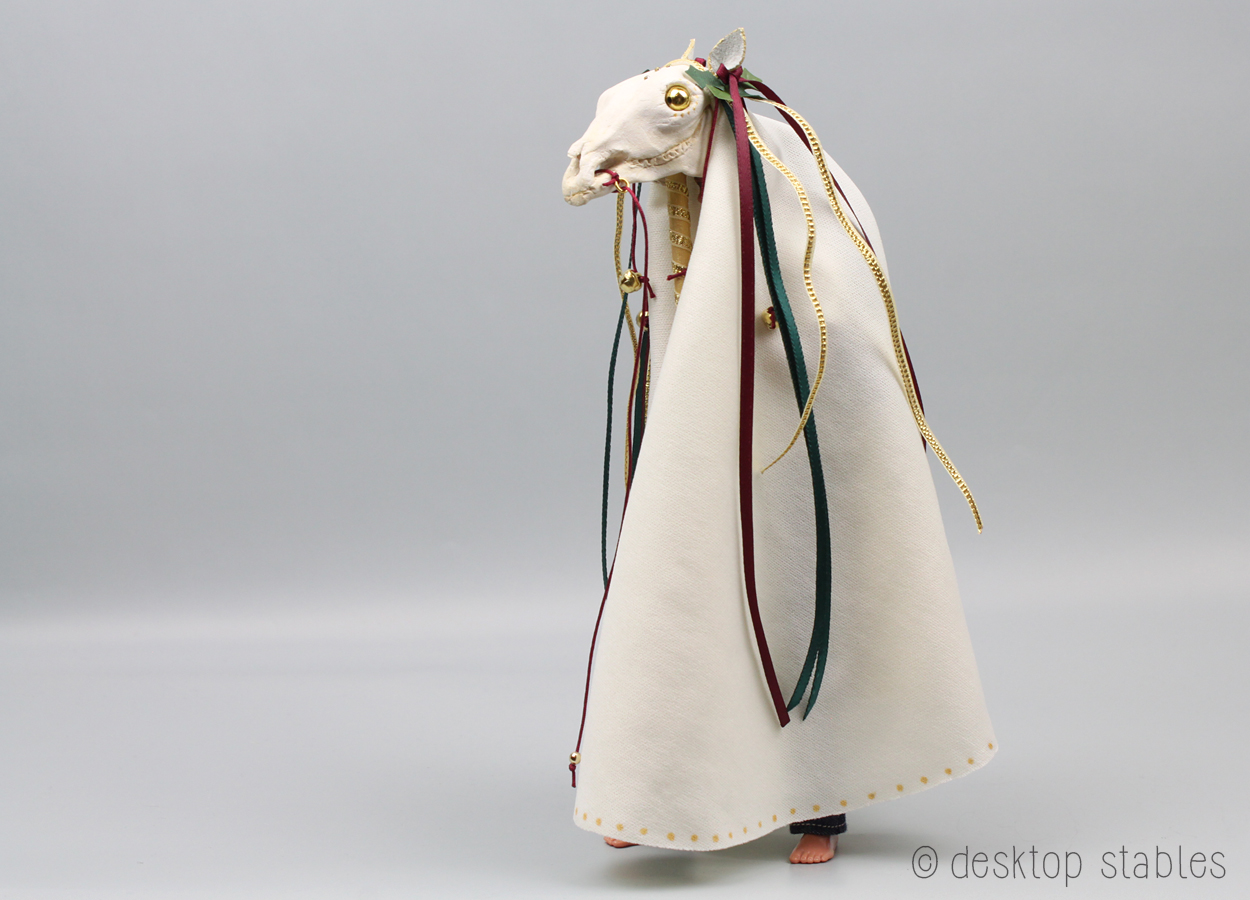
Last but not least, after seeing the Mari Lwyd workshop by Erin Krembs, I knew I had to try making one. From the description, “The Mari Lwyd is a Welsh tradition that takes place during the December holiday season. Revelers parade around town with this hobby-horse like instrument, draped in fabric to hide their true identity. Revelers visit homes and businesses around towns and engage the occupants in a call and response. If the occupant can’t win with their rhymes the Mari Lwyd is invited into their home and offered food and drink in exchange for good luck in the coming year.”
Sculpting the skull was the most difficult part. Even with references and a couple of Maggie’s 3D printed skulls in front of me (I was so tempted to just customize one but I couldn’t bring myself to do it!) my skull is really weird and rough. Sculpting is hard! (and this clay was drying really fast which didn’t help…)
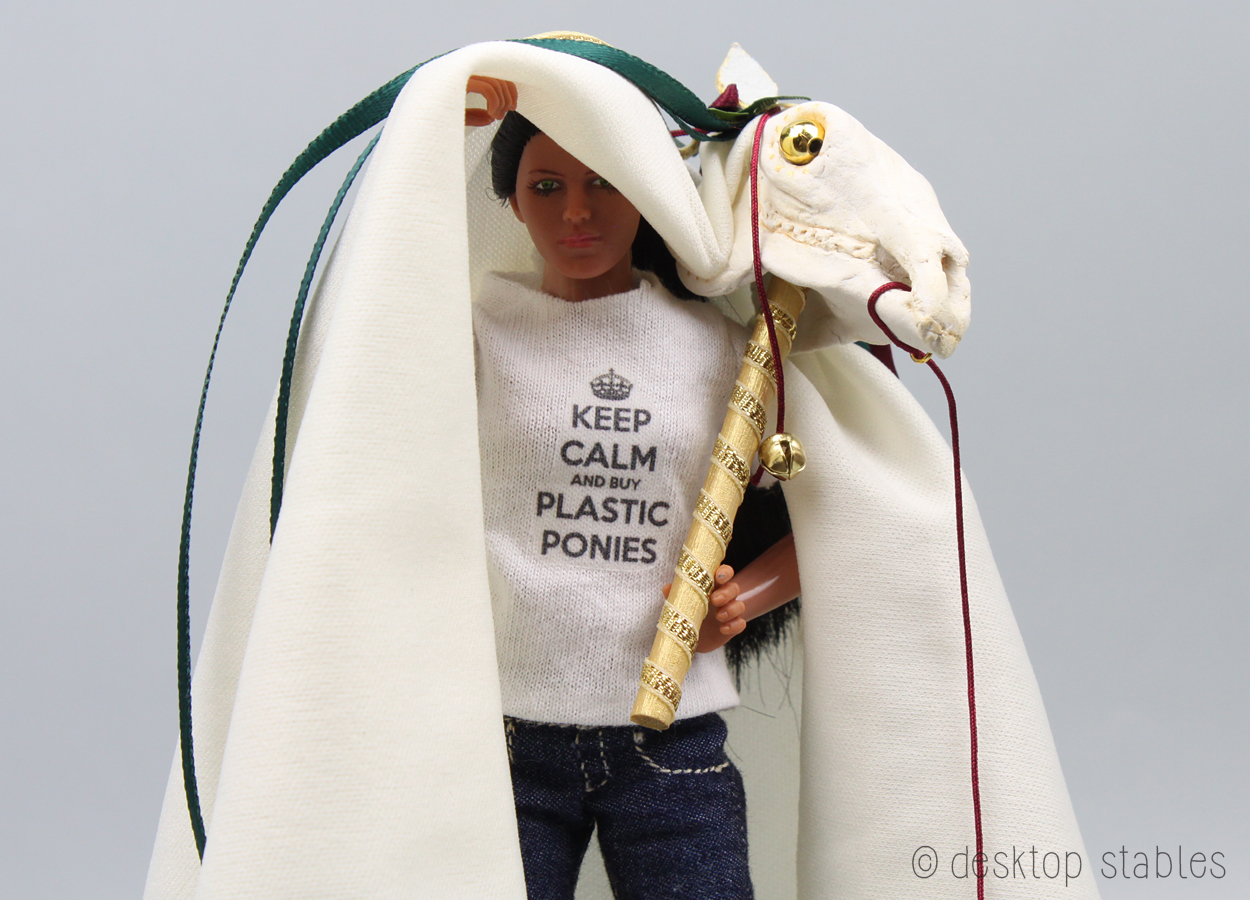
But once I added some paint, different eyes and decorations, she started to grow on me.


Thank you to everyone who created the workshops this year! It was great to work on different projects throughout the weekend!

You have hit upon a topic I’m certain just about about every Breyer owner could use. I don’t want to get into having to learn how to be a first class re-painter to fix rubs so the dry paint has a smooth surface. I think I can pick up colour matching skills, but I don’t know how to prepare the rub surface first . Would it be extremely fine sandpaper on the rub, then add gesso, then sand again, then add paint match? I think this might be a very popular subject for a blog.
My touch ups were done directly to the rub without any prior prep work, but experimenting with that might be worth a try!
Gotta second the above about touching up OFs! I have some work I need to do, but I’m terrified of leaving an obvious patch. Were there tips on matching the finish? Especially on matte finishes?
It was mentioned to use Testor’s Dull Cote to seal, but not in much detail. 😦 I haven’t sealed mine yet cause spraying them just seems scary, haha. I might try using a brush on matte finish since my repairs were so small, or find a body I can test things on first!