
I’m so glad it’s a three day weekend! These past few weeks have felt incredibly long, but at the same time, have flown by. Does that make any sense at all? Why are we already 5 days into September? Why are the leaves already changing color?! Didn’t summer just START?!
I’ve been preoccupied with a bunch of non-hobby stuff that all decided to occur around the same time. None of it’s a big deal, really, but I’m the weird sort of person who worries over things like deadlines, appointments and expenses, so having a bunch all at once got me feeling frazzled and irritable.
I’ve also been very busy with Etsy orders, mostly for english saddle pads.
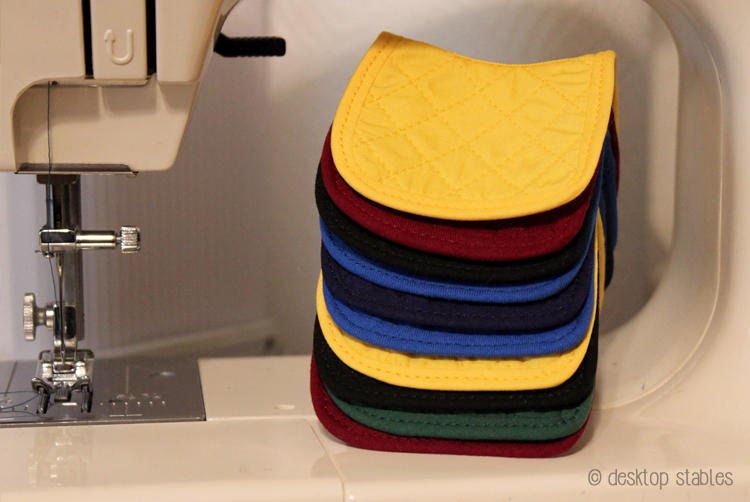
They’re all off to their new owners as I type this, yay! In-between orders I’ve been messing with my saddle again. As a result my desk has looked a bit chaotic for a few weeks now, which drives me nuts because mess! Clutter! Disorganization arghhh!
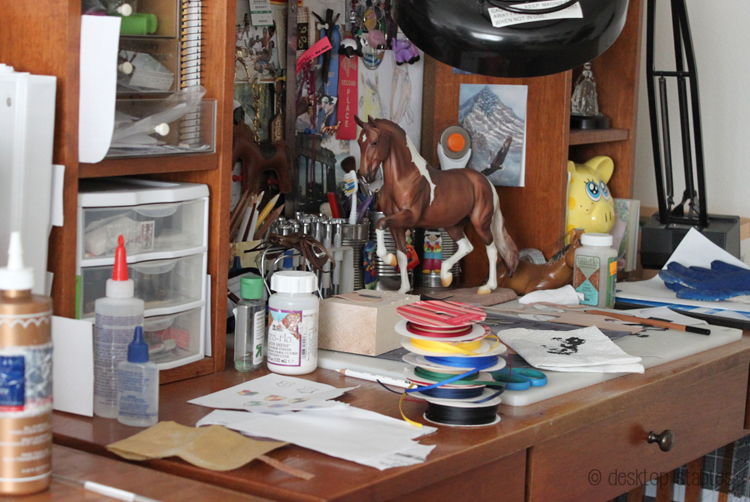
But I’m forcing myself to NOT clear it up until this saddle is done, to (hopefully) prevent it from having the same fate as my pleasure saddle, which is currently crying on a paper plate in the closet. (“why won’t you finish meeee?!”)
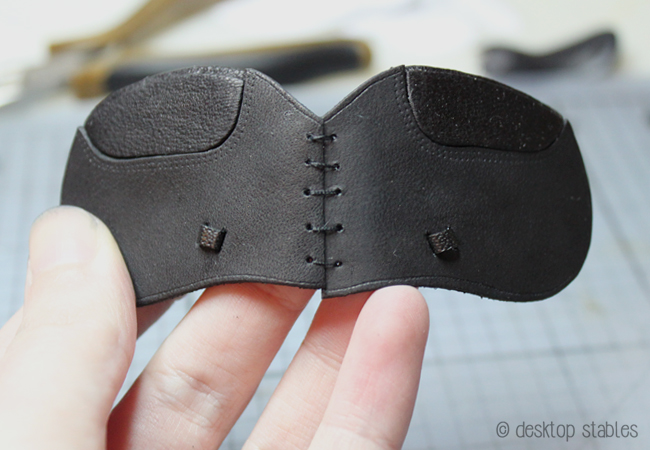
Anyway, tackling the flaps was the next challenge. They were one piece originally, but were way too long so I had to chop them in half.

I suppose this turned out to be a good thing, (but only time will tell) as it made it a lot easier to skive down the edges and reduce bulk. Finding ways to reduce bulk is a definite goal with this saddle.
Once I added the knee rolls, I stitched the two pieces back together, much like you would thread a shoelace onto a shoe.
I kind of like the end result. Plus, it can fold in half.
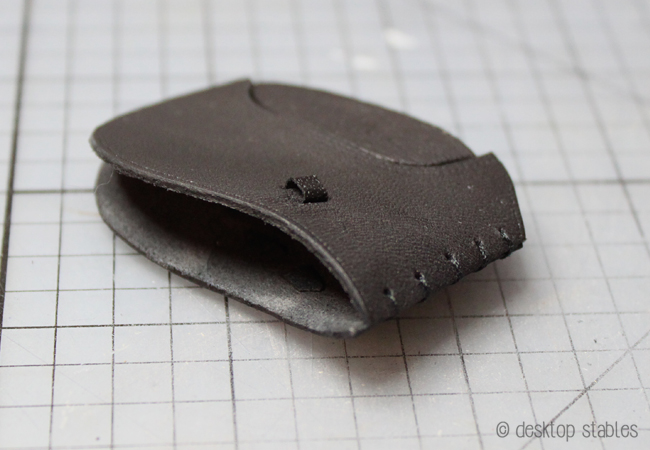
The underside isn’t super neat but a lot less embarrassing than my previous saddle:

Around this time I realized that I forgot to add D rings. I was half-tempted to just leave them off. I know I’ll never use them and they’re small and hidden on most of my reference photos, but in the end I couldn’t stand it.

I also added piping to the front, as well as a hidden wire so I can better shape the saddle to the horse’s back.

The stirrup bars were originally a couple jump rings attached to the bottom of the tree…

… but I later decided to scrap that and stick them in the saddle flaps instead, like the D rings. I’ve marked out where I want the first one, but until my hardware order arrives (I don’t want to trust my handmade D rings for the stirrups, haha) this is as far as I can get.
I’m also wishing I had thought of this before adding the piping and wire. >_<

The sweat flaps were made similar to the saddle flaps. (might as well, hey?) I’ve marked out holes that line up with the others, SO, the plan is to stitch them all together somehow.

I really like how it’s coming along though.


I actually prefer to use the ” Home made rings for the leathers . The round wire that jump rings are made of let’s the leather slide easier I just solder mine closed . I love the etched hardware but it is rough on strap goods.. I know you are not quite there yet but on my girth buckles I use etched hardware and since I have never managed to master roller buckles. I cover the ends in sheet aluminum and glue it in place.
looks good i could never do that >O<
I just stumbled across your blog – your work is incredible!
Oh! Looks great. 😉 can’t wait to see more! 😊
Amazing! I could never make a saddle like that! 🙂
how did you punch the holes in the stirrup straps?
I use a mechanical pencil. Here’s a tutorial on the process: http://braymere.blogspot.com/2008/10/tack-tips-punching-holes.html