
This is a post I’ve been trying to write for a long time now, but it’s been difficult, as it’s one of those topics that can quickly become very complicated. This is not exactly a miniature printing tutorial and it’s definitely not a Photoshop tutorial. I can try to answer any specific Photoshop related questions, but if you’re new to it you’d probably be better off searching for more in-depth tutorials online. It’s a complex program. I’ve got 10+ years experience with it and still don’t know how to do everything.
Also, just because this is how I do things does not mean that it’s the ONLY way. I’m no expert and am continually learning and trying new things.
For miniature making and printing, I almost always use Photoshop CS6 or Photoshop Elements 6.0, depending on the project. Elements is basically a smaller version of Photoshop… it lacks some features the other has (like Actions, which I use to quickly resize a bunch of images at once, which is nice for sales posts… goodness I’m already trailing off topic here…) but I’m still able to do a lot with it.
I use these programs most often because many of the minis I’ve made have had to be edited, rebuilt or repainted in some way. (I’m picky about micro stuff you can’t even see half the time)
Adobe offers a free 30 day trial for their software, as well as a subscription program. Another alternative (and it’s free!) is GIMP (http://www.gimp.org/) but I have absolutely no experience with this program.
Having photo-editing software really comes in handy, but honestly, it’s not something you NEED if you want to print up something simple. If you just want to re-size something, Microsoft Word will work, and maybe Paint. (kudos to you if you can do ANYTHING in paint) You just need to be able to see rulers around the edge of your document. (be sure to check settings to make sure they’re enabled) Just because something looks like it’s the right size on the screen does NOT mean that it will print up that way.
For this post, however, I’m going to assume that you have some sort of photo editing software, and have a basic knowledge of how to use it.
The two things I pay attention to when shrinking stuff is resolution and scale. For high-quality minis you’re going to want your images at a high resolution.
When creating a document I know I’ll be printing, I set the DPI (or digital pixels per inch) to 300. This is a good number for any image you want to print up. If I’m just making things for the web (such as my blog’s banner image) I’ll keep that number much, much lower. (72, usually) Those types of images can still be printed of course but the quality won’t be as good.
Basically, the higher the dpi number, the higher the quality. The lower the number, the “fuzzier” the image will become when printed.
Here’s an example. The book on the right was most likely printed with a 72 dpi resolution, while the one on the left was printed with a 300 resolution.

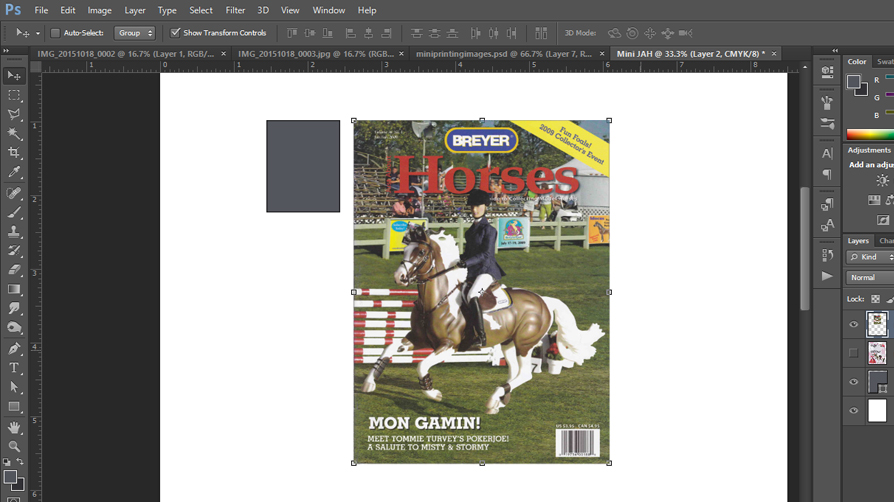
Since it’s a lot easier for me to show this process rather than talk about it, I’m going to make a tiny version of one of my Just About Horses magazines. (I miss this magazine so much)

The first thing I did was scan both the front and back cover, then open them up in Photoshop.

Next I’m going to create a new document. My personal preference is to set the size at 8 ½ X 11 inches (standard printer paper here, it will vary elsewhere) with a 300 DPI resolution. Color mode is CMYK. (cyan, magenta, yellow and black) PS Elements only allows me to choose RGB, (red, green, blue) but either setting will work. Ideally you want CMYK for images to be printed, as RGB images are much better suited for the web.

I have a confession to make: half the time I guesstimate when scaling stuff down. 1:9 is a weird scale, what can I say. Also, math. So much of miniatures is creating the illusion of the real thing… so that’s my excuse.
My JAH magazine is 8 ¼ inches wide by 11 inches tall. To scale this down, I’m going to cheat and use a conversion calculator. http://jbwid.com/scalcalc.htm

It looks like my mini magazine should be 0.916666… inches wide by 1.222222… inches tall. These are lovely numbers to work with, right? (*cough*whyIguesstimate*cough*) I’m going to adjust this to 1 inch wide by 1 ¼ inch tall. Usually I take these measurements and sketch them out on a piece of scratch paper, then compare that to a doll or model to see if I’m happy with the size, making adjustments as necessary.

Back to the document.
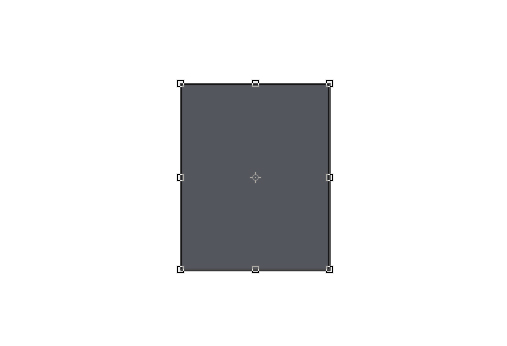
There are multiple ways to do this, but my preference is to start with a solid color shape in the size I need. This is where rulers come in handy… here I’ve made a selection in the very top corner of my document, using the rulers on the side as a guide. This can be filled with any color.
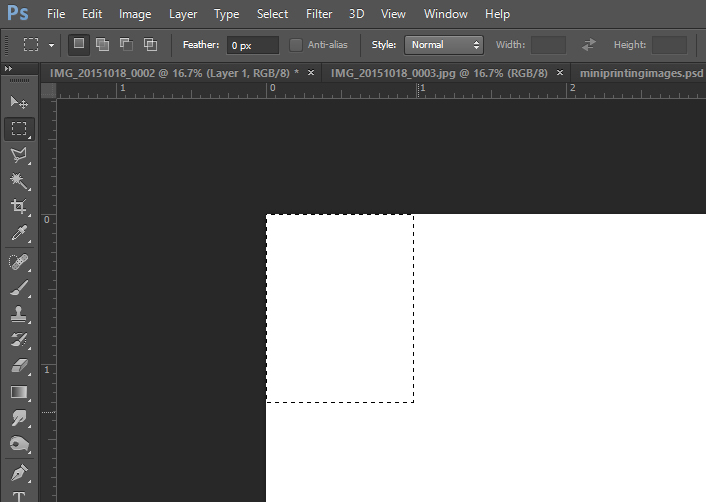
Another (and more exact) way is to create a new shape in the right size.

I’ll use this as a guide when adding the JAH images. You could skip this step of course, and just re-size the images themselves using the rulers.

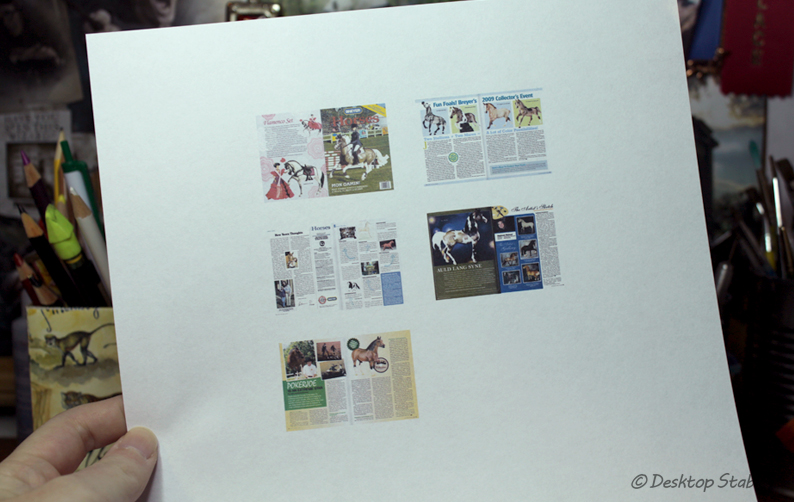
When I’ve got all the images re-sized, I’ll arrange them in the way I want them to be printed:

I went ahead and scanned in a few spreads from the magazine, and re-sized them as well:
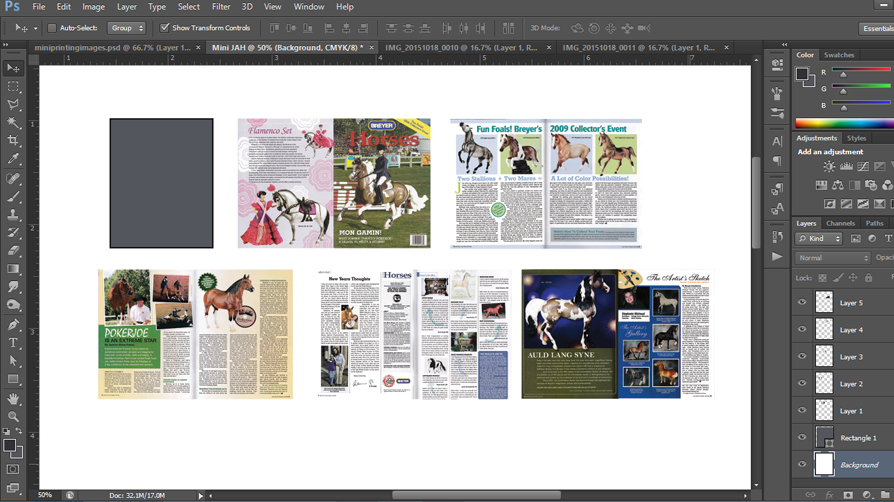
To prepare for printing, I first arrange everything towards the middle of the document. You don’t want anything right against the edges, or they will be cut off when printed.
If I’m putting something up for download, I’ll usually save it as a PDF file, to make printing easier. For personal use I normally print straight through Photoshop. I never check the “scale to fit media” box, as it will shrink the entire document and make the images smaller than they already are. I always double check my printer settings as well.


Printed!
Now all that’s left to do is cut and assemble all the pieces. Here’s my mini JAH all finished:

And that’s (basically) it! If you have any specific questions feel free to ask. 🙂


What settings do you typically use when you scan something in?
My scanner (I have a Canon MG3220) is set to scan photos and documents at 300 dpi. It’ll save it as a jpeg or PDF file, depending on what it is.
I think it’s best to always start with a large/high quality image, and that goes for anything, not just mini-making. 🙂
Very helpful! I’m feeling inspired to make my own printables now…….. 😄😊
Nichelle-You are so crazy wonderfully creative and I just get so excited when I get one of your posts!! Thank you so much for sharing your wonderful ideas and creative patterns! It may be a long winter coming up, but I know it won’t be a boring one 😁. You’re the best and I thank you for all of these inspirations! I can’t wait to start shrinkin’ ! Deb, Spokane Washington.
How do you “bind” your mini magazine? This is all kinds of awesome; thanks so much!
Each spread is folded in half and glued together… it’s not always the neatest method but it works without having to print on both sides of the paper. 🙂
This is great! I need to make some printables for an upcoming show… this will be super helpful for sure 🙂
aye aye captain
Awwww! It’s so tiny
I don’t know if it is just me but, I can’t find how you connect all the pages together. Where could I find that?
Each spread is folded in half with the white/non printed sides glued to each other. So… page 1 would be glued to the non printed side of the front cover, and page 2 will be glued to the back of page 3, and so on and so forth. I hope that made sense?