
This week’s project was another set of western saddlebags. It’s been about 3 years since I’ve last made these, and I wanted to find ways to improve them this time around.

One of those improvements was figuring out how to make them fully lined. This eliminated a lot of the work that goes into these things… the tracing, cutting, ironing, gluing, fray checking, etc etc…
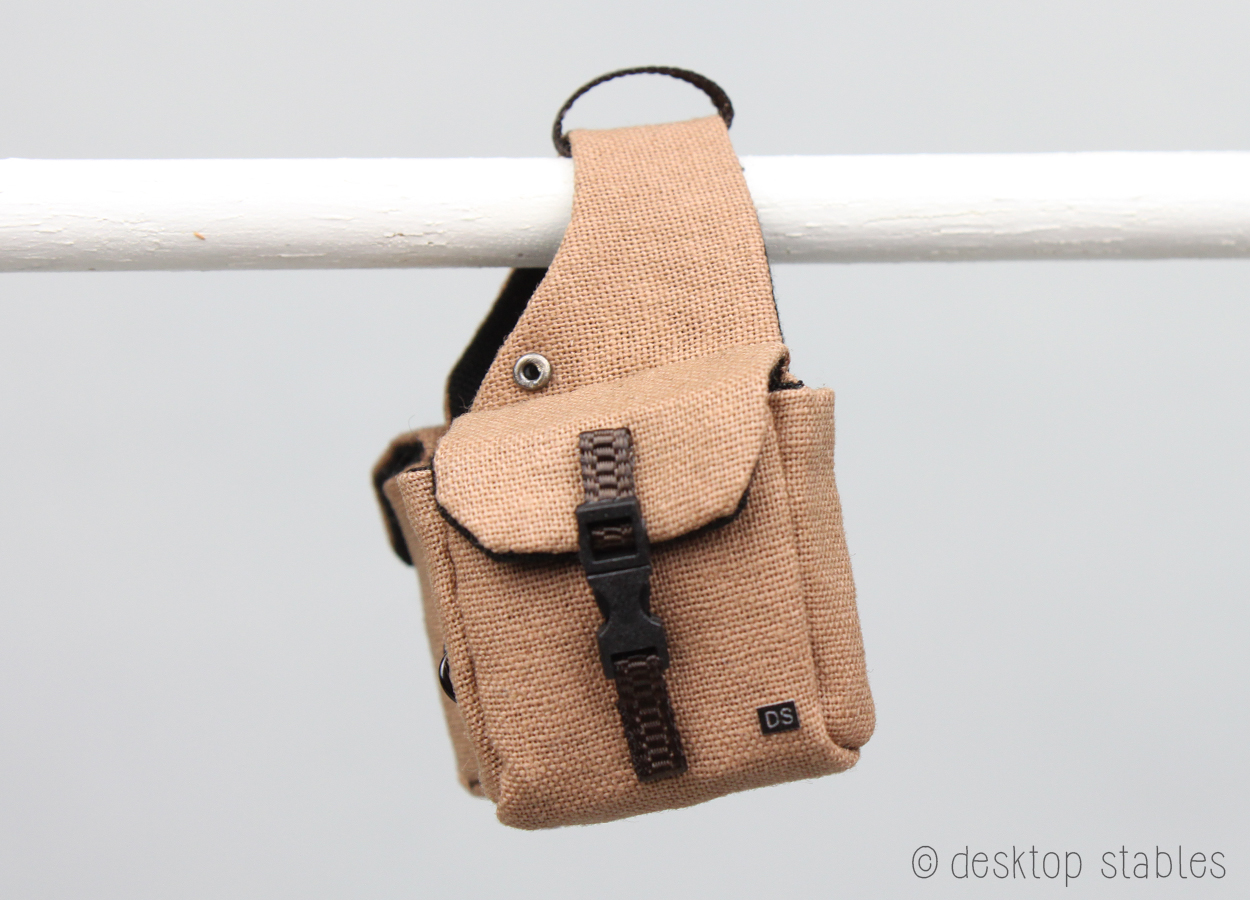
I am so happy with the end result. They’re sturdier and have a cleaner, finished look to them.

Another thing I wanted to try was actual grommets in place of D rings. (these are 1 mm in size and came from Etsy) On real saddlebags, you thread the saddle strings through and tie in place. The D rings on the sides can be tied to the rear cinch ring for added security. I’ve noticed some bags have two grommets, just one, or D rings.
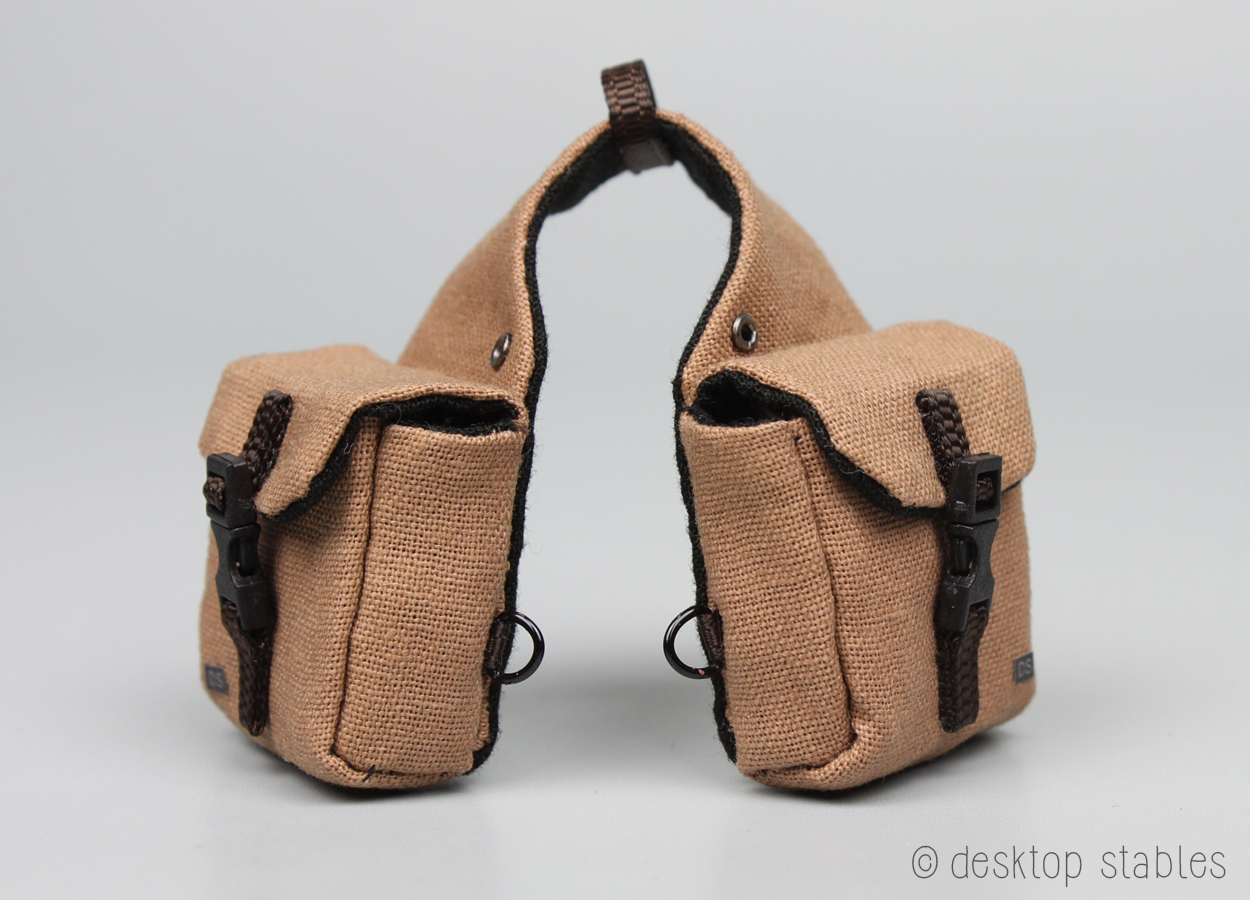
Since this bag was mostly an experiment, I decided to stick with one grommet on each side. In model scale, this is mostly for show, but I suppose they could be tied down to a saddle, or have faux strings added.

I love it when experiments work out ok! I’d like to make these in more colors, but that will have to wait for a while…


I love this SO much. Great job!
Beautiful!
Looks so very well made and sturdy! May I ask where did you find the tiny plastic clip buckles (not sure how they are called). 🙂
Thanks! The buckles came from eBay. They’re made for 1:6 military/action figures but they work nicely in this scale too.
Thank you!
Wow, those little plastic clips MAKE these! I have those things on my own backpack — I just never thought of miniaturizing plastic fasteners… // The grommets, texture and rings make the bags very detailed, as good as any I’ve seen. I confess I don’t usually look at saddlebags 🙂 so this is a lesson.
WOW! these look SO GOOD!
Did you also make the saddle? If yes, then well done!
They look so realistic!
whee did you get those little o rings that are above the bags, and when i saw the saddle i thought it was a real sized one for a sec.
love your work and you inspire me a lot love ya ❤