
BreyerWest is next week! Slowly, but surely, I’ve been working on getting things done and making sure I have everything.
I’m nervous (about everything like usual) but also really excited. It’s been around 5 years since I’ve been to a live show, and I’ve only been to 3 total. I’m really looking forward to it. 🙂
I’ve decided that I need to make new pony pouches for the small group of horses I’m bringing. I made a bunch before my last show but they’re kind of falling apart so NEW ONES IT IS! It’s a long term goal of mine to make pouches for ALL the horses anyway, (mostly to make moving them easier) but like many of my projects it hasn’t gotten anywhere. At least now I’m getting a start on it, and putting fabric I’ve had for years to use!
As I was working on them I figured I might as well document my process here, as a kind-of-but-not-really tutorial for the stubborn DIYers like me. 😉
I’m not using a pattern or measurements, but cutting everything by eye. I’m also keeping these very basic. They just need to protect my models, not be perfect!
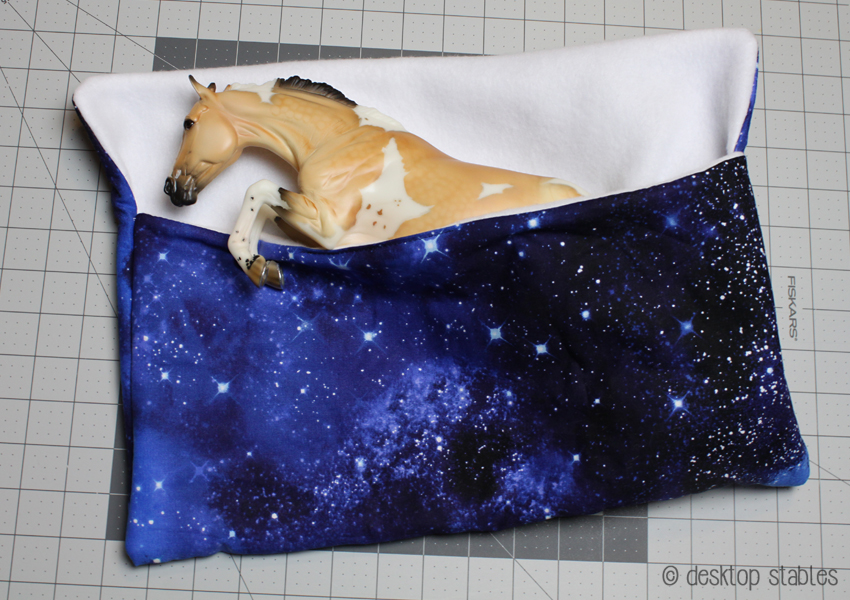
I start by cutting a piece of quilting cotton and a matching piece of white fleece.

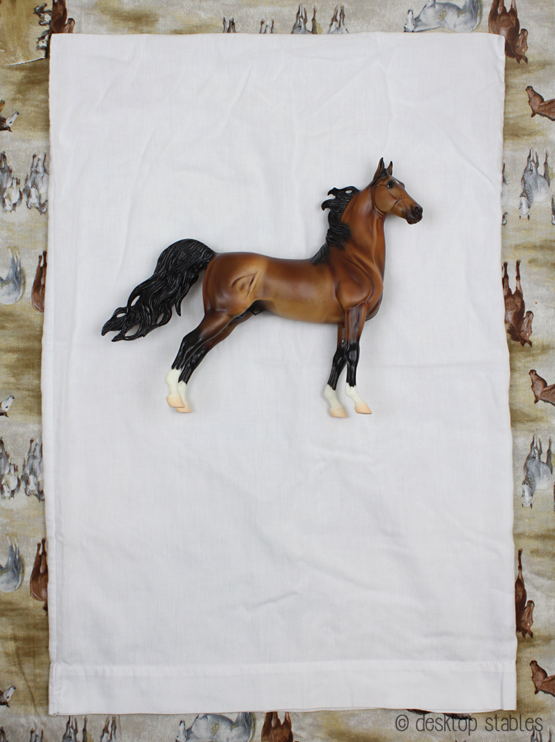
This one is being made to fit my Bristol, so I’m using him to get an idea of size.

I want the bottom edge to completely cover him when folded up, with extra at the top for a flap. I’m also adding a little extra material for a seam allowance. It’s always better to have too much than not enough!

Later I discovered that a standard pillow case is the perfect size for a Traditional pouch. With some models it would have to be wider/narrower/etc, but it’s a good place to start if you need a pattern.
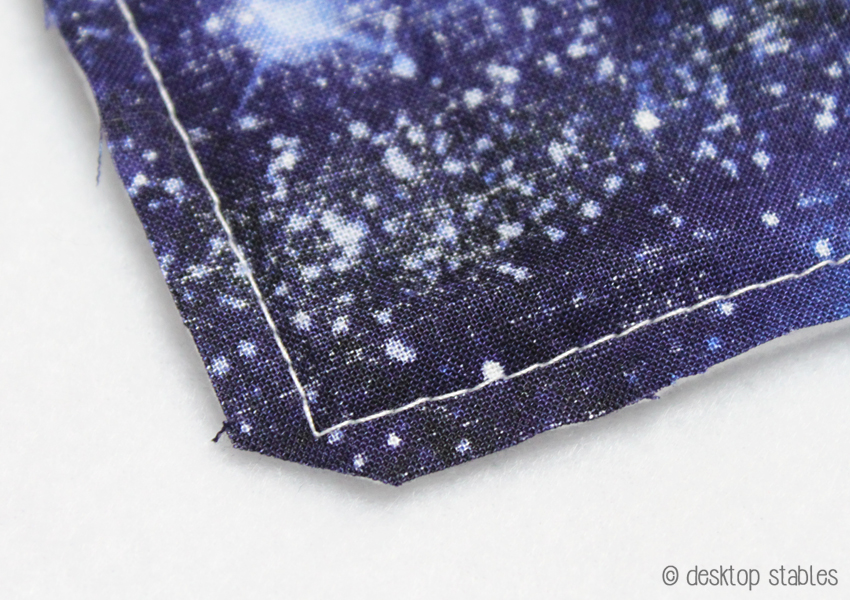
With the good sides of the fabric facing together, I sew along the entire rectangle, leaving an opening at one end. A good habit to get into is to backstitch a couple times every time you start and stop your stitching. This will lock your threads in place and prevent them from getting pulled out when you turn the pouch right side out.

Once that’s sewn, I trim off the excess, clip the corners…
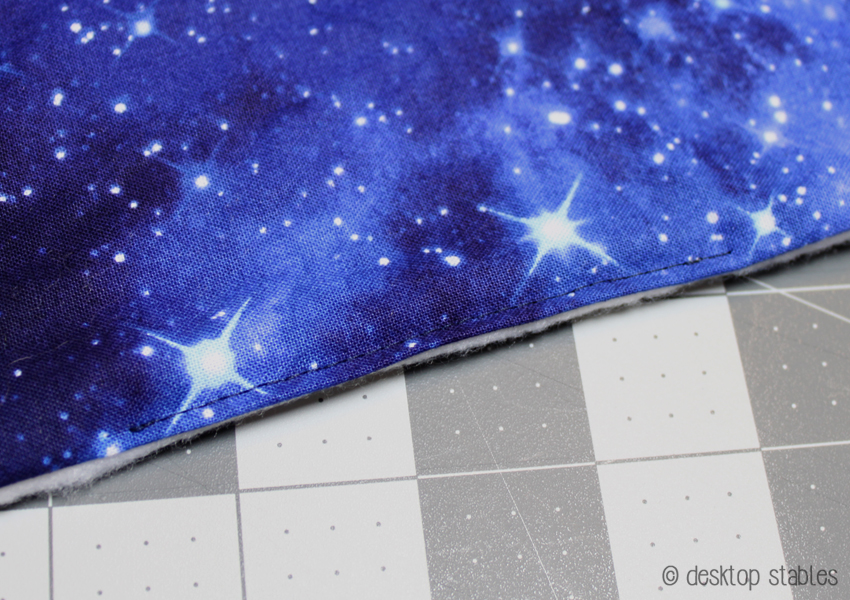
… then turn it right side out.

I closed the opening with topstitching, but if you want something neater, you could give an invisible ladder stitch a try.
Using Bristol again, I fold the pouch over him and use pins to mark how high I want it to go:

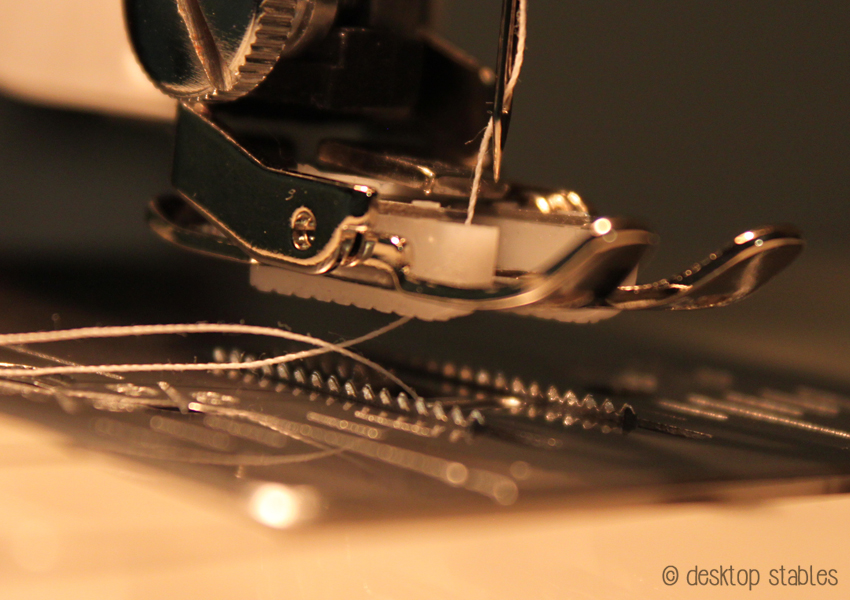
My sewing machine has a really hard time sewing through all four of the layers, so I use a walking foot to help it. This one I purchased off of Sewing Parts Online for around $20, and it’s helped SO much.

The grooved metal bits under the foot are called feed dogs. They pull the fabric through as you’re sewing. The walking foot has an extra set of feed dogs, so the fabric is being pulled from both the top and bottom. It makes sewing through thick fabric easier, as well as thin or slippery fabrics that shift and pucker or get sucked into the machine and jammed. (I hate that)
Once the sides are both sewn up…

… I turn it right side out again, and it’s finished!
I’ve also been sewing velcro pieces to the top, to help keep it closed. (and get this velcro used up, haha)

I’ve been making a few every day, and have a nice stack already. They’re not perfect, they’re not fancy, but they’re loads better than my old ones.

Is it next week yet?!?

Gorgeous! Looking forward to hearing all about next week. 😉
I’m gonna make this it will be way easier to clean up my horses
Thank you for this! I just got a sewing machine for my birthday and I’m ready to tackle some basic pony pouches.
Thank you so much! I am getting started in model horse showing and this is VERY helpful!!