
This saddle is being a pain in every way possible but for some reason I haven’t given up on it yet. I’ve had to leave it alone for a few days at a time, and am also at the point where I’d love to start working on other things I’ve been daydreaming about. It’s so close to being done… and still so far.
I knew the lower skirt was going to have to be remade completely. Did I even pay attention to my reference when I first created the pattern? Or actually plan out where all the silver would go? NOPE. Because what I had was WAY off. Way, way, way off.
Sooo I fixed the shape of the skirt, extending it, mostly. (now I’m worried it’s too long but too late for that now!) Then I fired up Photoshop, dusted off my drawing tablet and re-drew all of the tooling flowers and swirly things.
Here is the finished piece, after tooling and adding extra details, and finally, some silver!

This is my favorite part… details!

And the underside:

I was really excited after finishing this piece. I fit all the leather pieces together to get an idea of how it would look, only to find out that the seat piece wasn’t fitting right. Sooo I had to alter the pattern a second time, transferred it to leather, tooled it, etc and…

It was close, but still off. I could have made it work, but I knew it would bug me forever. The only thing that didn’t make me sick about having to tool this piece a third time was that I was never really happy with the second piece’s tooling. At least that’s what I kept telling myself.
I got the new pattern for it made, as well as for the upper skirt:

The paper pieces fit ok:

Third time’s a charm, right? This time the seat fits much better. I prefer the tooling of the first but oh well. Tooling is tricky. I’m trying to figure out the right balance of leather dampness, deepness of the cuts and how much pressure to use. It still manages to disappear after sealing ughhhh.

The more I look at saddles the more details I find. This adds more work of course but it’s worth it, I think. I totally forgot about the lacing in the lower skirt, and was tempted to just leave it off. But it started nagging at me. Punching those holes was SCARY after all the work I had put into the skirt. (my first reject seat was a nice test piece) In a brief moment of insanity I considered using leather lace instead of embroidery thread. Maybe another time.
Also look, the upper skirt is done! This piece was the most well-behaved of the lot!

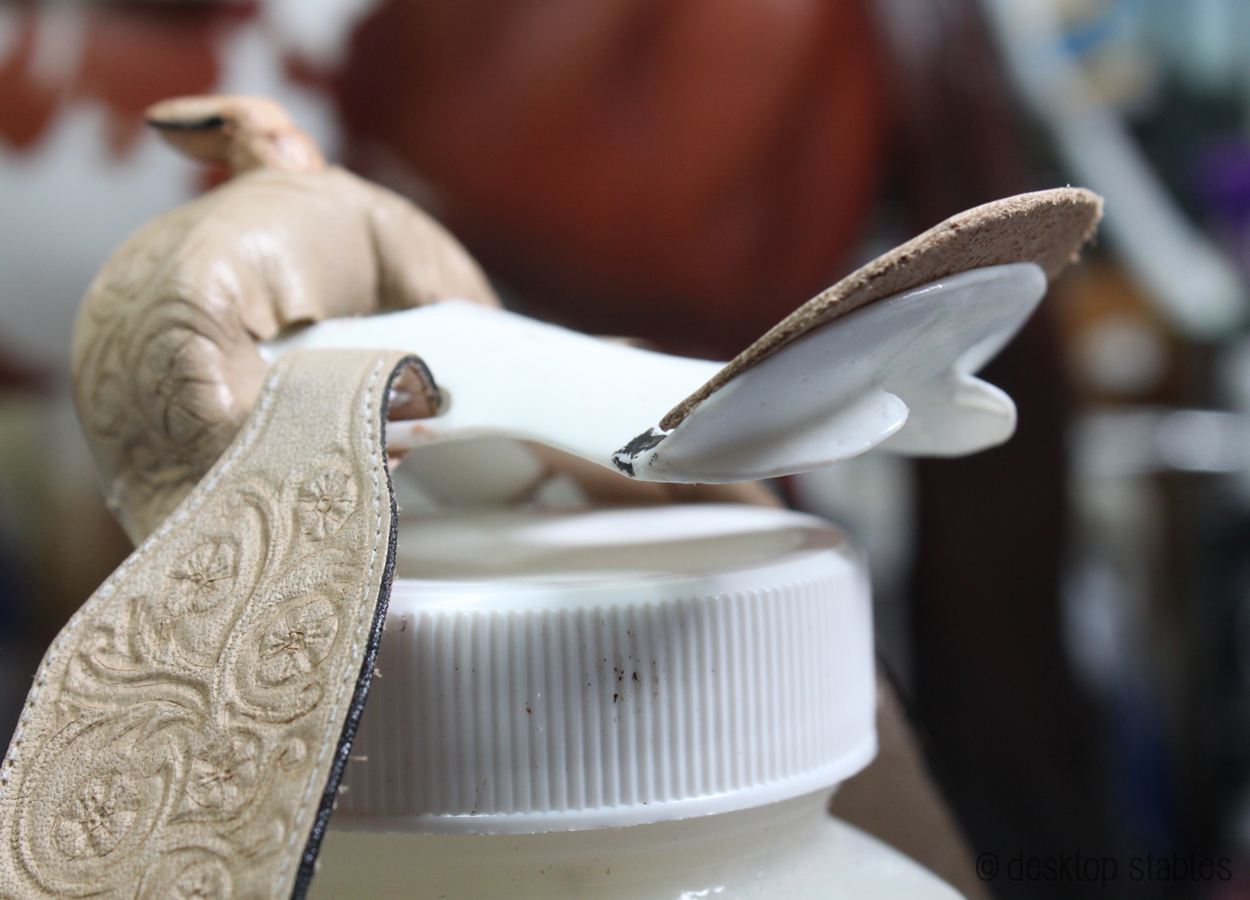
After getting through all that, I noticed ANOTHER Problem. The cantle on this tree is very low, and finally seeing that was really discouraging.
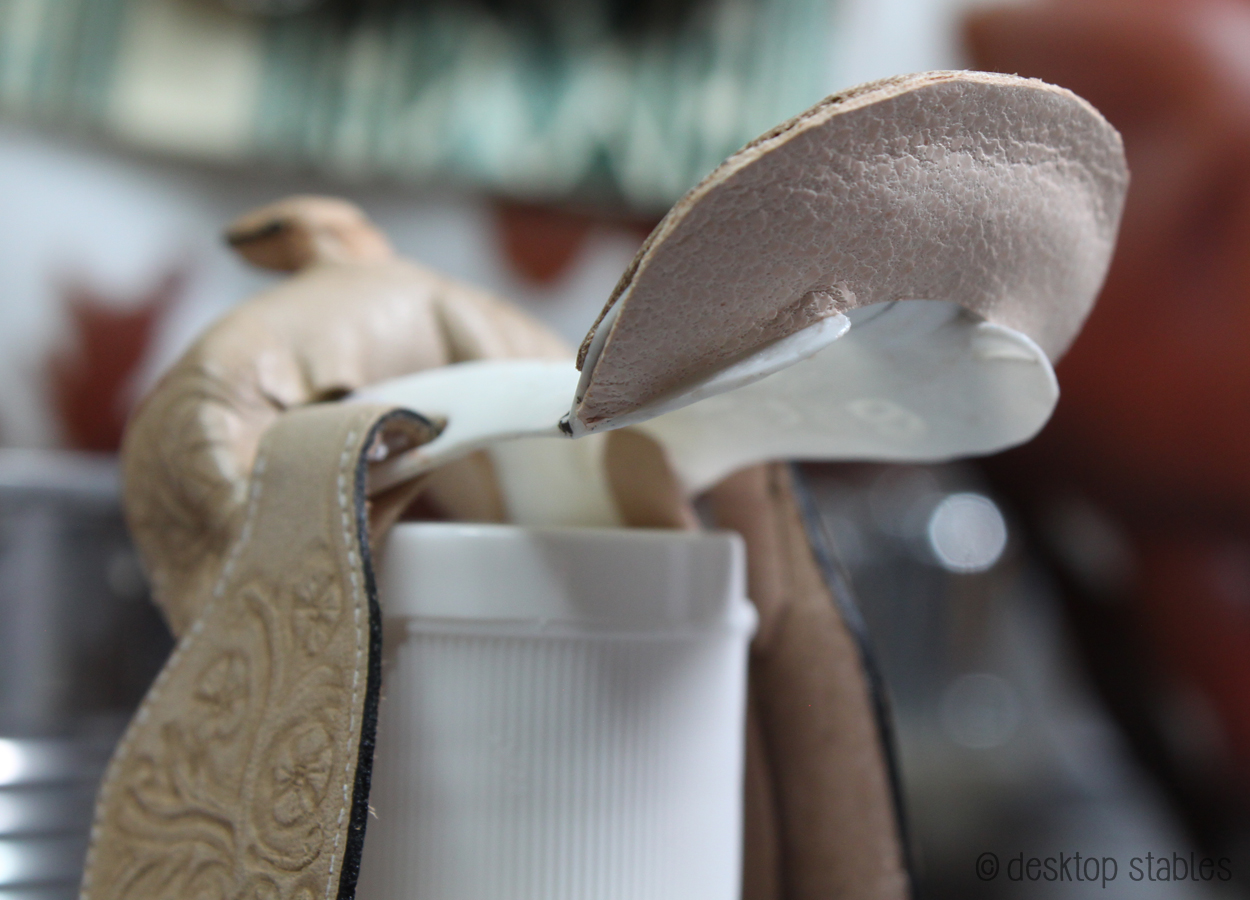
Luckily it turned out to be an easy fix, with a skived piece of tooling leather glued to the front:
And a piece of skiver glued to the back to cover it up. I had another moment where I thought about tooling that piece but shut it down very quickly. NOPE!
SO. After putting 6+ hours into it today (everything hurts help) here’s how it’s looking right now:
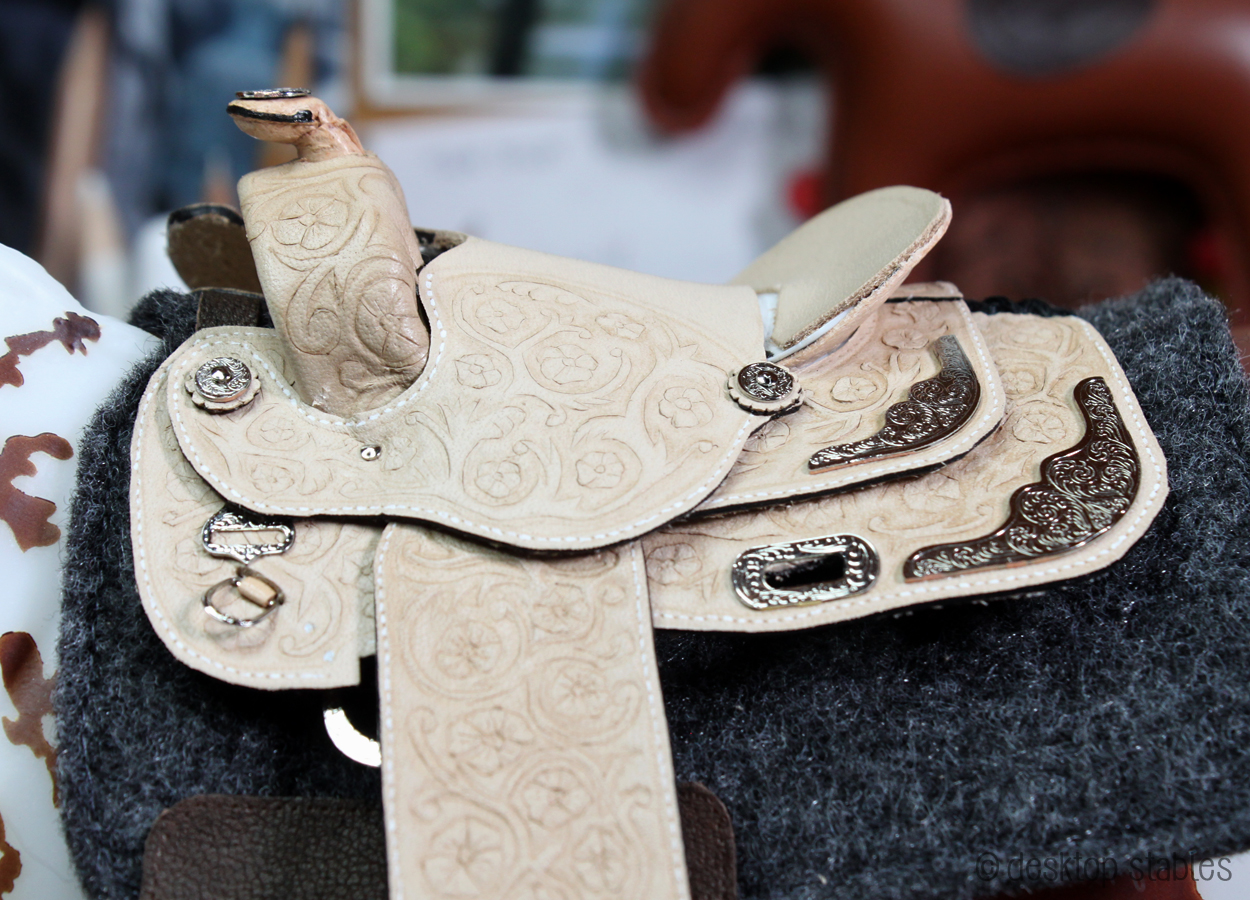
I felt it was safe to start pinning together. I’ve only got one side done because I’m at the “over it” point for the day, but but but! It’s looking ok maybe? I’m trying very hard not to point out all the issues I have with it. ^_^
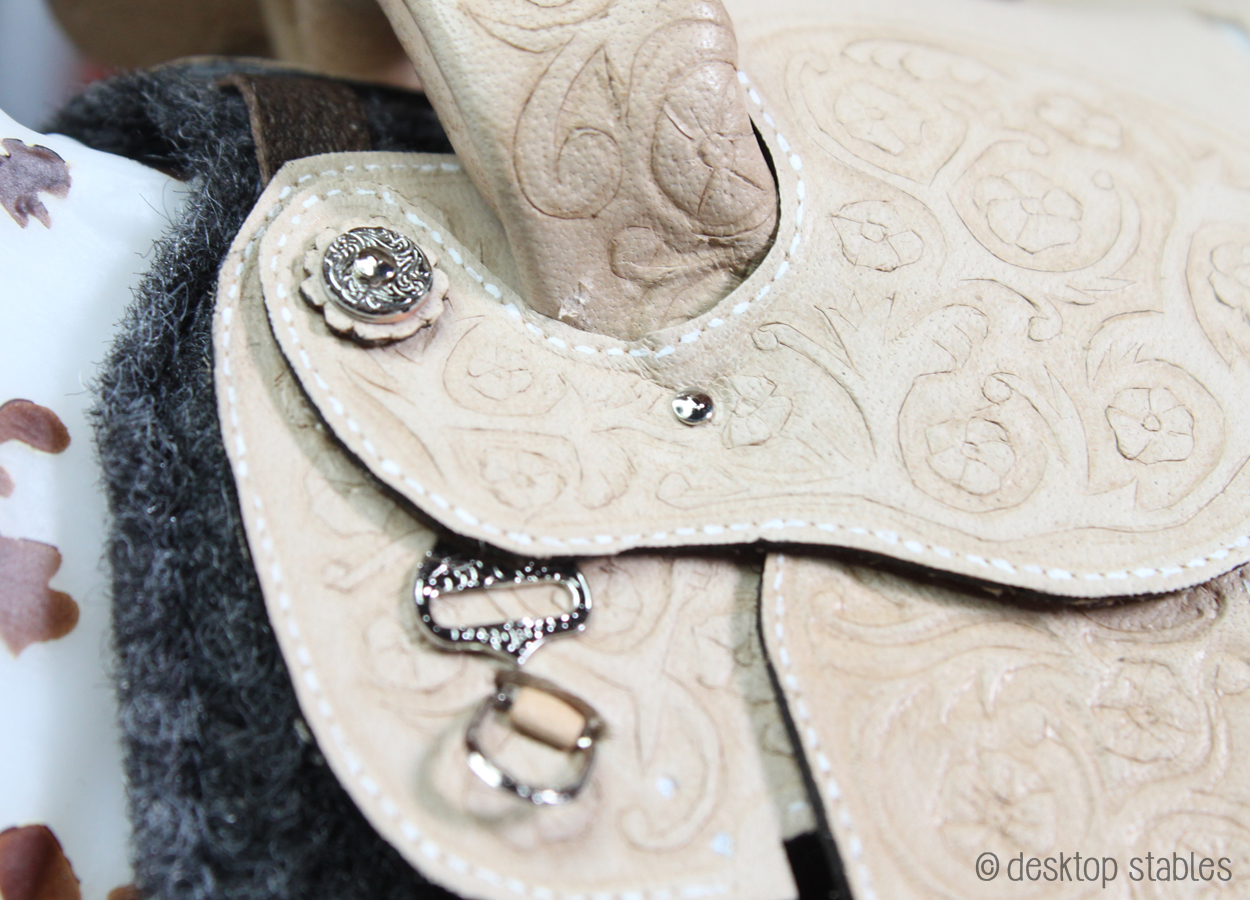
I can say that I’m really happy with the scalloped leather bits under the conchos. I’ll share a post on how I made those here soon.
There’s still a lot left to do but the end is in sight!

When you make an English saddle pad how do you get the curve? I saw your post about quilting and it was really helpful it’s just how do you get that nice curve for the horses withers? I would be really helpful if you could tell me. I’ve been looking at tutorials of how to make a saddle pad but there was nothing on how to actually make the curvey shape!
Please help me!
Thanks.
Fold the pad in half, right sides together, then sew along the top edge to follow the curve of the horse’s back. When you open it up, you should have the curve there. 🙂
Oh great, thanks!
Wouldn’t that make the wrong sides want to stick up? That probably doesn’t make sense and it’s probably obvious.
Would you then need to iron it or something?
Sorry I’m not doing very well.this morning. I might to just go and try it…
Sorry.
To my untrained eyes, this looks SO amazing! I love reading your posts!
Thank you! 🙂
Could you do a tutorial on how you carved the leather? I have been having problems 😢
I’d like to get more practice in before I write a tutorial, but I’ll keep it in mind! In the meantime, look up Bruce Cheaney’s channel on YouTube. He does full-scale leather carving, but watching him work helped me get a better understanding on how to try it in miniature.
Thank You! 😊
Amazing work! The things that you make are so beautiful! Its very encouraging and inspiring to read your posts, it helps me to get my unfinished projects back out!
I hear ya I’m not tooling mine yet because I’m still expieramenting on the pattern I had to redo the entire thing and we’re did you get the mold for the tree I had to make my own. I’ll post it when I’m finished.