
Five years ago I wrote a post explaining how I photograph my models. Looking back on it now makes me cringe.
It’s kind of amusing to read. My photos have changed a lot in five years so I think it’s time to revisit that old post.
First off, what hasn’t changed:
My cameras. I use a Canon Rebel T1i for 99% of my photos. (I’m considering upgrading to a newer model though :3) I rarely use my Powershot for models nowadays. Lately I’ve been using an iPhone for quick IG photos too.
I’ve improved with learning how my camera works, and I was shooting in RAW for better control of the image until my computer decided it no longer likes opening RAW files. (whhhhyyyyy???)
My basic backdrop is still a white piece of poster board, and Photoshop is still my go-to for editing, but I’m using the full version over Elements now.
The biggest change I’ve made is lighting.
I have struggled SO MUCH with lighting. For the longest time I was trying to make due with natural light or my desk lamp, neither of which were giving me very good results.
I ended up finding an Ottlite on clearance and decided to give it a try to see if it would help. It did! For a couple years this was my photo setup:

Combining the two lights, my camera’s settings and some minor tweaks in Photoshop helped me finally start getting photos I was happy with.


But it has it’s downsides. It’s not portable, the light can be very harsh, and my desk simply isn’t big enough for any other type of set up. I’ve had more interest in setting up arena and “outdoor” scenes, and natural lighting worked ok… but only if I could catch it at the right hour and Photoshop everything afterward.

Other problems included space for the setup, shiny backdrops, and having to rely too much on Photoshop.

This Enterprise Props shoot is what pushed me over the edge. The final images are ok, but they all had to be salvaged with heavy editing. My scene setup with the natural lighting is in an extremely tight space, and is too large for any table, so everything had to be set up on the floor. Taking photos required me to lay on my side (literally pressed against a wall, lol) and awkwardly prop the camera up. The whole thing was just frustrating and painful.
I had considered buying a light tent of some sort, as I know a lot of hobbyists use those for model photography. The problem I have with those is the size. Sure they would be perfect for collection photos or props or tack, but my backdrops are big, and finding a big enough tent (or making one) seemed like another hassle.
Instead, I did some searching on photography lighting, and ended up purchasing this set of softboxes on Amazon.
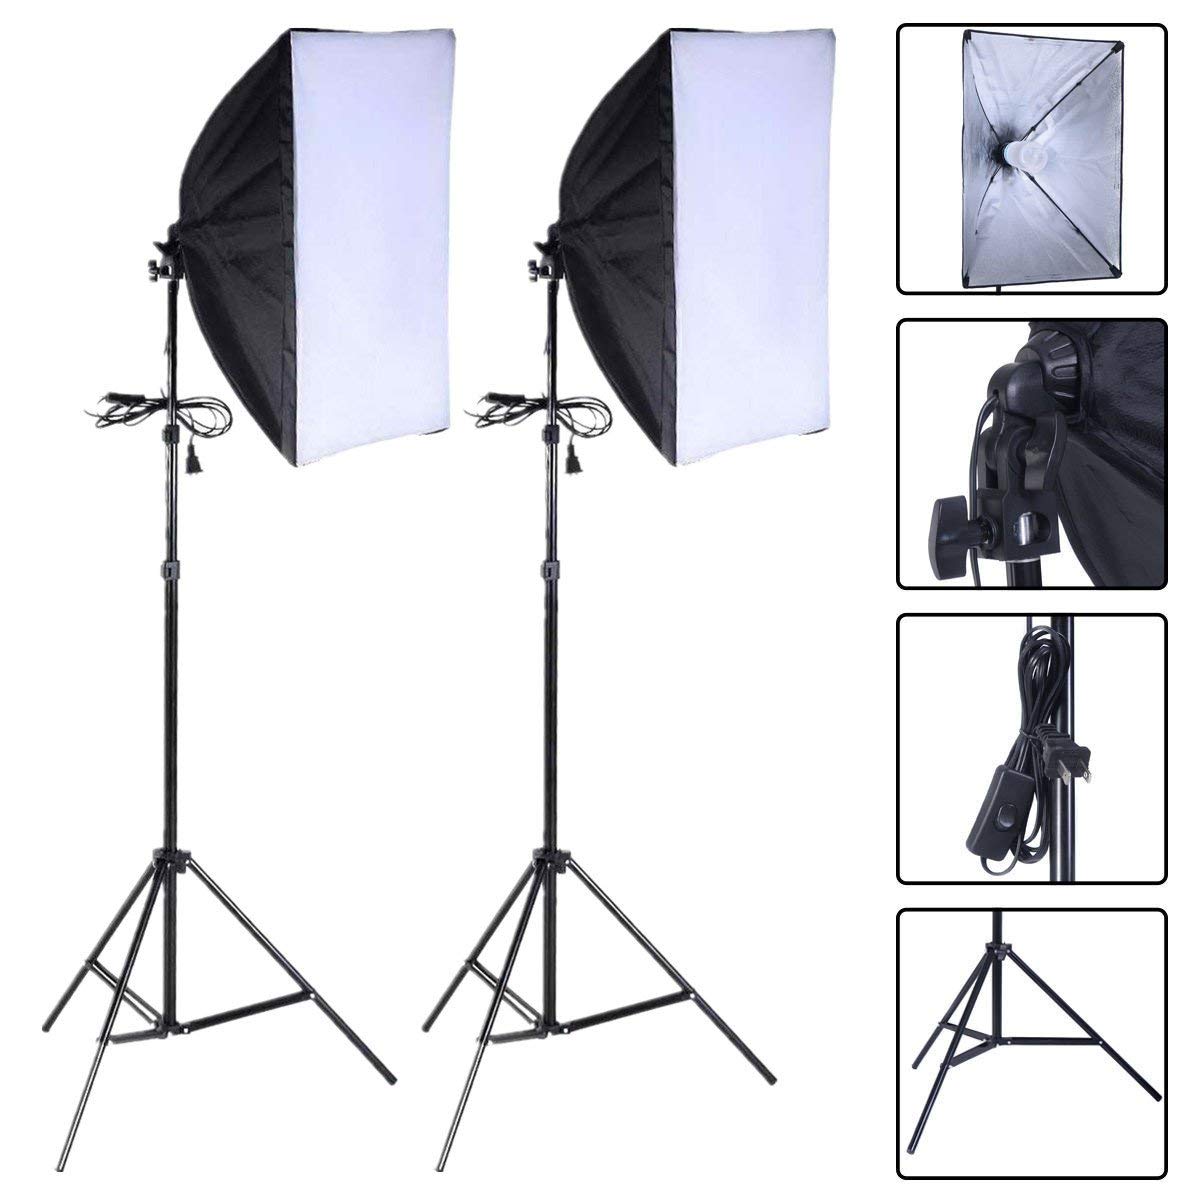
These lights changed EVERYTHING and made model photography so much easier for me. They’re huge, but they can be completely folded up for easy storage. I can adjust the angle and the height, keeping them low to the ground, or up higher for something on a table.
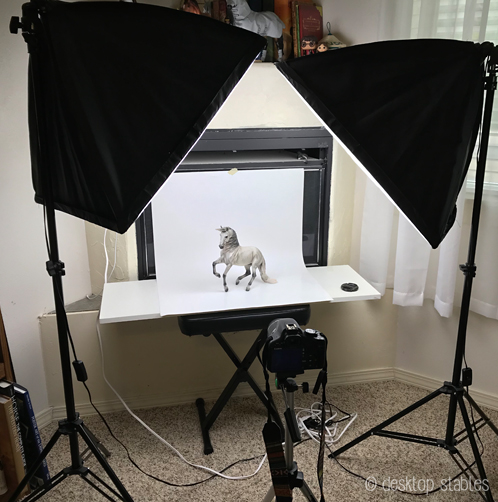
Here is a basic, white backdrop setup with the lights:
And the settings I used for those curious:
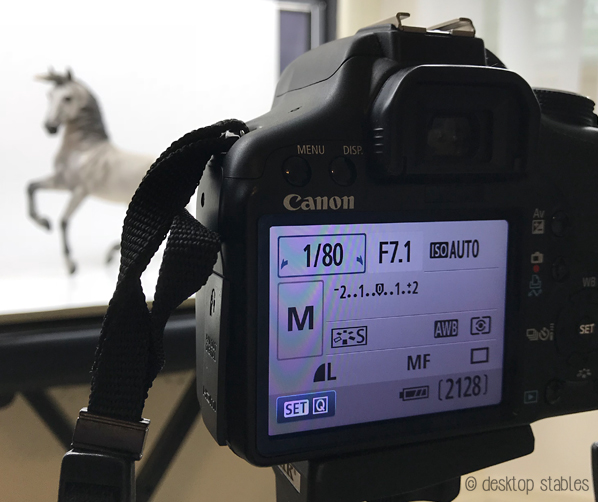
I vary all the settings whenever I take pictures. What might work for one horse won’t with another, so it’s nice to have several different photos to go through.
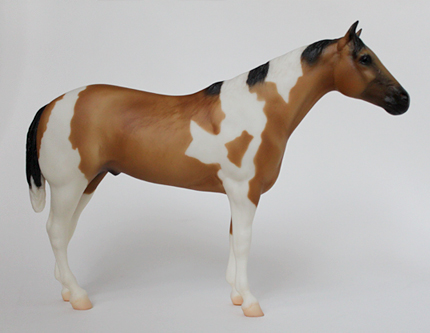
Here’s the final image. All I did was resize it, add a subtle unsharp mask and my watermark.
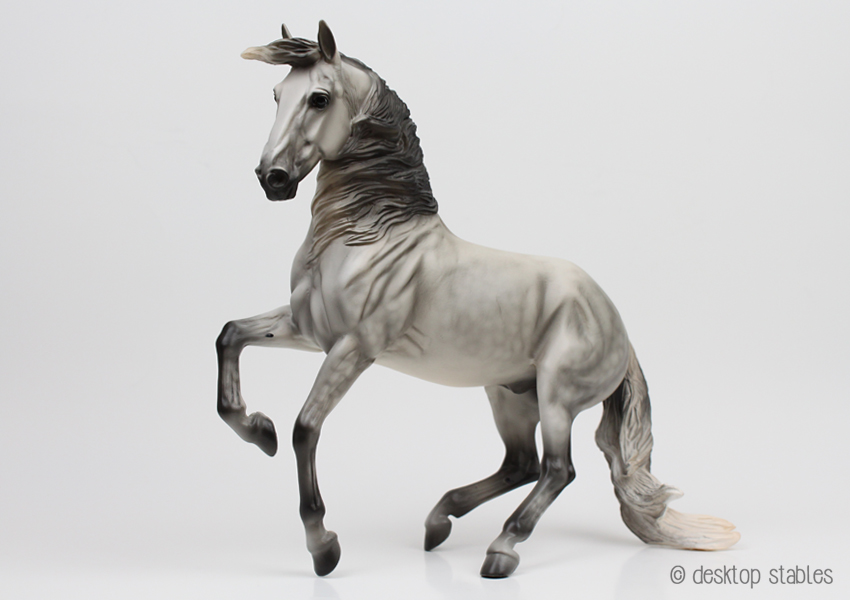
I love being able to get brightly lit photos at any time of day, at any spot in the room, at any time of the year now.
That was really hard to do before. And because the light comes from above, reflective backdrops aren’t a big issue anymore either.
I do struggle with over and under exposure. A more neutral backdrop (such as grey or tan) would be better for photographing horses, but I’ve been using bright white for so long that it wouldn’t feel right to change it now. ![]()
I’m still learning. But upgrading my lights was an extremely good choice for me, as I use them often for blog and sales photos. Setting up scenes isn’t as frustrating as it used to be, and I’ve been enjoying it so much more.

I still have to set up and tear everything down whenever I take photos, which is annoying, but at least it doesn’t take over my desk anymore. Someday I’d like to have my own studio/office space with a spot for a more permanent photo setup. We’ll see what happens in another five years!

Nichelle, you do such nice work and describe your processes well. I appreciate all of it. Thank you.
Thanks Bobbie 🙂
Photoshop is just another part of image processing, no need to act like it’s a huge embarrassment to edit images after you shoot your picture.
I’m not embarrassed about it – I use PS for every photo I take. It’s part of my process.
I just prefer to be able to take photos without having to completely change the lighting/coloring/etc digitally to get the result I want.
OK that makes sense. Sorry for my previous comment, that was rude of me.
Your photos and tack are lovely, btw, and I enjoy your articles, I just don’t understand the aversion to Photoshop. I use it to edit images, both hobby and non, and it rubs me the wrong way when I see people talking about its use as something to avoid.
There’s no aversion to Photoshop at all – I didn’t mean to come across that way. I’ve been using it for years and I love it.
OK I misunderstood. My apologies again. 🙂
So cool!! You explained of really well and you’re a huge inspiration to me. Also, I love that dapple!!