
My house was without internet for the last several days. (thanks, utility workers! 👍🏻) While I’m annoyed with myself for being annoyed over it, a break from social media and the constant flood of bad news was probably needed. It’s been weighing down heavily on me lately.
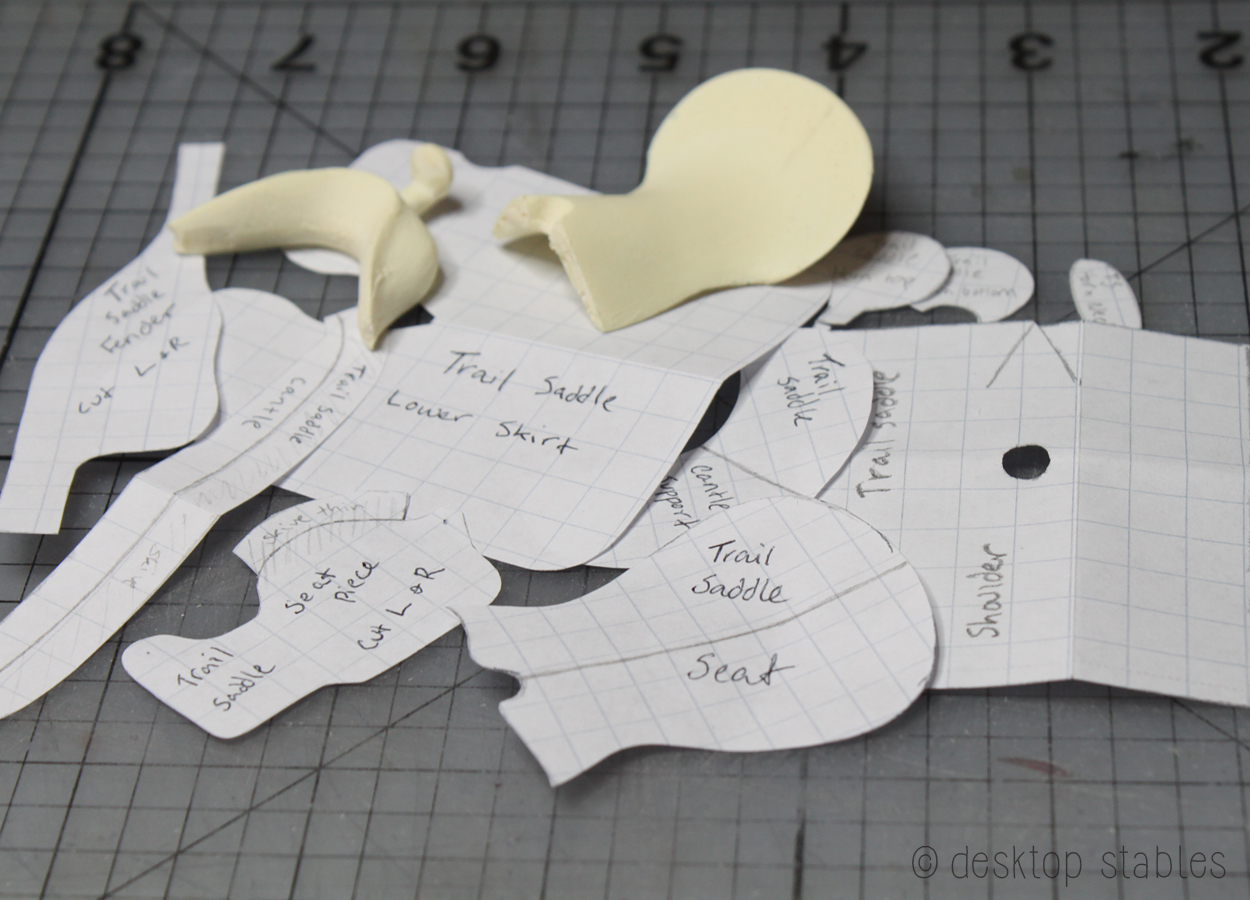
Without having that distraction, I spent a lot of time working on my next saddle. My reference is a Cashel trail saddle. This one has a single skirt, so to make construction a bit easier, I cut and sanded down a Rio Rondo tree I had on hand. (this one is a 2nd quality casting I got from a partial trade ages ago, so it’s a bit rough everywhere) The resin sands down easily, but this is another one of those things you want to wear a mask while doing. I also keep a wet paper towel nearby to frequently wipe up the dust.

Even with the Rio Rondo pattern as a starting point and reference, pattern making is difficult, requiring a lot of trial and error. I haven’t made many saddles, so I’m still learning.

I like to put together a test saddle made from scrap or craft leather, held together with masking tape and sewing pins. 😁 This gives me a better idea of how all of the pieces are going to fit together, and if I need to make any more adjustments. Once I’m happy with that, I’m left with a pile of pattern pieces that will hopefully work out.
Next comes cutting everything out, skiving where needed. I think I spent over an hour working on the cantle piece alone. 😅

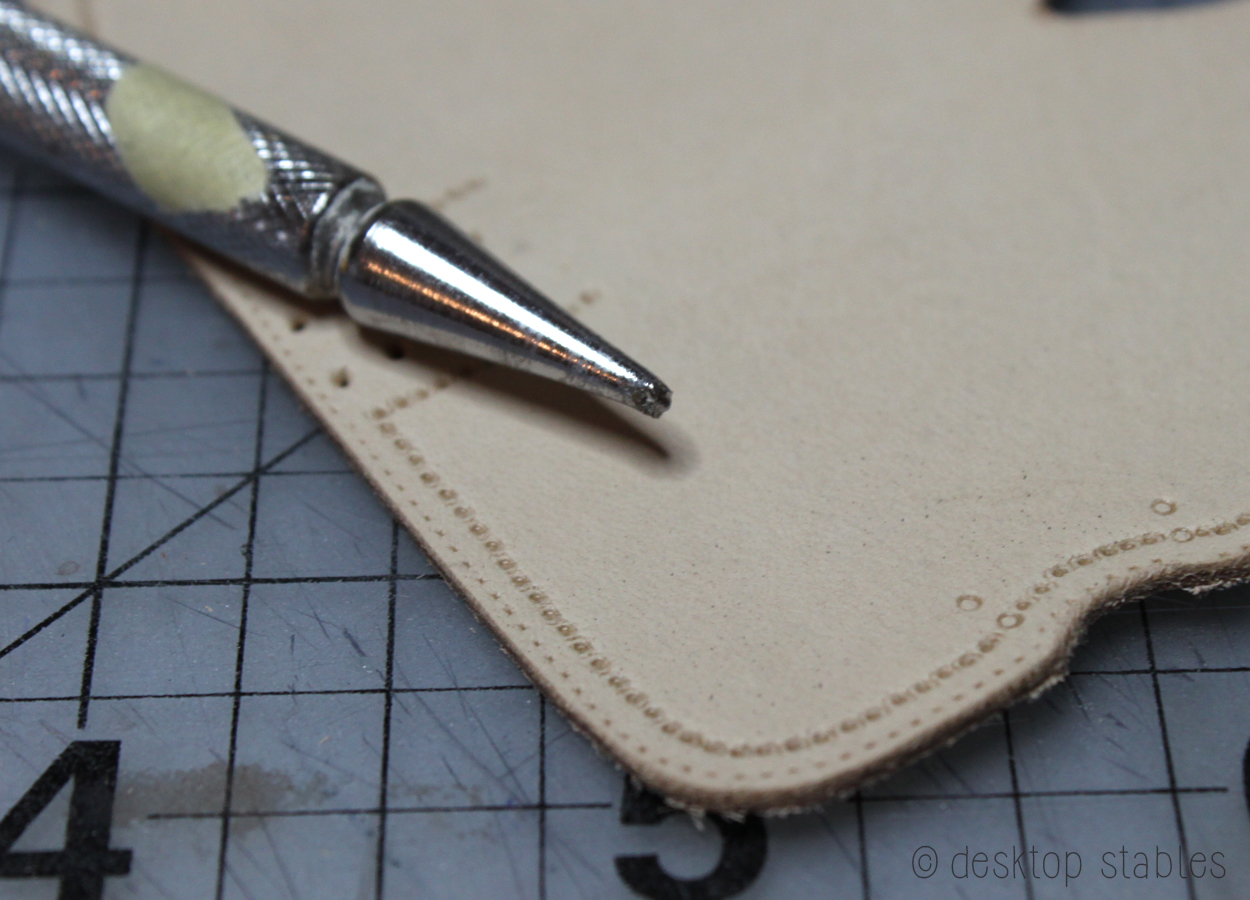
My reference doesn’t have any tooling, but it does have a stamped border around all of the pieces. I wasn’t sure how to imitate this, but I do have this random stamp with my leather tools. I think it used to be a stylus but maybe broke? (these tools belonged to my grandpa) It leaves little circle that I thought could work.
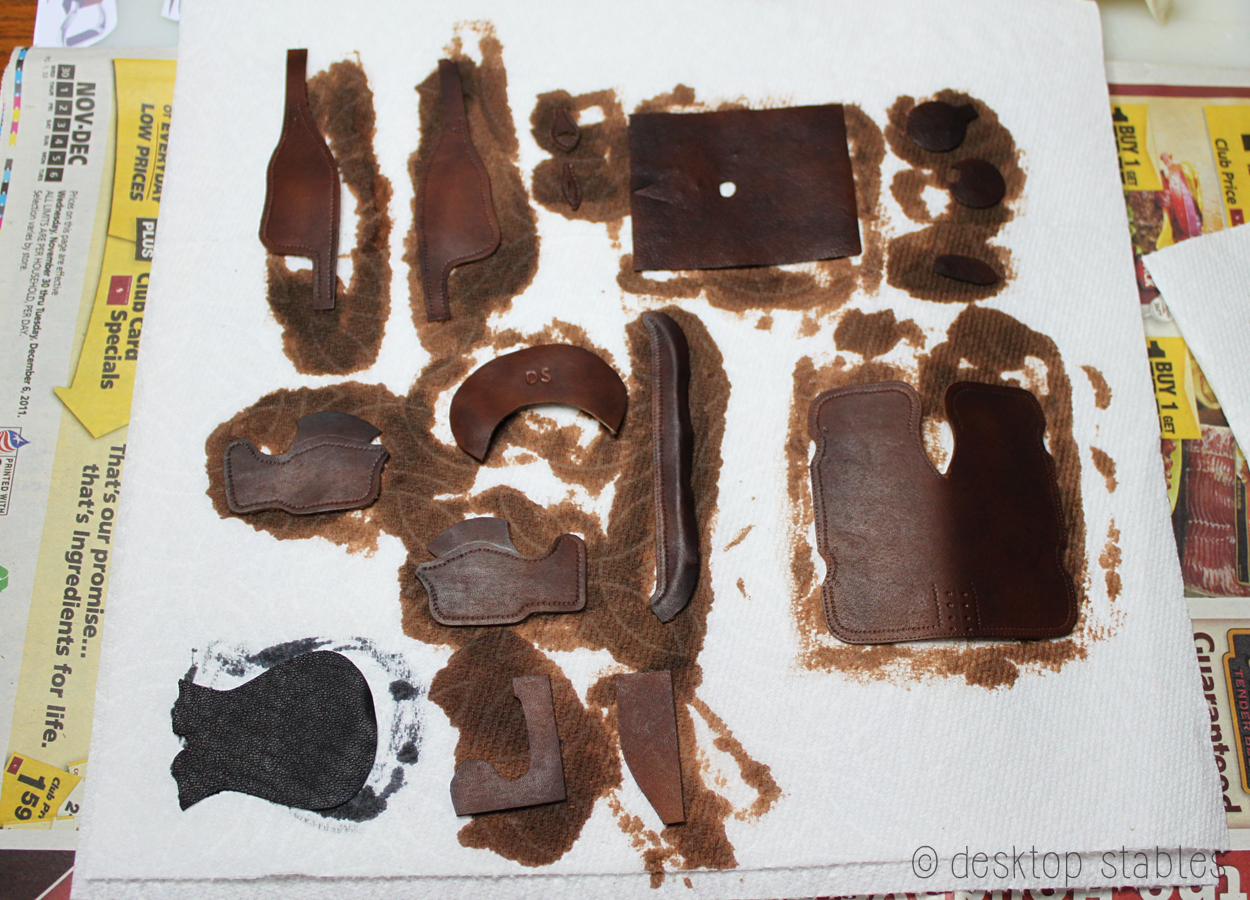
After putting in all that work, it was time for the scary part – dyeing! I’m still having trouble with splotchy dye. Adding more layers seems to help, but I’ll have to keep trying.
After buffing and adding the first coat of sealer, they turned this really pretty mahogany color. A little uneven in places, but I can live with it. At this point I got caught up in adding details and didn’t get any more photos, but here’s how it’s looking right now.
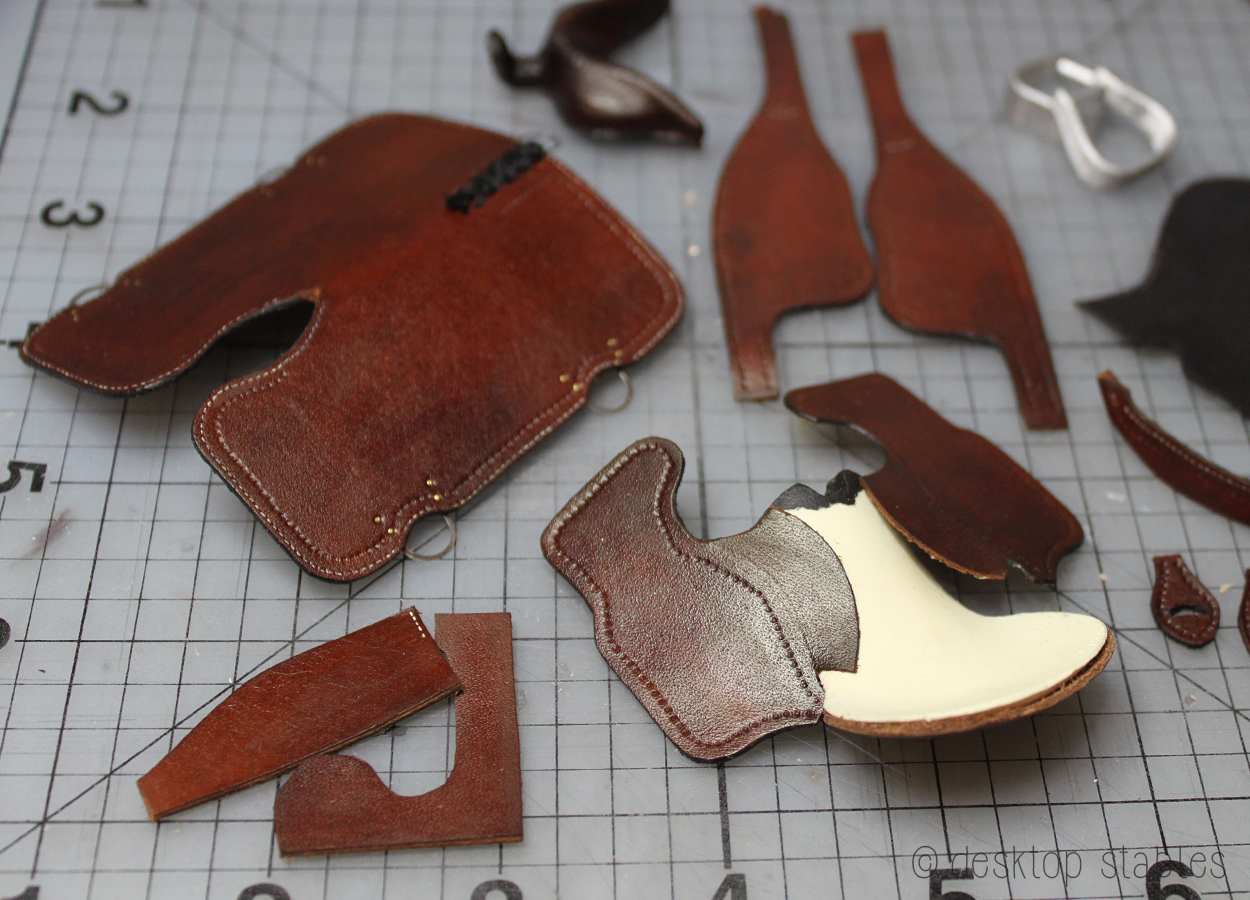
So far, so good! I still have a lot of work to do. Hopefully it won’t take another internet outage to get it done!

You’re off to a great start! Don’t worry too much about splotchy dye. Dye does that to everybody; I still get it after 40 years. The model scale helps dilute the effect. Yours looks lovely.
I love the color, it came out great!
Love it!
Man, look at all these details. Your progress in making saddles is incredible!
Could you post the saddle patterns on this blog? Thanks!
That looks amazing!!! Fantastic job Nichelle!!
This is greatly detailed and realistic!!
Congrats from Brazil!
GOD Bless you!
Maynard Conde
Thank you! 🙂
Your accurate way on make the parts of the saddle teach me much. Michelle, do you think would be possible to mold a Durepoxy® tree to make a model Saddle.
To import RR trees to Brazil is too expensive by now…
I respect much your opinion,and will wait for that.
Again, Blessings,
Maynard
Brazil.
I’ve never done it myself, but I think it could be possible. You never know until you try. 🙂 Have you checked out Model Horse Tack School on Youtube? She has several videos on saddle making, including sculpting a western tree from clay or leather. https://www.youtube.com/channel/UCja090-fQ7-hWTZgNi5UW2w/videos
Podría compartir los patrones?, Gracias!
Hi great reading yyour post