
To finish the edges of a blanket or saddle pad, I use bias binding. This can be purchased pre-made at any fabric or craft store, in varying widths, folds and colors:
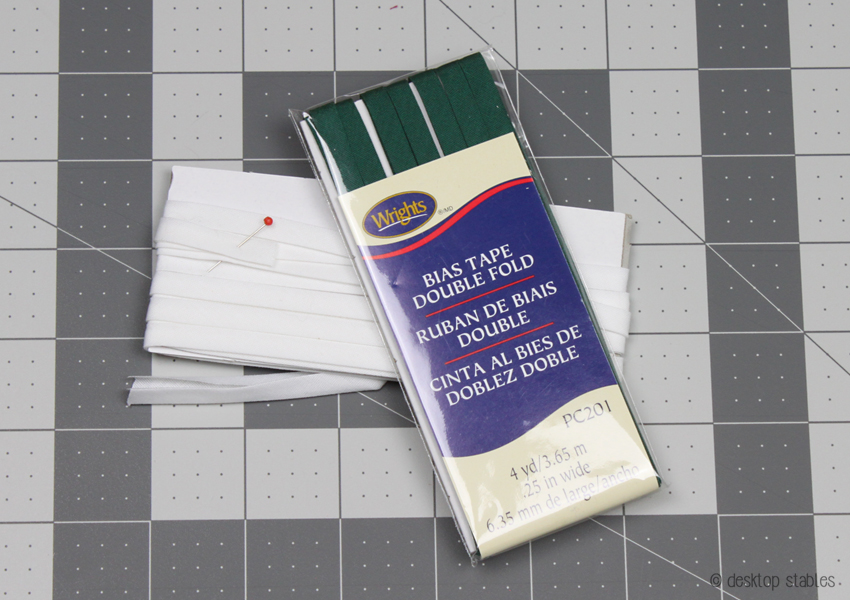
While it’s convenient to purchase, pre-made bias has it’s downsides. It can be expensive, especially if you’re using a lot of it. You are also limited when it comes to colors. I am a bit obsessive about things matching, and store bought bias simply doesn’t come in the same exact colors as my fabrics. Patterned bias exists, but again, you’re limited to what’s available.
So I learned how to make bias tape myself.
There are dozens of better tutorials online explaining how to do this but since I make my bias specifically for model horse tack, I thought I would share my process with you.
Here are the tools I use:
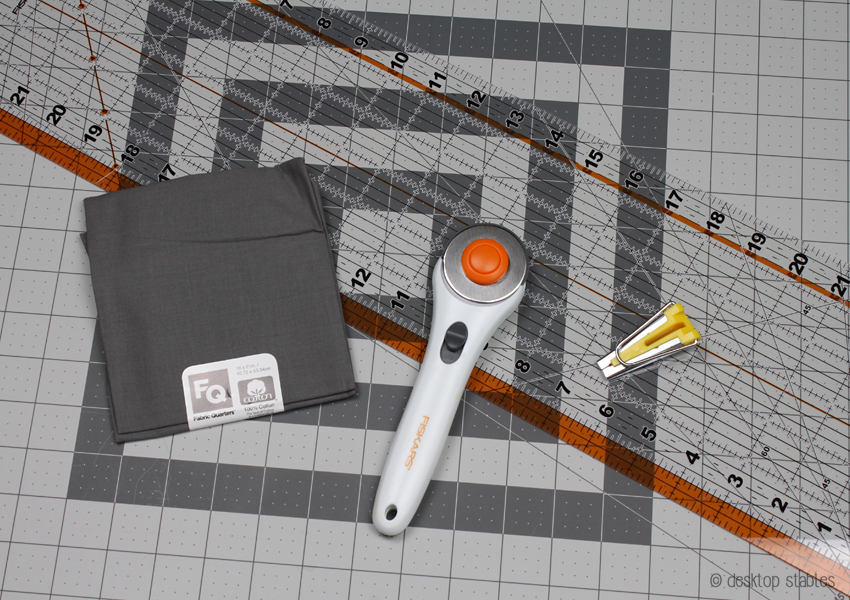
- Fabric of choice
- Large cutting mat – you’ll need one if you’re using a rotary blade
- Rotary blade (sharp scissors work too but this thing is SO much faster and smoother!)
- Ruler (mine is huge but a smaller one can work too)
- Bias tape maker – these come in different widths and styles. I’ve used this one the most.
You’ll also need an iron and ironing board.
To put it simply, bias tape is made by cutting a diagonal strip from your fabric. Here’s a square piece of fabric to illustrate.
If you tug on both corners of your fabric, you’re going to feel it stretch better than if you tug on the top and bottom. This is where you’ll cut your strips from. The stretch helps the fabric go around curved edges easier.
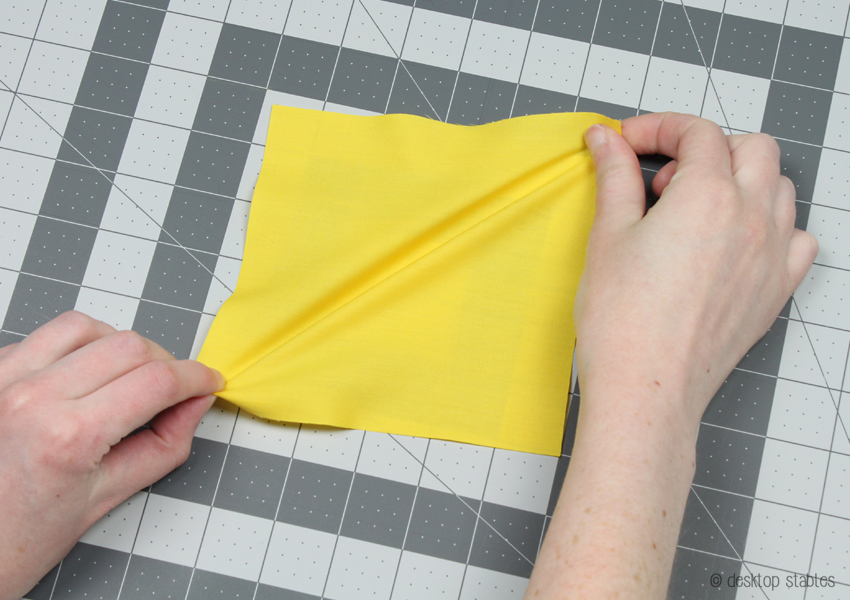
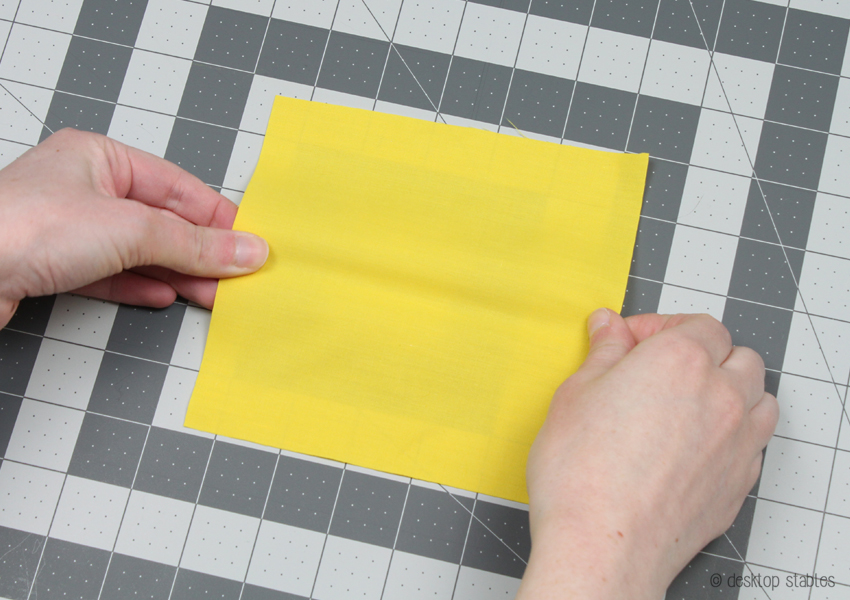
Start by taking one corner of your fabric, then fold it diagonally to meet the other side. You want a 45° angle here. Unless your fabric is a perfect square, it’s not going to fold in half exactly.
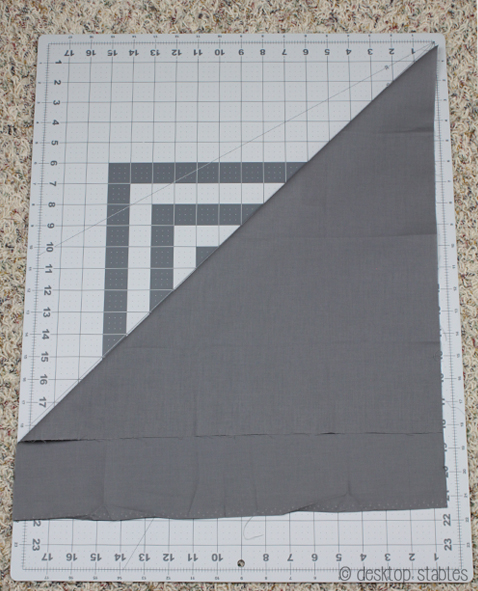
Iron this fold down, then open up the piece again.

Cut along the fold line – you’ll have two fabric triangles to work with now. I tend to use whichever is larger first, as I can get a longer piece of tape from it.
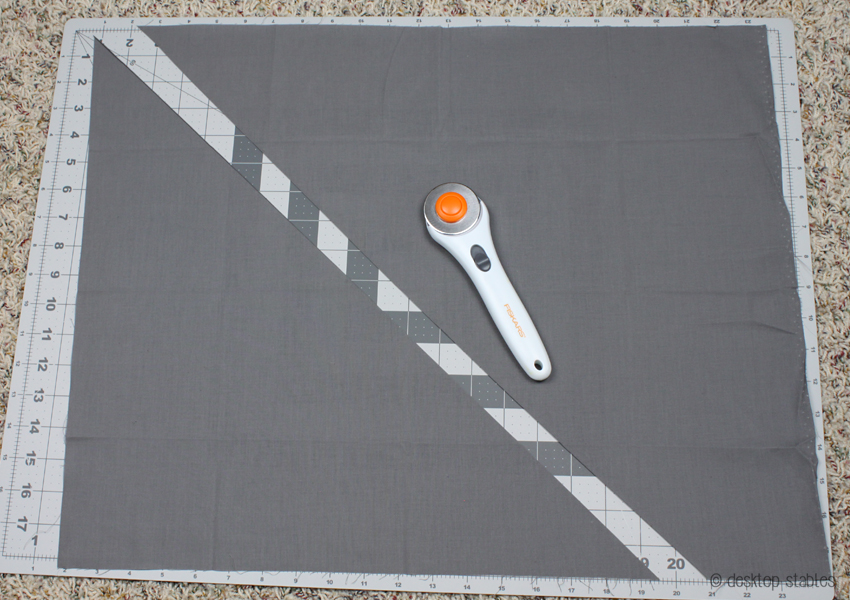
Next, I’ll measure 1 inch from the edge and slice off a strip.
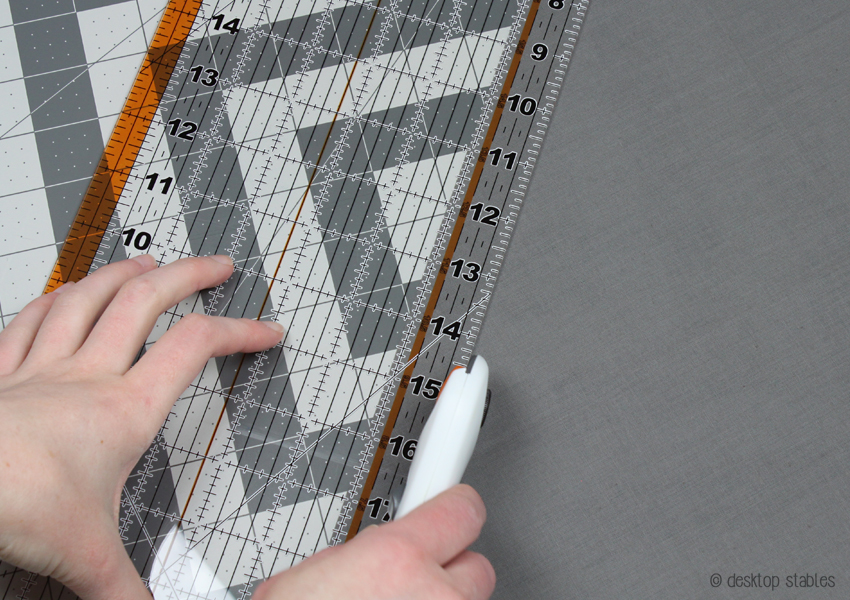
These strips are ready for sewing! I always cut more than what I need.
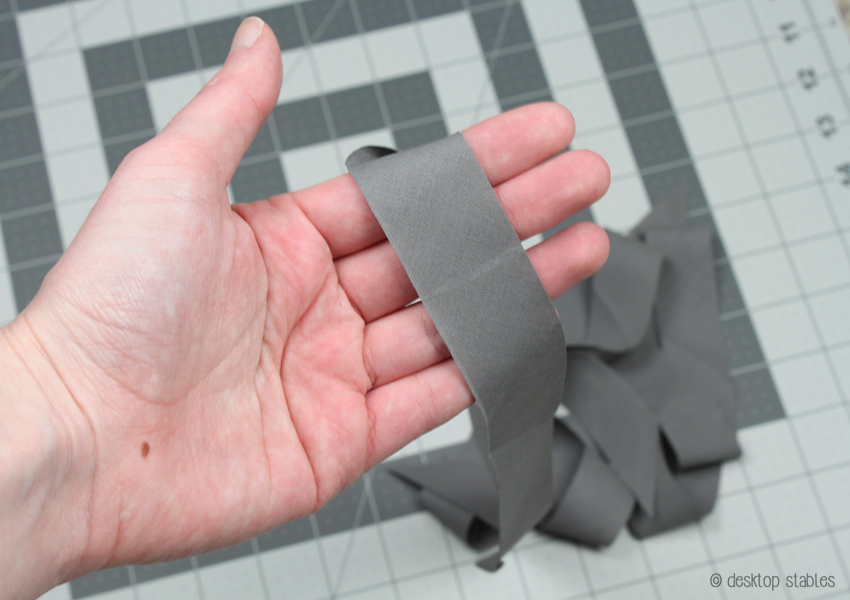
My method for sewing on bias has changed, so I no longer fold it. I was using double fold bias for nearly everything for a few years, and that was made with a metal bias tape maker. These come in different widths and are super handy for quickly making folded bias.

I get the 1 inch measurement from using this tool as it was required for the double fold. (each size is different- they do come with instructions!) To make the tape, feed one end through and anchor it down. (I pin it to the ironing board) Slide the tool along the strip, ironing down the fold as you go.

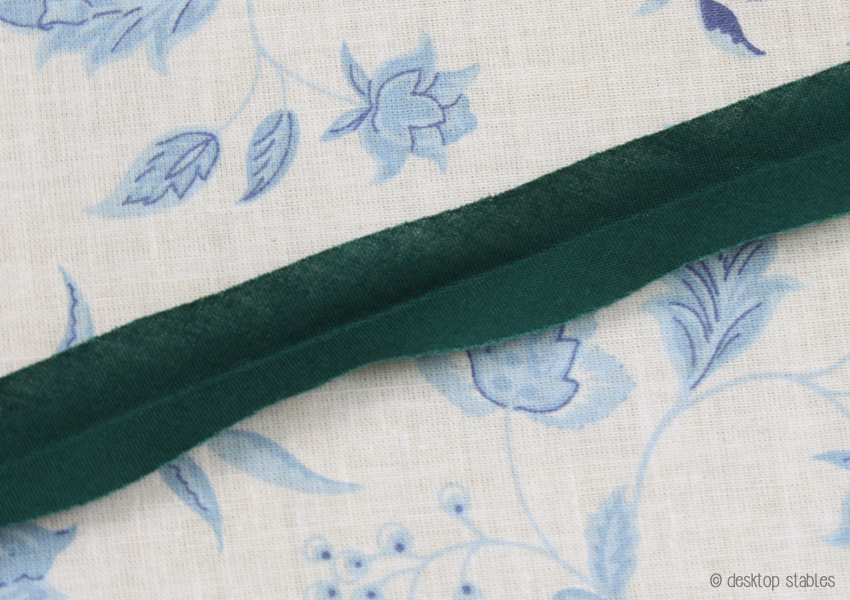
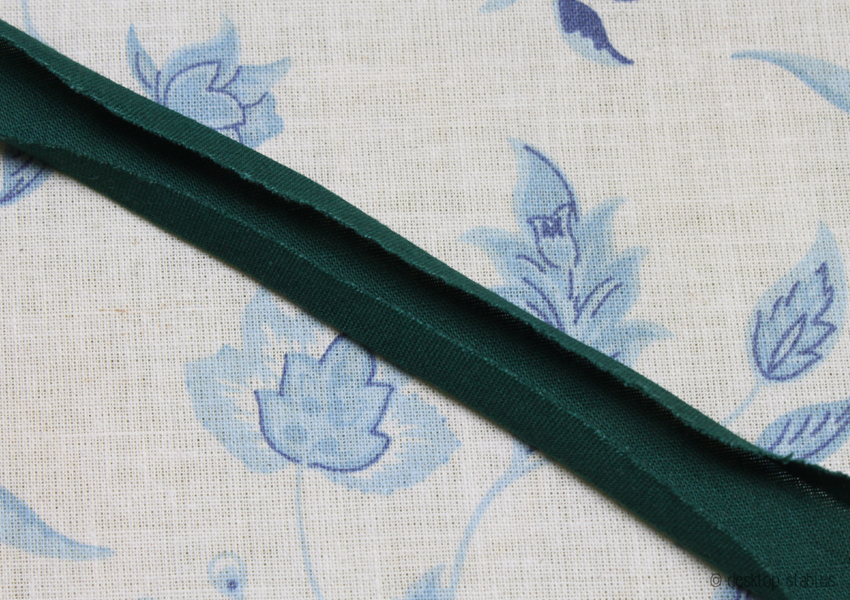
Fabric can (and will) behave differently sometimes – these two strips were made the same exact way but the blue pressed much more nicely. They can both be used this way though, so it’s not a problem.

If you don’t have a tape maker, you can still create the fold by hand. First, fold the entire piece in half and iron it down. Open this up, then fold in one edge to the center line and iron it down. Repeat for the other side.
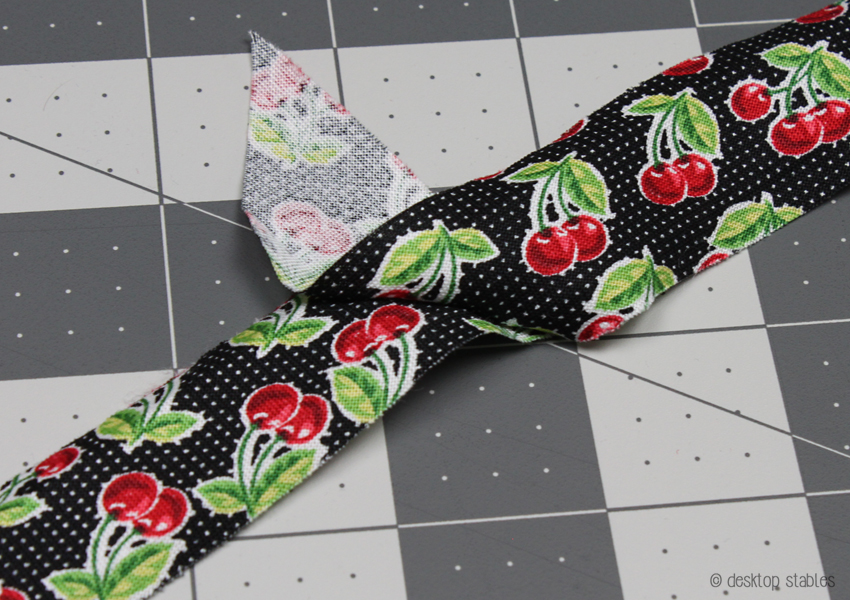
So, now that your tape is cut, what do you do if it’s not long enough for your project?? I always try to use one piece of tape for the project I’m working on, but sometimes it’s necessary to join two pieces together. This can be a little confusing at first.
Start by laying one piece of bias down, with the good side facing up. Take your second piece and lay it on top (wrong side up) so the pieces are perpendicular to each other. (if your tape is folded open the folds up first)
See the square? You’re going to sew diagonally across this, from the top left corner to the bottom right.
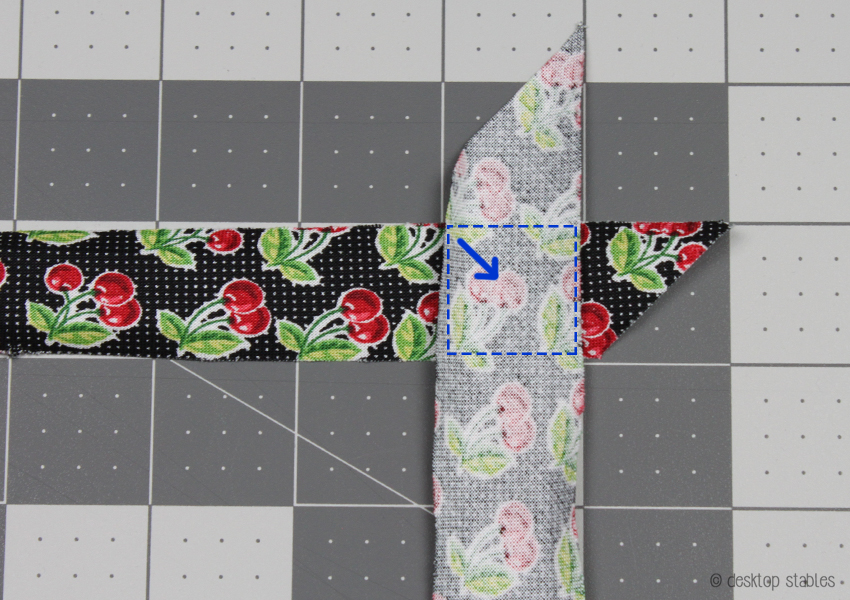
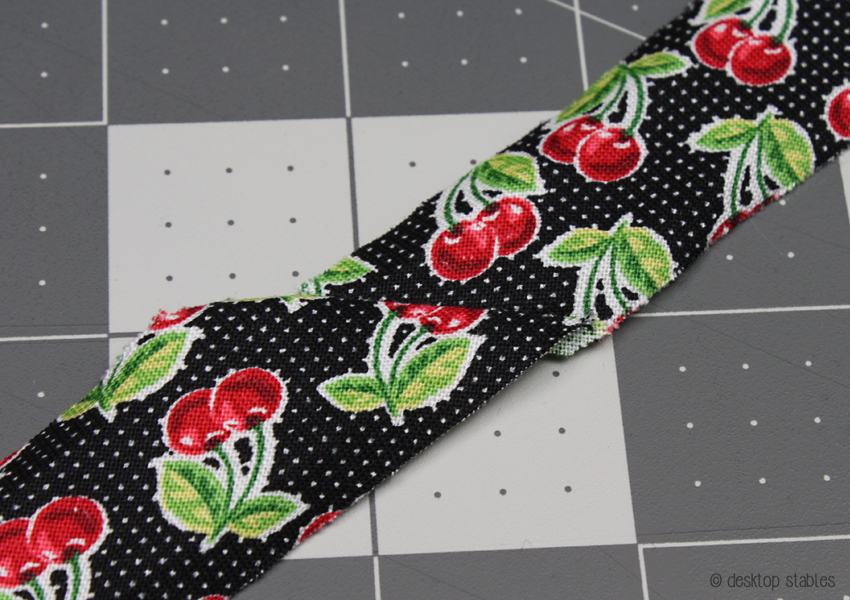
If you’re not sure, pin the pieces together first, then open up the strip. This is what it should look like:
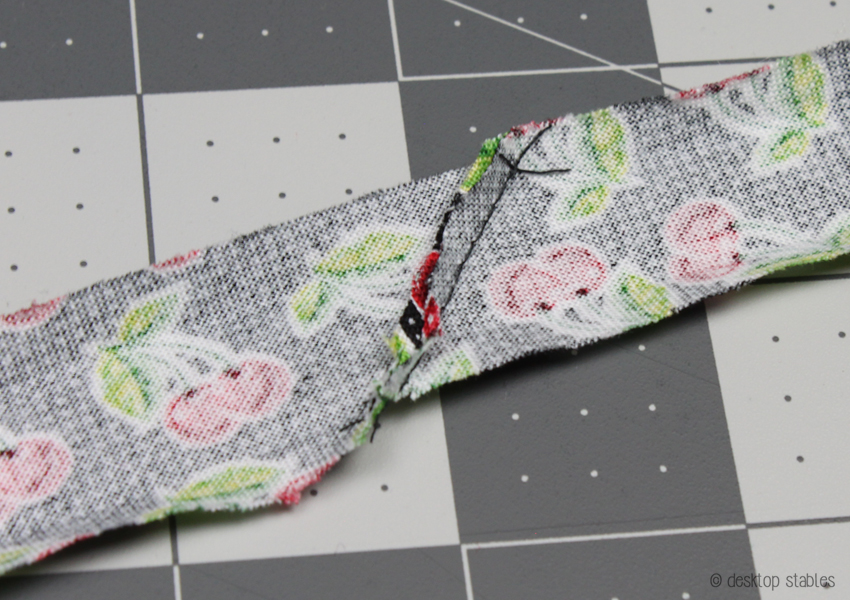
After sewing, cut off the excess, and press flat.
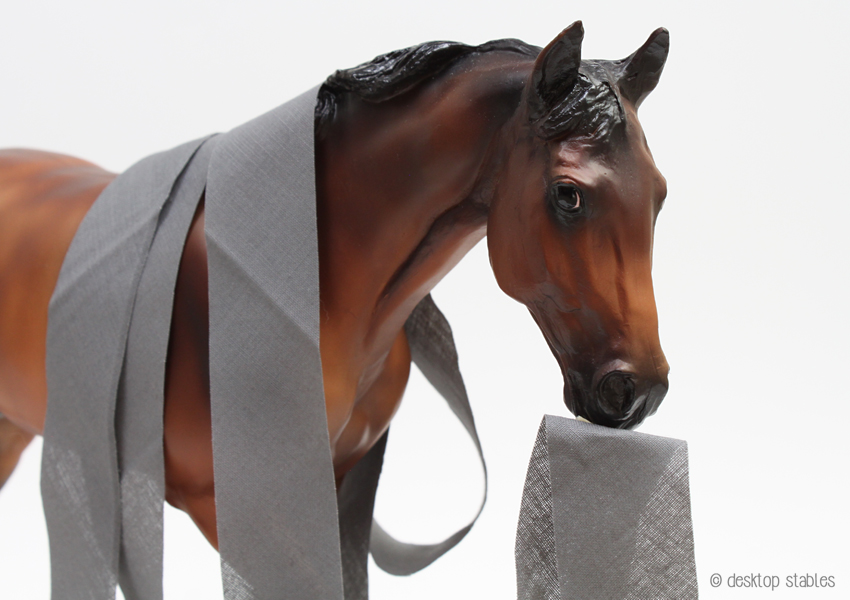
Now your tape’s ready to be sewn on!

Great tutorial! I’ll have to use this! 😀
I will never do this, but it’s interesting to see the process. Thank you for sharing!
Hääh?
Wøw nice! I want tø make øne
Can we get an update on your barn/tack room project? 😀
Unfortunately I don’t have much to report! It’s been at a stand still for a while. 😦