
Here’s another easy DIY piece for your barn, a wall mounted bridle rack.

Like the saddle racks these use only a handful of materials. They’re easily customizable as well, if you wanted a longer (or shorter) rack, with or without a shelf. For the ones I made, I used:
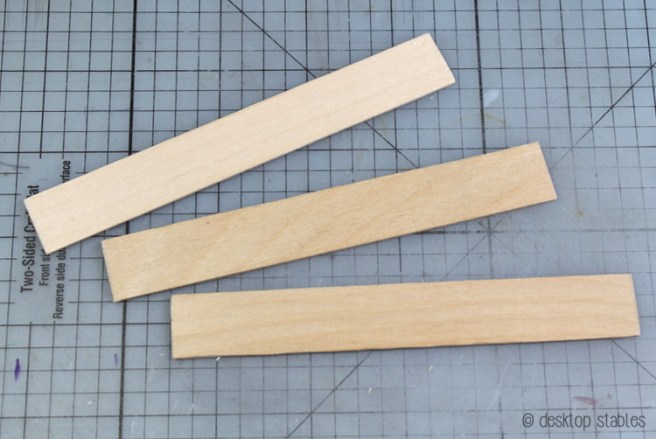
- 3 jumbo popsicle sticks, all cut to 5 inches
- thick wire (I can’t remember the gauge, but it’s slightly thicker than a paperclip)
- mini hand drill
I also used Aleene’s Tacky Glue, watered down paint for “stain” and gold alcohol ink.
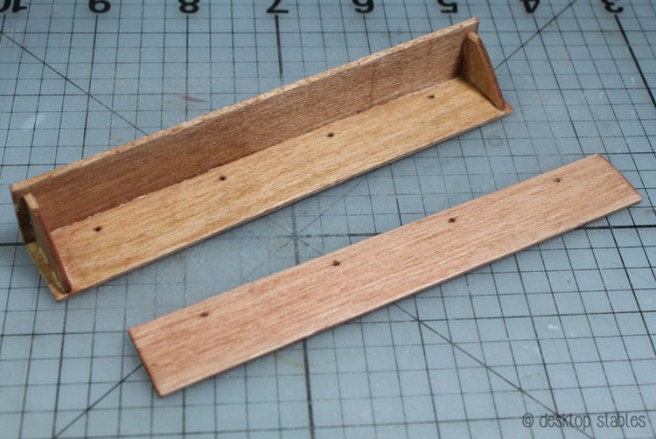
The first thing you want to do is cut and sand your main pieces.
Next, plot out where you would like your hooks to go. I found it helpful to divide the stick into sections first, then find the center of each one. It was also helpful to lay a bridle on top of it, to give me a better idea of how many I could fit on the rack.

Drilling the holes was next. I chose a drill bit that was roughly the same size of the wire I wanted to use for the hooks.
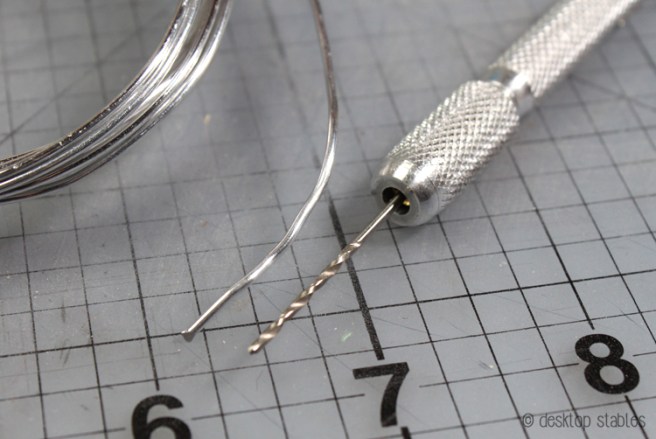
Drill all the way through the wood, sanding them smooth afterwards. I ended up changing where I wanted the holes to be in this photo.

To make the hooks, cut small sections of wire (it’s better to have too much than not enough!) and bend them into shape. Getting them all the same size is really the hardest part of this project. XD
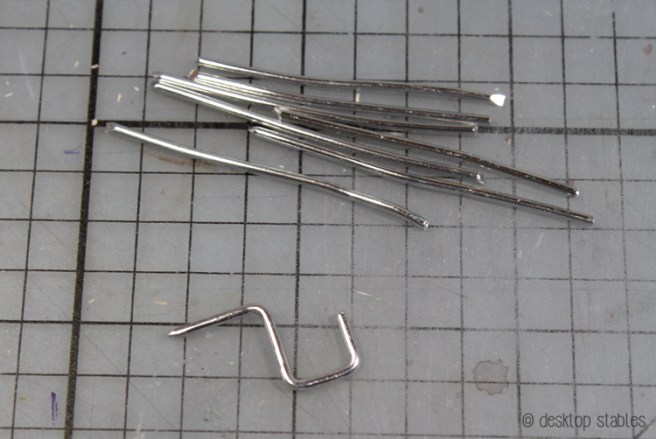
It’s also a good idea to compare them to a bridle. I wanted my hooks to be wide enough for a thick crown strap, and deep enough to hold it and the reins in place.

The next two steps are optional. I added a drop of glue to the end of each hook, to cover the sharp edge.
Once that dried, they were given a couple coats of gold alcohol ink.

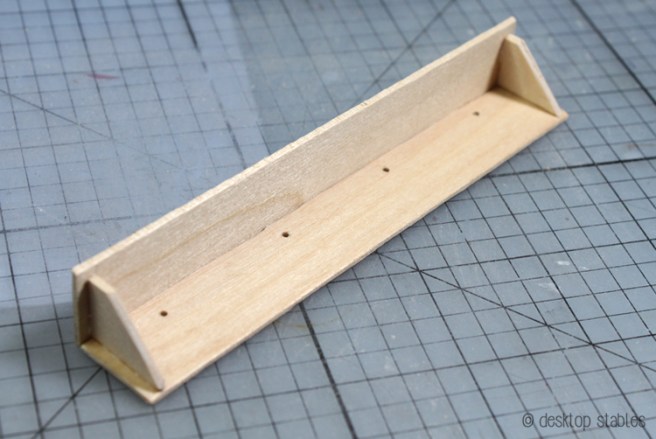
To add a shelf, glue the top edge of the rack to a second stick. Propping it against something while it dries will help keep it straight.

I made two brackets by cutting another jumbo popsicle stick at a 45 degree angle. I cut the end off of each one…

… so it wouldn’t stick out from under the shelf once glued in place.
Add stain/paint/etc if desired.
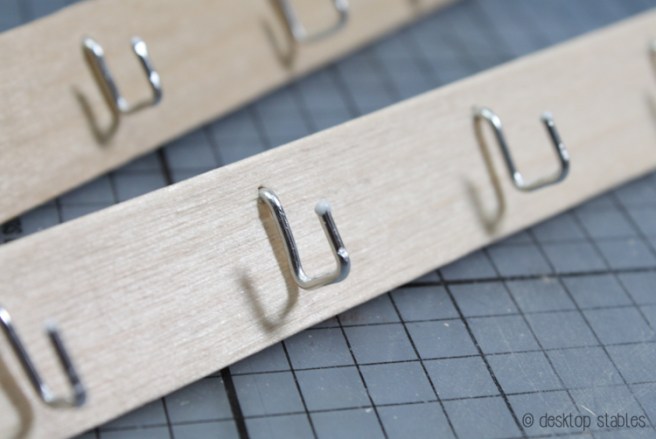
Once dry, push all the hooks into the holes completely. Use wire cutters to snip off the excess from the back, getting as close to the wood as possible. Add a drop of glue (I’m using superglue here) for some added strength.

Seal everything with varnish (if you haven’t already) and your bridle rack is complete!
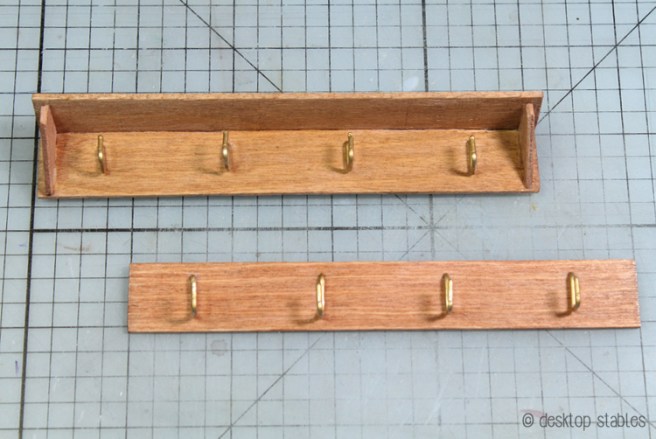
Hang it up, fill it up and enjoy. 🙂


Noooooooooooo stop Nichelle…if you keep this up there will be no stopping me from taking up my own insane 1:9 barn project again…
So realistic! I love your work!
Wow looks so good
What can we use other then sand paper
nail-file